Introduction

  1. SZtdZyRNVU2s1aMn
    SZtdZyRNVU2s1aMn
    oFMdyuHE1LiyqFMh
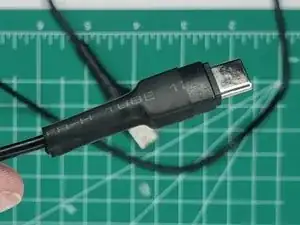
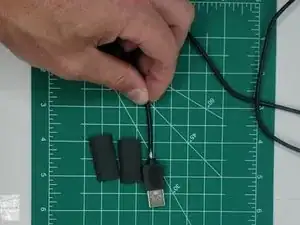
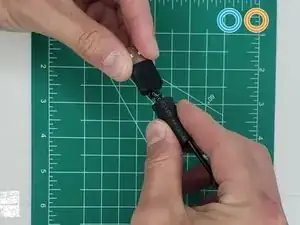
    • Identify that the cord being repaired still works, then make sure both ends are unplugged and free to be worked on.

    • This method is best for when the insulation is damaged, but the wires are still intact as shown in this photo.

  2. HRUE4AqcaBYelSgf
    HRUE4AqcaBYelSgf
    NQYlAVp3psFWXGwk
    D2YmkRWpBiJj4Ggg
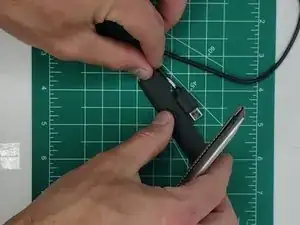
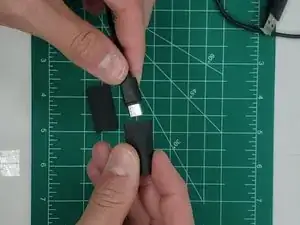
    • Measure out a piece of heat shrink to be at least 1/2 inch (12.7mm) longer than the damaged length of the cord. Then cut that piece to size.

    • For a better fit on the cord try to use the smallest size heat shrink possible.

    • Note that you can cut the heat shrink using scissors, a box cutter, or any kind of knife.

    • Be careful with sharp objects.

  3. aBHQuPqsLEIltGQ4
    aBHQuPqsLEIltGQ4
    tnAUD6b6AdHeqkCM
    oVgYFBdjZONK3sfK
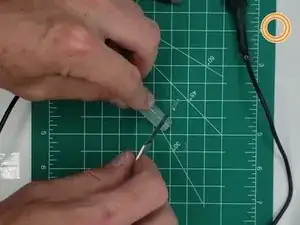
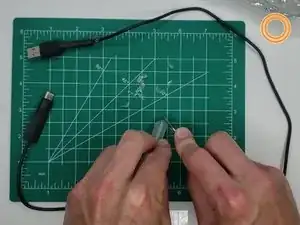
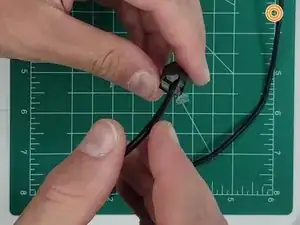
    • Slide cord through heat shrink to check the heat shrink covers all of the damaged area.

    • It is easiest to slide through at the smaller end of the cord.

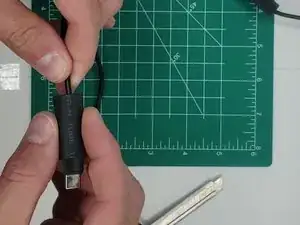
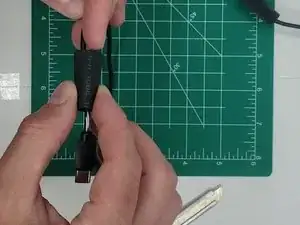
    • Then, keep the heat shrink on the cord but away from the damaged area for the next steps.

  4. hpXXfRcwWEi2Igc1
    hpXXfRcwWEi2Igc1
    6xerCk2SQViS6EXT
    XjrP2HSI2iy1pyu5
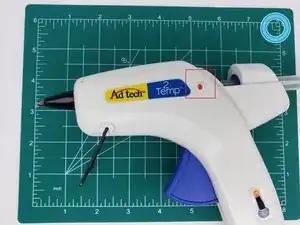
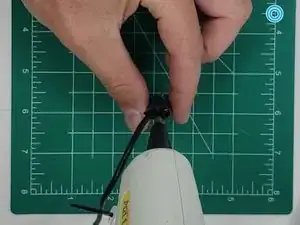
    • Glue Gun Method: Prepare the hot glue gun by plugging it in and allowing it to fully heat up.

    • Glue Stick Method: Prepare the glue stick by cutting off small pieces to use.

    • Note that you can cut the glue stick using scissors, a box cutter, or any kind of knife.

    • Be careful with the glue gun, temperatures get hot enough to burn skin.

    • Be careful with sharp objects.

  5. x2rTOVPOwU5sZph6
    x2rTOVPOwU5sZph6
    IksPrXZB6LquUVtI
    6YHmq6N43TRD1Nfm
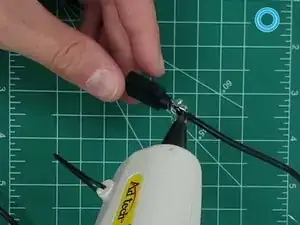
    • Glue Gun Cont. : Apply hot glue in excess over the damaged area and then slide the heat shrink over that area.

    • Glue Stick Cont. : Without applying any hot glue, slide the heath shrink over the damaged area of the cord.

    • Feel free to be generous with the glue. Most effective repair will occur when the heat shrink is near-full of glue for either option.

    • Be careful with the glue gun, temperatures get hot enough to burn skin.

  6. UaCRQIRblkFjOTVu
    UaCRQIRblkFjOTVu
    I6xxVLLbsqssRigQ
    • Glue Gun Cont. : Completely fill the heat shrink with glue by placing the glue gun nozzle into the opening and fill the remaining space.

    • Glue Stick Cont. : Fill drop the small pieces of glue stick into the heat shrink. Firmly press the pieces in until they are tightly packed and the heat shrink is full.

    • Maintain even spacing between the walls of the heat shrink and the cord when applying glue.

    • Be careful with the glue gun, temperatures get hot enough to burn skin.

  7. Q6ygDSBDwTCjRtMt
    Q6ygDSBDwTCjRtMt
    Fo6UtYLnANZUP1Gp
    MWm6eEVFcC5SsRKJ
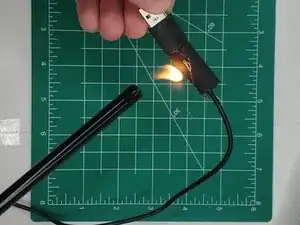
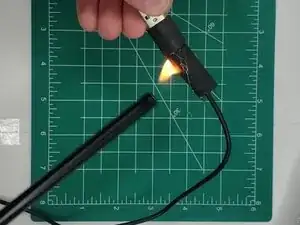
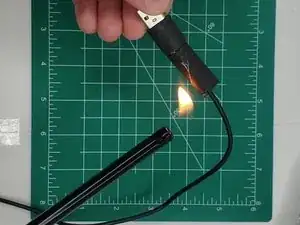
    • When enough glue has been added, apply heat from the lighter or other heat sources onto the heat shrink.

    • Be sure to apply heat in a back and forth motion. Alternative heating option can be hair dryer or heat gun.

    • Glue oozing out the sides is a good sign that you’ve applied enough.

    • Warning! Open Flame. Do not hold the heat source to one spot of the heat shrink or you will risk burning and damaging the cord.

  8. HN5sDsgRyJDmLGGk
    HN5sDsgRyJDmLGGk
    i3CU4OheOlmn3vnI
    • Let the repair cool then your free to tear off excess glue

    • Note how the glue is now fogged over, this means it has properly cooled.

    • Avoid cutting it off with a knife else you may redamage the cord.

Conclusion

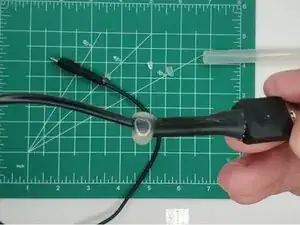
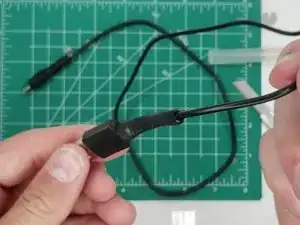
To reassemble your device, follow these instructions in reverse order.

Group One

Member since: 24/06/21

253 Reputation

0 comments