Introduction
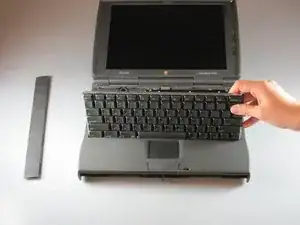
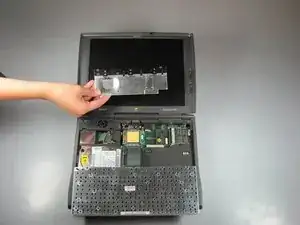
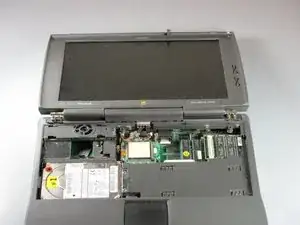
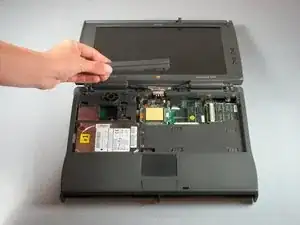
This repair guide will give you step by step instructions on how to remove the Macintosh PowerBook 1400c Monitor.
-
-
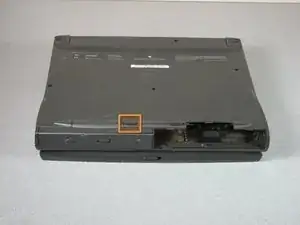
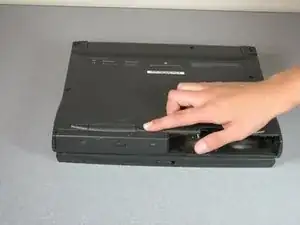
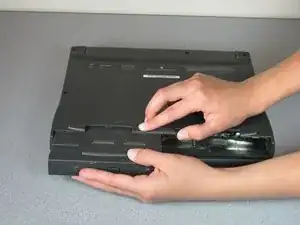
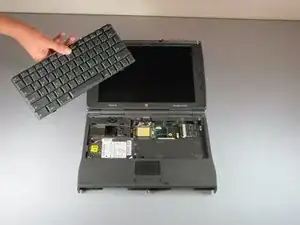
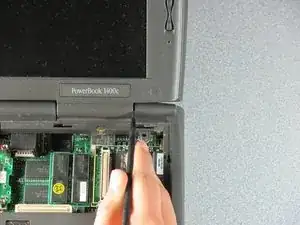
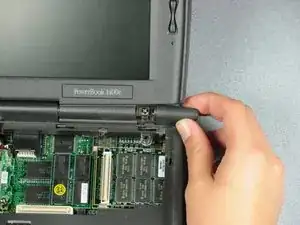
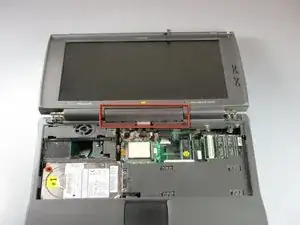
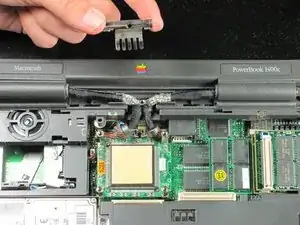
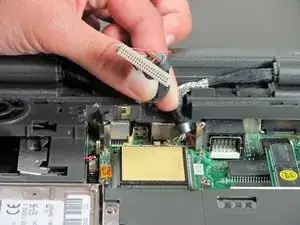
Gently pull up on the beige ribbon lock until it moves a short distance on both sides to separate the ribbon cable from the connector.
-
-
-
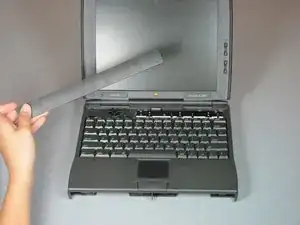
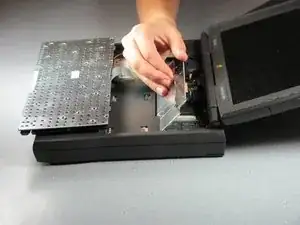
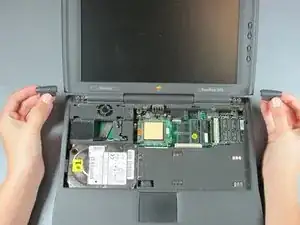
Pry off the end caps by putting a spudger between the monitor hinge and the end cap and prying outwards.
-
-
-
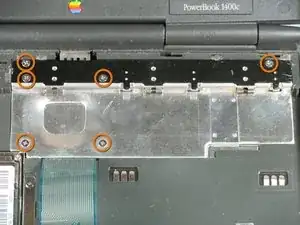
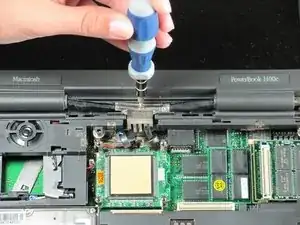
Identify the 4 total screw under the end caps (2 under each end cap).
-
The two outside 16mm long screws
-
The two inside 5.4mm long screws
-
-
-
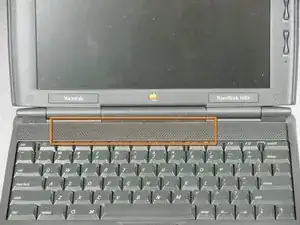
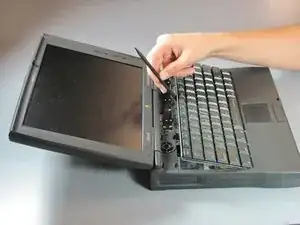
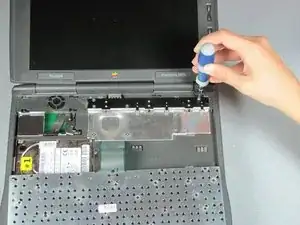
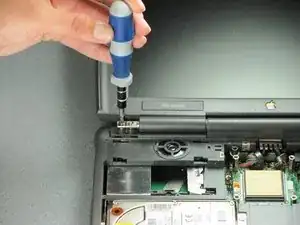
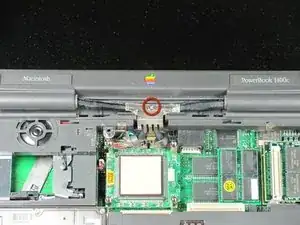
Pry the center cap off by placing the spudger between the hinge and the center cap and prying upwards.
-
-
-
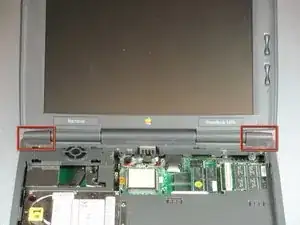
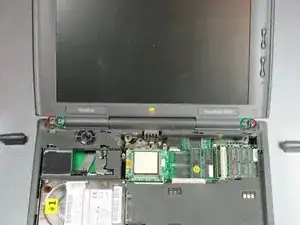
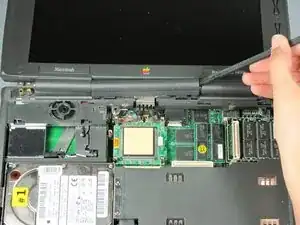
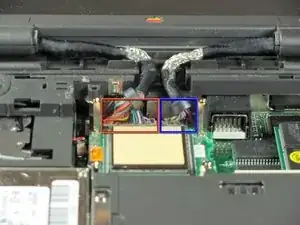
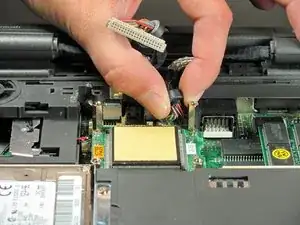
Identify where the left and right monitor cords are attached to the logic board
-
The base of the left monitor cord
-
The base of the right monitor cord
-
-
-
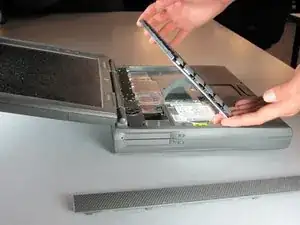
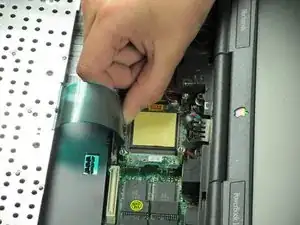
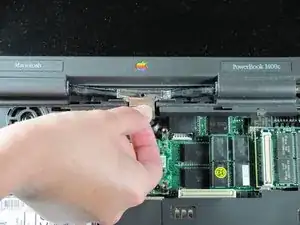
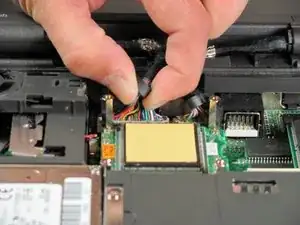
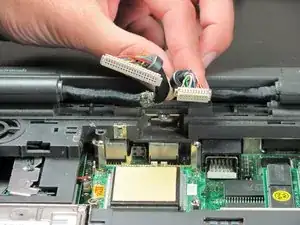
To detach the left monitor cord grab the left monitor cord at the base of the cord and pull vertically up.
-
-
-
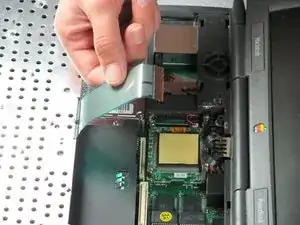
To detach the right monitor cord grab the right monitor cord at the base of the cord and pull vertically up.
-
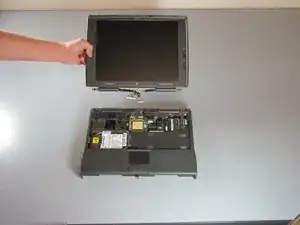
Once the monitor has been removed, to attach the new monitor follow these instructions in reverse order.