Introduction
If your Galaxy Note9 battery drains quickly, won’t charge, or won’t power on it may be time for a replacement. Follow this guide to install a fresh battery.
For your safety, discharge your battery below 25% before disassembling your phone. This reduces the risk of a dangerous thermal event if the battery is accidentally damaged during the repair. If your battery is swollen, take appropriate precautions.
For optimal performance, after completing this guide, calibrate your newly installed battery: Charge it to 100% and keep charging it for at least two more hours. Then use your phone until it shuts off due to low battery. Finally, charge it uninterrupted to 100%.
Tools
Parts
-
-
Power off your phone before beginning disassembly.
-
Use a hairdryer, a heatgun, or prepare an iOpener and apply it to the right edge of the back of the phone for about a minute to soften the adhesive underneath.
-
-
-
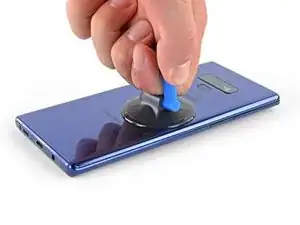
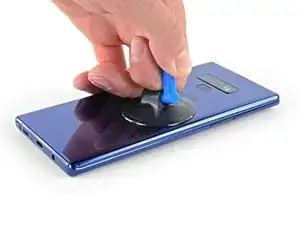
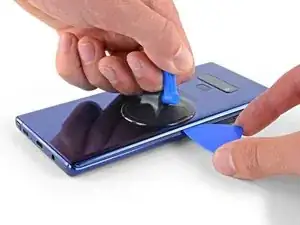
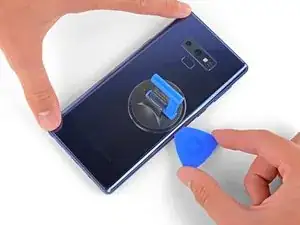
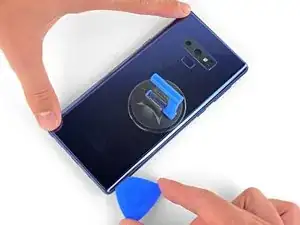
Apply a suction handle to the back cover.
-
Lift with a suction handle to create a gap between the back cover and the frame of the phone.
-
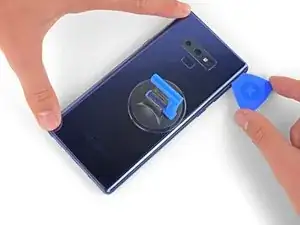
Insert an opening pick into the gap.
-
-
-
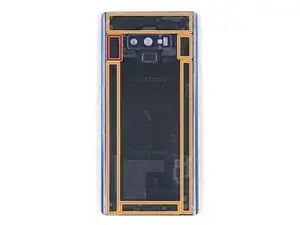
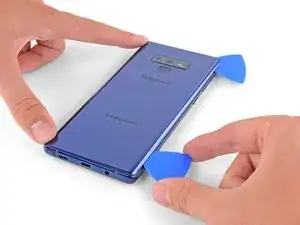
Note that there is more adhesive along the top edge and around the camera bezel than around the rest of the phone.
-
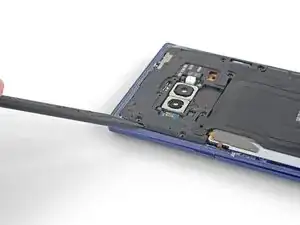
Cut carefully around the left edge near the fingerprint sensor or you risk damaging the ribbon cable inside.
-
-
-
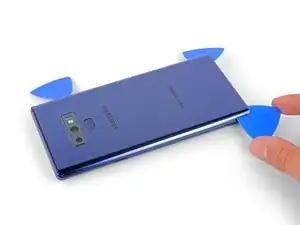
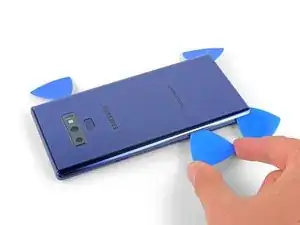
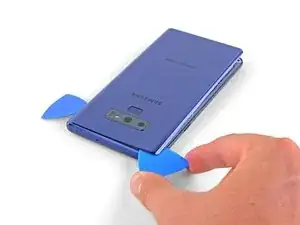
Leave an opening pick in the upper-right corner.
-
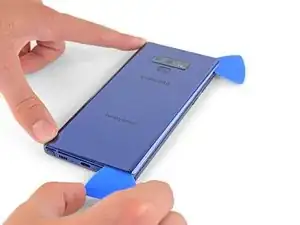
Use another opening pick to cut the adhesive around the bottom-right corner.
-
Leave that opening pick in the phone.
-
-
-
Use a heat gun or hair dryer or apply a heated iOpener to the left side of the rear panel for about a minute to soften the adhesive underneath.
-
-
-
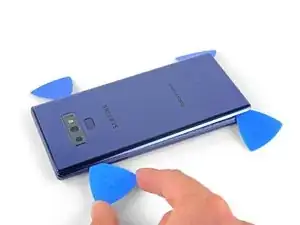
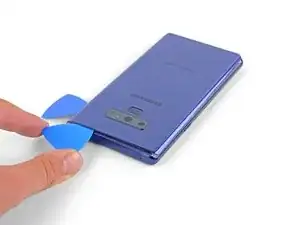
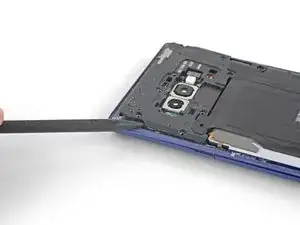
Insert an opening pick into the lower-left corner of the rear panel.
-
Using another opening pick, cut the adhesive along the left edge of the rear panel.
-
-
-
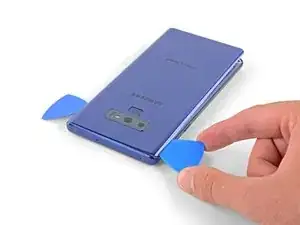
Using the inserted opening pick, carefully cut the adhesive around the upper-left corner of the rear panel.
-
Finally, cut the last of the adhesive along the top of the phone.
-
-
-
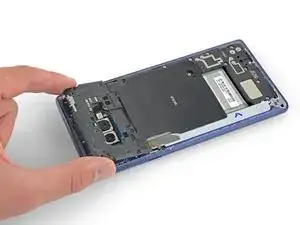
Separate the right side of the rear cover first.
-
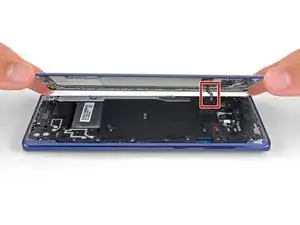
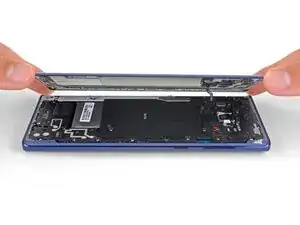
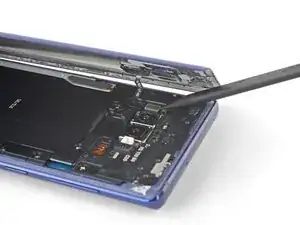
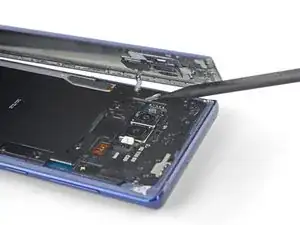
Tilt the cover up along the left edge to expose the fingerprint sensor ribbon cable.
-
-
-
Use the tip of a spudger to pry the fingerprint sensor ribbon cable up and out of its socket.
-
-
-
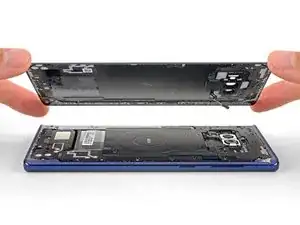
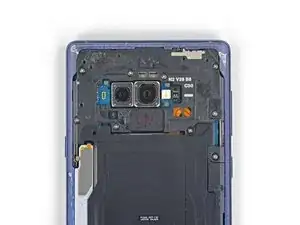
Remove the back cover.
-
Use tweezers to peel away any remaining adhesive from the phone's chassis. Then clean the adhesion areas with high concentration isopropyl alcohol (at least 90%) and a lint-free cloth to prep the surface for the new adhesive.
-
Turn on your phone and test your repair before installing new adhesive and resealing the phone.
-
Carefully apply the new adhesive to the back cover, then line up one edge of the glass against the phone chassis and firmly press the glass into the phone.
-
-
-
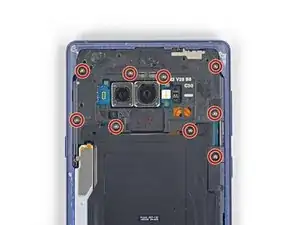
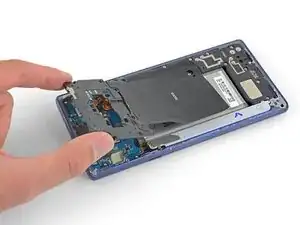
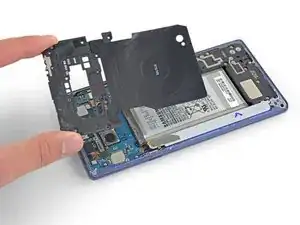
Insert the tip of a spudger into the upper-left corner of the upper midframe.
-
Pry the upper midframe out of the phone.
-
-
-
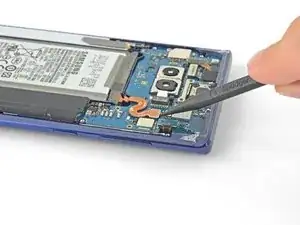
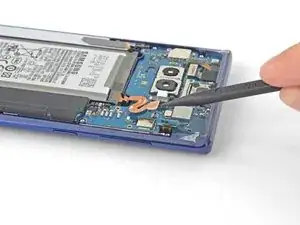
Use the tip of a spudger to disconnect the orange ribbon cable connecting the battery to the motherboard.
-
-
-
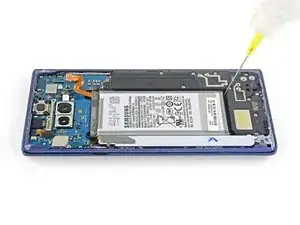
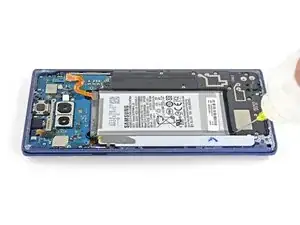
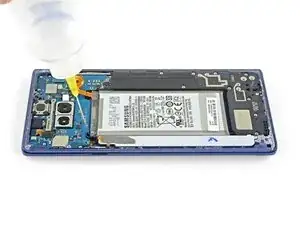
Apply a few drops of 90% isopropyl alcohol in the battery well along the bottom and in the upper-left corner of the battery.
-
Wait a couple of minutes for the alcohol to soften the adhesive under the battery.
-
Tilt the phone at various angles to help the alcohol flow under the battery.
-
-
-
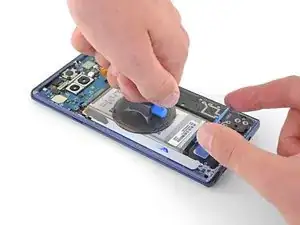
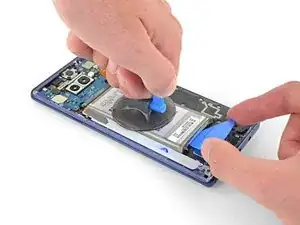
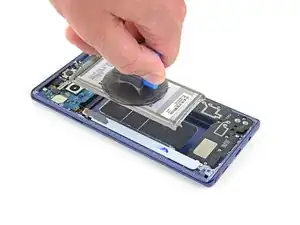
Apply a suction cup to the battery.
-
Lift the battery straight up until there is a gap large enough to insert the opening pick.
-
Insert an opening pick underneath the bottom edge of the battery and twist to loosen the battery adhesive.
-
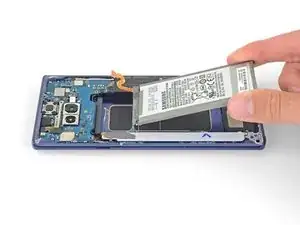
Remove the battery.
-
To reassemble your device, follow the above steps in reverse order.
Take your e-waste to an R2 or e-Stewards certified recycler.
Repair didn’t go as planned? Check out our Answers community for troubleshooting help.
Compare your new replacement part to the original part—you may need to transfer remaining components or remove adhesive backings from the new part before installing.
6 comments
Great guide, much thanks!
شكرا لك اليوم. لقد استبدلت البطارية بسهولة باتباع الخطوات الأولى في المرحلة الأولى. شكرا
Thanks very much for posting this - it helped a lot. My Note 9 lives on!
Robert Oswald 4/29/21
Great to hear Robert, and good job!
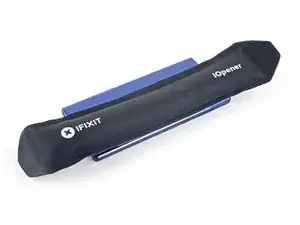

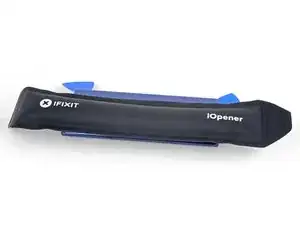

If using an iOpener it will need to be fully heated and set on for at least 5 minutes. You’ll know the phone is hot enough when its almost too hot to touch.
Spencer Barron -