Introduction
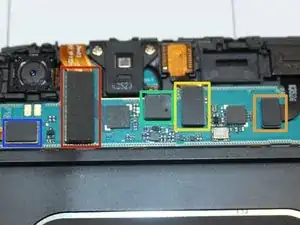
This guide will take you through the step-by-step process of removing and replacing the motherboard of a Samsung Galaxy Tab 3 8.0.
-
-
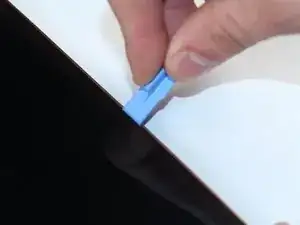
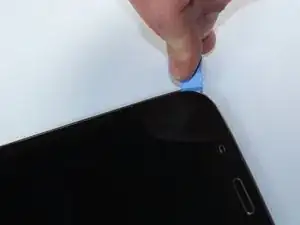
Start out by separating the screen from the back cover using the larger plastic opening tool to pry them apart.
-
-
-
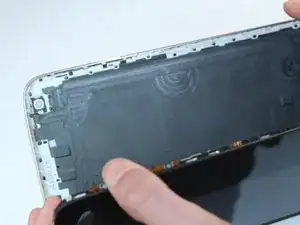
Once every part of the screen is separated from the back cover, you should be able to fully remove it with your hands.
-
-
-
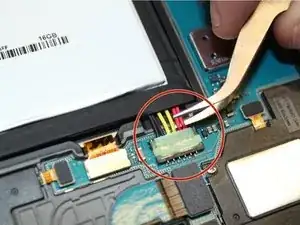
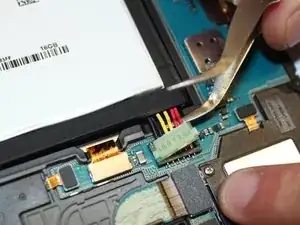
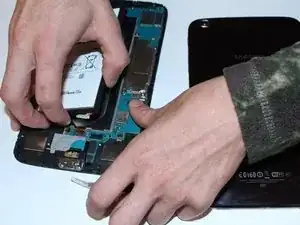
To remove the battery you must use something small, such as tweezers, to disconnect the battery from its port.
-
-
-
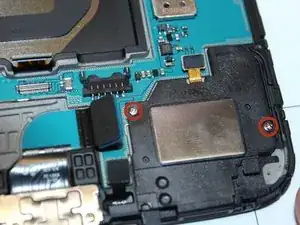
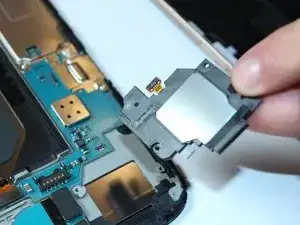
Unscrew the 2.9mm screws from the speakers using a Phillips head #000 screwdriver, then lift the speakers from the device.
-
-
-
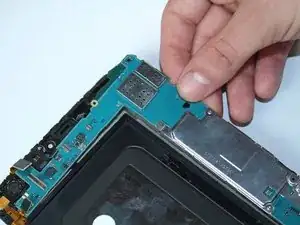
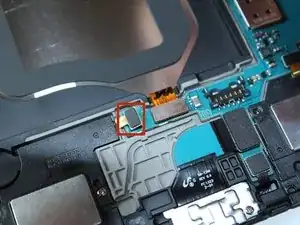
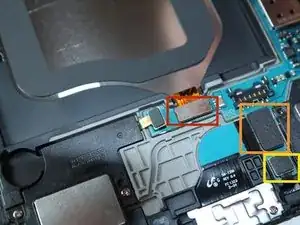
Using a plastic remover tool, carefully unseat each of the electric leads plugged into the board.
-
-
-
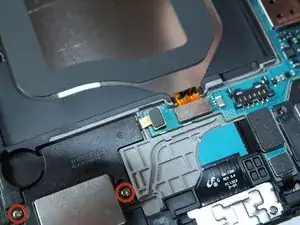
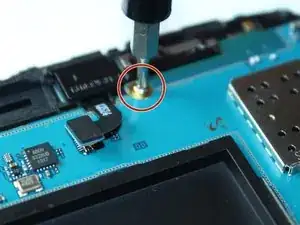
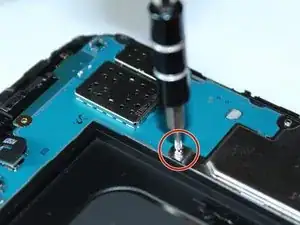
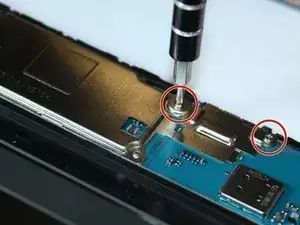
Unscrew the 2.9mm Phillips #000 screw above the battery, and the three 2.9mm Phillips #000 screws to the right of the battery.
-


To reassemble your device, follow these instructions in reverse order.
2 comments
Be sure to include screw lengths to the nearest mm on all repair guides.
You don’t need to remove the battery in order to remove the motherboard. Just disconnect the battery!
Separating the back cover was the hardest part of the procedure for me (a retired electrical/software engineer). I used a large flat screwdriver blade instead of the hard plastic tool shown. Go slow all the way around the tablet and expect pops as the pieces separate. I was not able to re-connect the back cover completely, accepting a paper-thin gap about 30% around the cover, but it is secure.
Rick Nungester -