Introduction
Tools
Parts
-
-
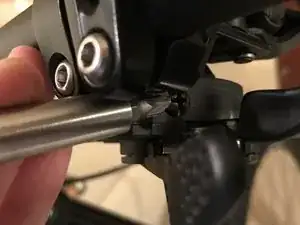
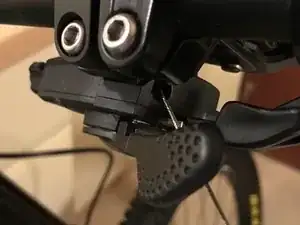
First we shift to the smallest sprocket, otherwise the gear cable in the shift lever is wrapped around a "pulley" and cannot be pulled out later. Then the screw that covers the opening for the shift cable on the shift lever (trigger) is loosened. For this we use a Phillips bit from the Macro Bit Set.
-
-
-
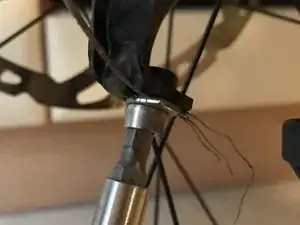
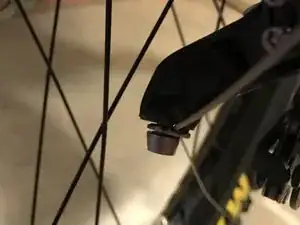
In the second step, we loosen the screw that clamps the shift cable in the rear derailleur. The cable should now be loose and without tension.
-
-
-
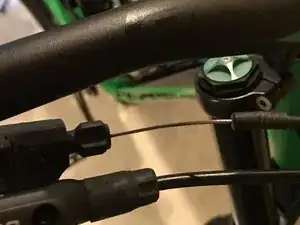
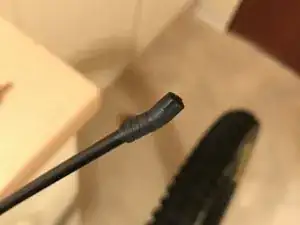
Next, we pull the black outer casing out of the shift lever (trigger) and push the shift cable through the opening screwed on in the first step.
-
-
-
Now the shift cable is pushed through the opening in the shift lever (trigger) and threaded through. Finally, the cover screw that closes the opening is screwed back on. This makes assembly easier, as the shift cable can no longer slip out of the shift lever.
-
-
-
Now we can thread the shifter cable back through its outer casing. Note: make sure that the end caps sit on the outer shell! These tend to fall off during disassembly and are forgotten.
-
-
-
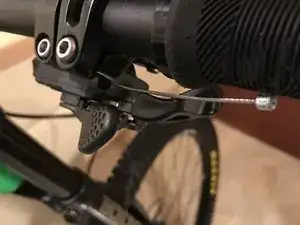
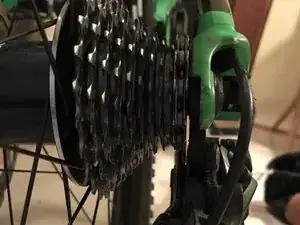
After threading the shifter cable back through its outer casing, we place the shifter cable under the plate of the clamping screw on the rear derailleur. In this step, the clamping screw is not yet tightened, since we are still taking care of the basic setting of the rear derailleur.
-
Then tighten the screw with the torque wrench and 6 Nm.
-