Introduction

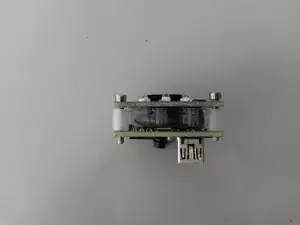
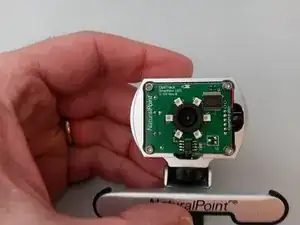
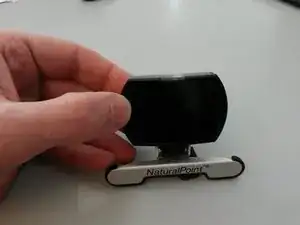
When the unit shows erratic behavior or the device isn’t installing program s properly, you may look for a shortcut between it’s internal components.

  1. l6JVuQIdWLRMCbMn
    l6JVuQIdWLRMCbMn
    MUZIrXCOpOSSVvtO
    ghZQPLkZ1mTqI2d5
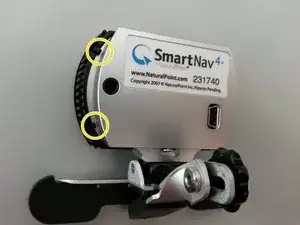
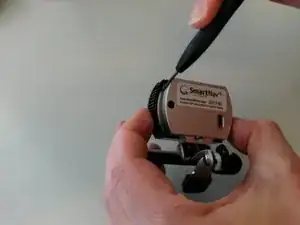
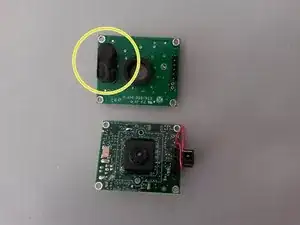
    • Gently open the four plastic tongs with a small slotted screwdriver, you need to keep the black and silver plastic gently pulled apart.

  2. pAwUVgvODiwX5q6E
    pAwUVgvODiwX5q6E
    jnipeI2IF6FVOFk2
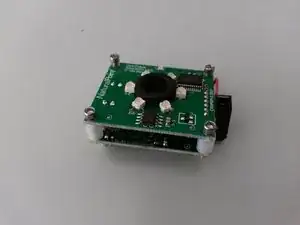
    • Once separated, there are four hex screws to be removed.

    • I guess the size is 5/64” but I’ve used a 2 mm before...

  3. 2FwYTjXoljAcycwq
    2FwYTjXoljAcycwq
    rJCjJKqNIwDVnM2s
    tyGaChh4CPoCPv5K
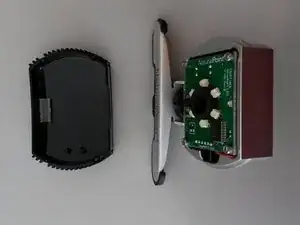
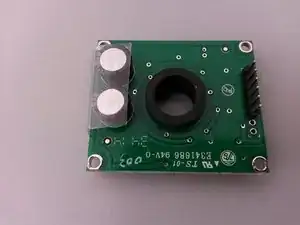
    • Remove and separate the components

    • The problem is located in the black film between the boards which is clearly pinched through

  4. TfPPw66KCdIB4XXV
    • Remove the adhesive, if present.

  5. URW2AEFgOlkPuORQ
    URW2AEFgOlkPuORQ
    wgMIstV1D4XCXCCL
    wUNdrcWPjqfxNq3V
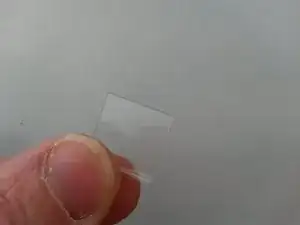
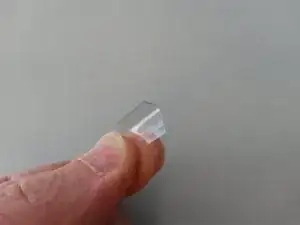
    • Prepare a new divider. I got this piece from a 0.4 mm rigid plastic.

    • I folded the plastic to 90°.

    • I’ve placed and dimensioned the plastic in order to fit the position in the picture.

  6. nVT3iYWiZuNUA3ms
    nVT3iYWiZuNUA3ms
    k5eVnqMxrQF2XGOo
    HQJZGBdXNJPBYRx3
    • That’s all folks! Next steps would be to re-assemble it as it was before dissasembly.

    Does this actually help

    shaneags -

Conclusion

To re-assemble your device, follow the steps in reverse order.
Stefano Ficacci

Member since: 27/05/16

133 Reputation

0 comments