Introduction

The following guidelines will show the step-by-step procedure on how to remove and replace the Sony Clie thumb dial.

  1. 1lGxTsXNxZPkTFGH
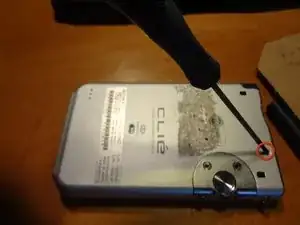
    • First, place the device with the screen side facing down. Remove the 2 screws from the thumb dial panel located on the upper right hand side.

  2. jbhNmS1QO1b4IShO
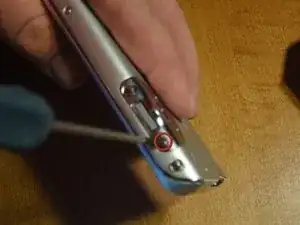
    • Remove the screw directly above the thumb dial panel.

  3. q22XaZxDOapOGxn6
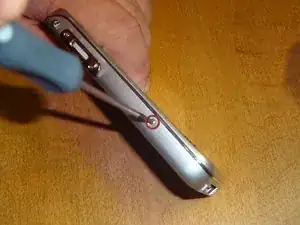
    • Remove the screw from thumb dial panel on the right handed side of the device.

  4. EC1vqUZ1SfSgDRtT
    • Remove screw from lower right side of the device.

  5. Hauj6LaIxeqP12Rc
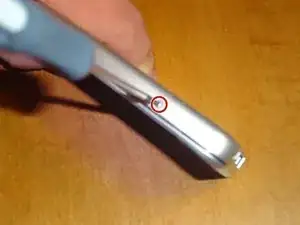
    • Remove 1 screw from the lower left side of the device.

  6. 5SpQ1JWwHWvB6MCH
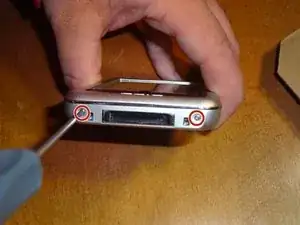
    • On the bottom of the device, remove both the left and right screws.

  7. Zg6knJsP2ReUbEb6
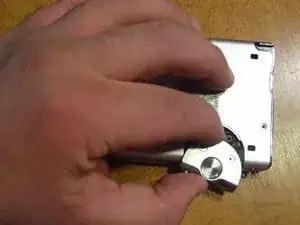
    • Remove the thumb dial panel by sliding it away from the device.

  8. ZplIa5YJtUpNDj66
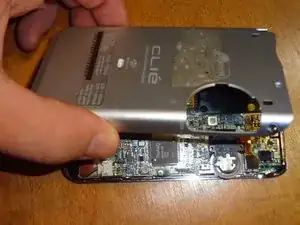
    • Remove the back panel exposing the inside of the device.

  9. dP3NVGllGpHf3vBK
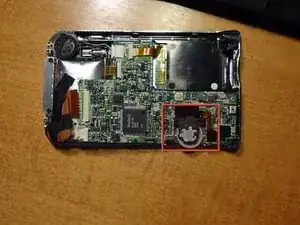
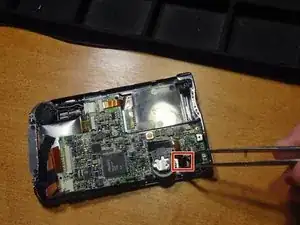
    • Locate thumb dial on top right side of the board.

  10. IOC3Oiuo5H3gyWKf
    • Follow ribbon wire to locate where it plugs into the board. The plug is a flat black square.

  11. vCkP5oFBEWjwWuSe
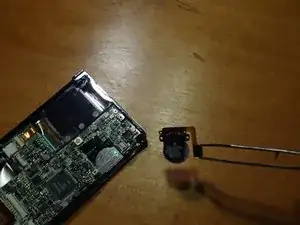
    • Pull plug straight up to remove from board.

Conclusion

To reassemble your device, follow these instructions in reverse order.

Rob

Member since: 04/10/11

1 Reputation

0 comments