Introduction
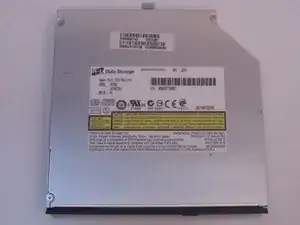
The optical drive is what reads a CD or DVD when placed in the drive. To replace it, follow the steps outlined in this guide.
-
-
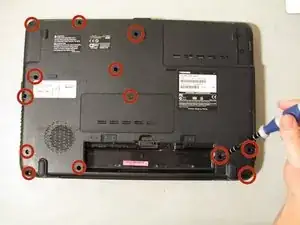
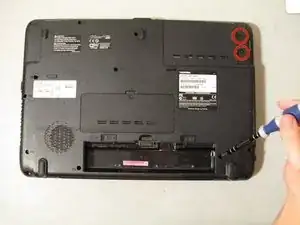
Remove the 13 Phillips #1 10mm screws from the backside of your computer using a Phillips #1 screwdriver.
-
-
-
Remove the two Phillips #1 6mm screws from the backside of your computer using a Phillips #1 screwdriver.
-
-
-
Unscrew the four Phillips #1 3mm using a Phillips #1 screwdriver.
-
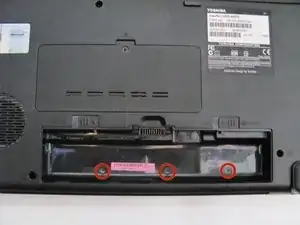
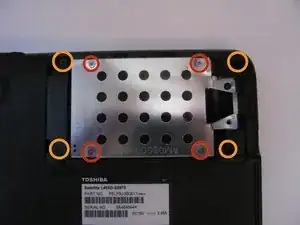
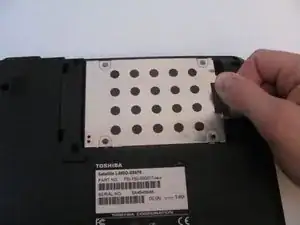
Unscrew the four 10mm screws around hard drive using a Phillips #1 screwdriver.
-
-
-
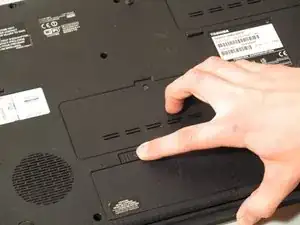
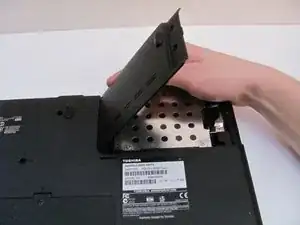
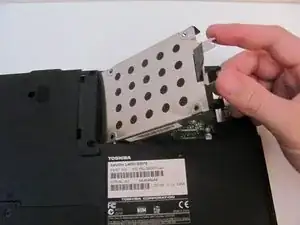
To remove the hard drive case, first pull the black tab to the right.
-
Then pull the black tab up to remove the case.
-
-
-
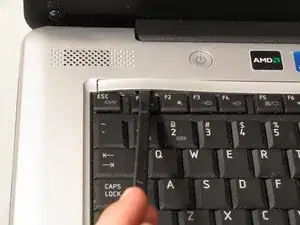
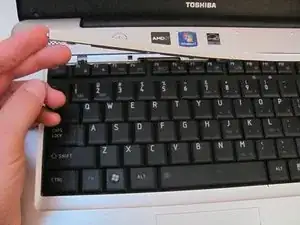
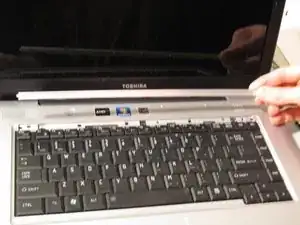
Remove the plastic strip above the "F" keys using the spudger by placing the small end of the spudger under the strip and lifting up.
-
-
-
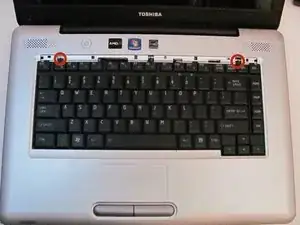
Remove the two Phillips #1 3mm screws underneath the plastic strip using a Phillips #1 screwdriver.
-
-
-
Remove the five Phillips #1 10mm screws underneath the keyboard using a Phillips #1 screwdriver.
-
-
-
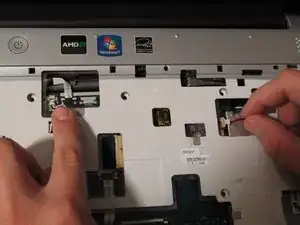
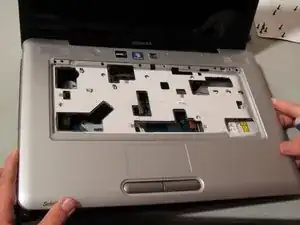
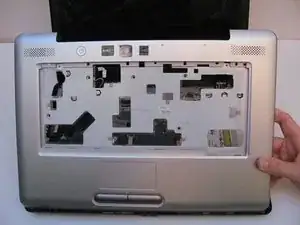
Lift up the plastic panel and carefully disconnect the red and white ports.
-
Remove the panel
-
-
-
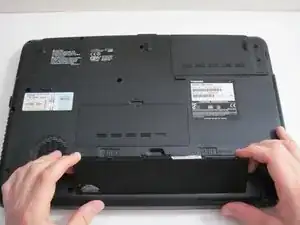
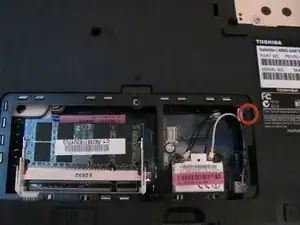
Turn the laptop over so the bottom is facing up
-
Then remove the 3mm screw with a #1 screwdriver, located underneath the panel containing the wifi card and RAM
-
-
-
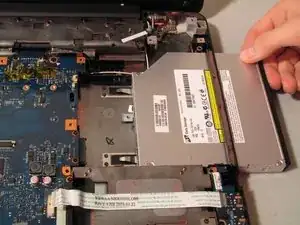
Turn the laptop back over so the motherboard is facing up
-
Now slide the optical drive out of the computer by gently pulling it to the right
-


To reassemble your device, follow these instructions in reverse order.