Introduction

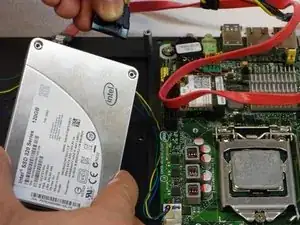
Replace the 120GB SSD hard drive with an equal or larger hard drive.

  1. siOpmGjiGNXFiThs
    siOpmGjiGNXFiThs
    3XUXlcpWsBgywMTH
    1so5casIitQ6nMQ2
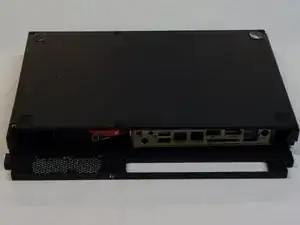
    • Make sure the computer is disconnected from the power source.

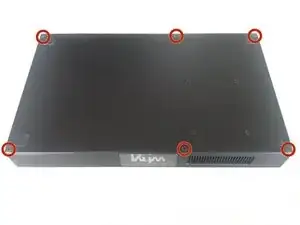
    • Turn the computer over

    • Remove the 6 Allen screws with a 2mm Allen key.

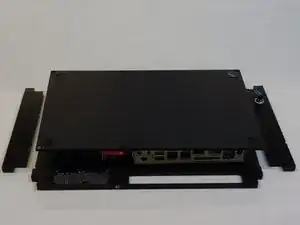
    • Carefully lay down the back, the side to the right and left of the case.

  2. OmEmrO3XIO4weBLF
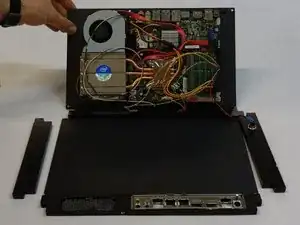
    • Now open the bottom of the case like you would open a book. All components are mounted on that.

  3. FMKXWgCTMAayOktn
    FMKXWgCTMAayOktn
    DwKZO4FHBYFcONIe
    3KTGiJqB2pN3bnJP
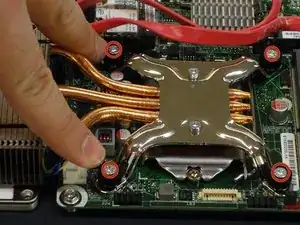
    • Using a Phillips #2 screwdriver, remove the four screws on the heatsink that cools the processor unit.

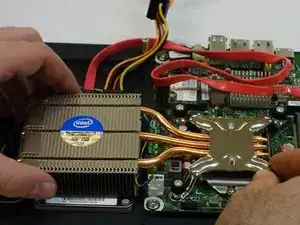
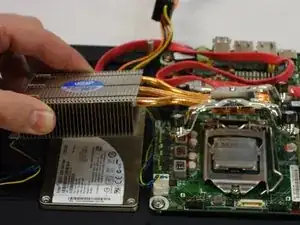
    • Remove the heatsink.

  4. Ld2JQduBFU1rfTo2
    Ld2JQduBFU1rfTo2
    EAqUewfIM1ENHFG2
    6TTVmDc3MAHllwLs
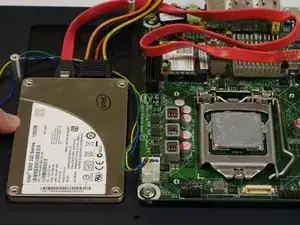
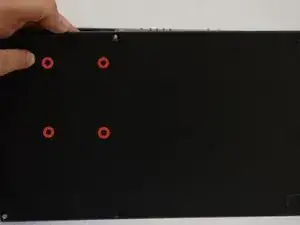
    • The SSD is now visible.

    • Now flip the computer over and use the Allen wrench to loosen the 1.5 mm screws fixing the SSD.

  5. T3peEw3K6RkRcXNM
    T3peEw3K6RkRcXNM
    DFIt2JHimVKDcubg
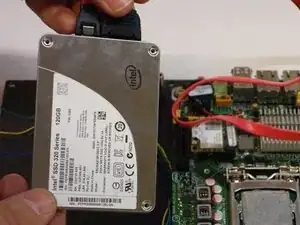
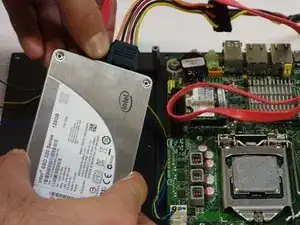
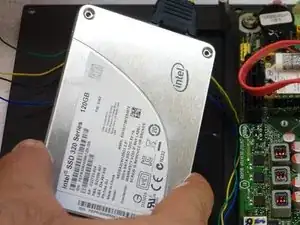
    • Disconnect the first cable from the SSD. You must press the lever down to do this.

    • The cable may not loosen easily. In this case, carefully use a little force, but not too much.

    • Pay attention do the orientation when assembling. Otherwise, the SSD and cable can be damaged.

  6. WmB5R53KxZjeeBUO
    WmB5R53KxZjeeBUO
    JZj1M2vNBFIEIHNH
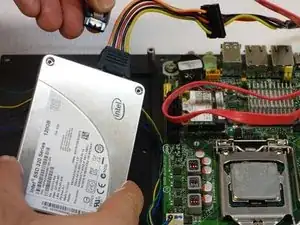
    • Disconnect the second cable from the SSD. You must press the lever down to do this.

    • The cable may not loosen easily. In this case, carefully use a little force, but not too much.

    • Pay attention do the orientation when assembling. Otherwise, the SSD and cable can be damaged.

Conclusion

To reassemble the device, follow the instructions in reverse order.
Felice Suglia

Member since: 15/06/13

29001 Reputation

0 comments