
Introduction
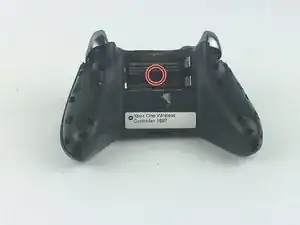
Bumpers on an Xbox One Wireless Controller 1697 may become less responsive over time due to extended wear and tear. If the bumpers on your controller become loose over time or break, use this guide to replace the bumpers on the controller.
-
-
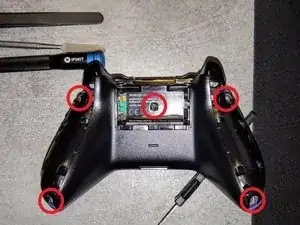
Remove the battery pack cover.
-
Remove the two AA batteries.
-
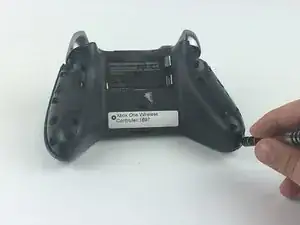
Carefully remove the sticker or puncture to reveal the screw.
-
-
-
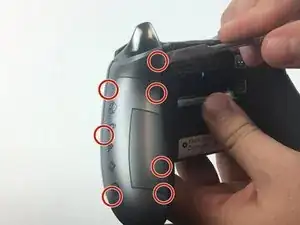
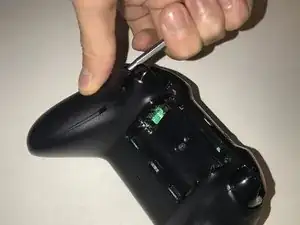
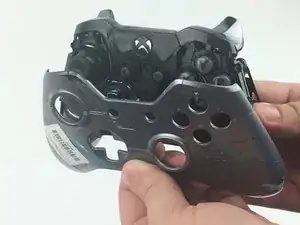
Remove the side handles by wedging the spudger around the side panels.
-
Pry the side panel by moving the spudger back and forth. You must do this along the entire seam to remove the side handle panel.
-
There are seven clips that need to be opened to remove each handle panel.
-
-
-
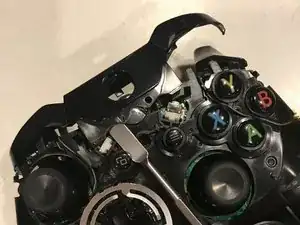
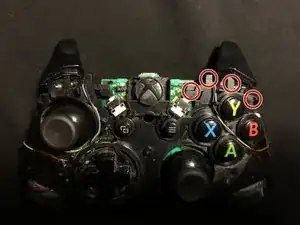
The bumpers are connected by a middle plastic cover that is around the Xbox home button. Remove this plastic piece by lifting the plastic cover over the two pins, pressing the home button in, and pushing the cover towards the top of the controller.
-
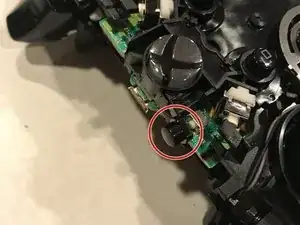
Be aware of the sync button loosely placed under the plastic covering. Ensure it is put back before putting back the bumper/plastic cover assembly.
-
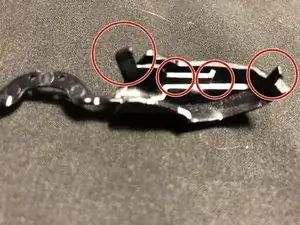
Remove the current bumper assembly by pulling them off the plastic cover.
-
-
-
Align the new bumpers onto the top of the controller by holding down the triggers and aligning the four pins on both sides.
-
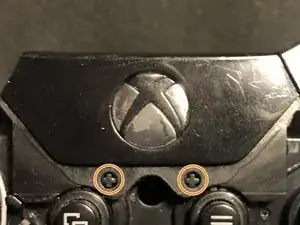
Set the new home button cover over the micro USB port, push the home button in, and pull the cover over the two pins shown.
-
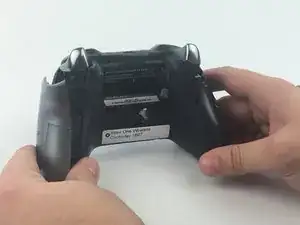

Your device is now ready to be used.
10 comments
the bumpers take some finesse to remove, so be patient
Vincent -
You should add a security hex screwdriver to your tools list, along with the gauge that is required.
There is a fifth screw in the battery compartment that holds the faceplate on. Take an exacto knife and cut out sticker where the hole is.
Note: Screw removal is in Step 3
jkgarrett17 -