Introduction
This replacement consists of learning how to disassemble an Xbox One Wireless Controller and replace the Bumpers. This guide will be showing the replacement of the left bumper but the same steps can be applied to replace the right bumper. It is common for these bumpers to get damaged and lose usability quickly, especially if the controller is used frequently for gaming. Many games require the use of these bumpers in order to perform important tasks pertinent to the game. This replacement guide will walk you through a step-by-step process of disassembling the Xbox controller, removing the bumpers, and replacing them.
Parts
-
-
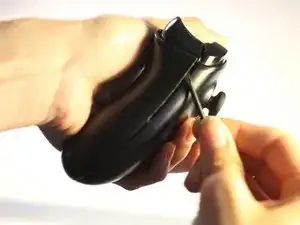
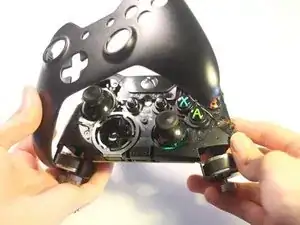
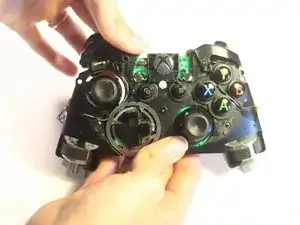
Grip the controller firmly to remove the side handle cover.
-
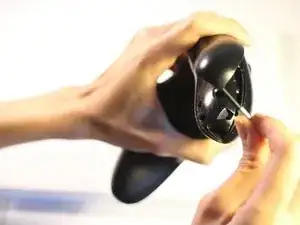
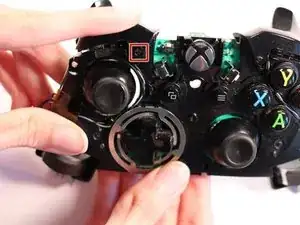
Use a flathead screwdriver or a spudger to wedge between the seams of the front to the side handle of the controller.
-
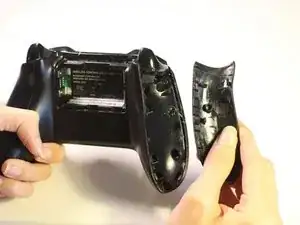
Move the flathead screwdriver all the way around the side plates seam and push the plate forward.
-
-
-
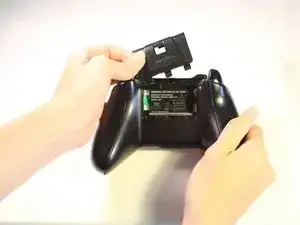
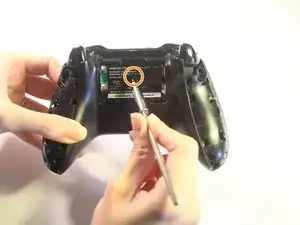
Use a screwdriver and punch a hole directly in the center label. There you will find a hidden screw.
-
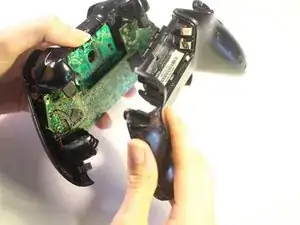
Remove the five 10mm screws located on the back of the controller using a T8 screwdriver.
-
-
-
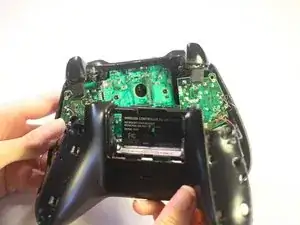
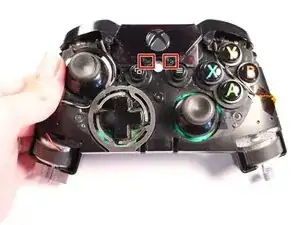
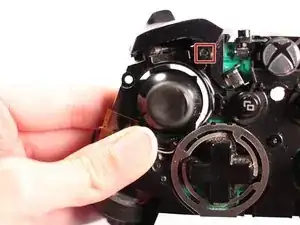
Remove the cover piece surrounding the Xbox button off of its pegs.
-
Firmly hold controller and push cover piece up from the pegs.
-
Press the Xbox button down to assist in the unclipping of the piece.
-
-
-
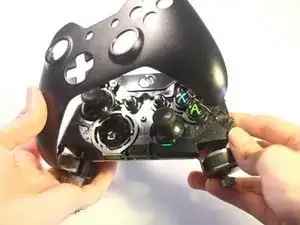
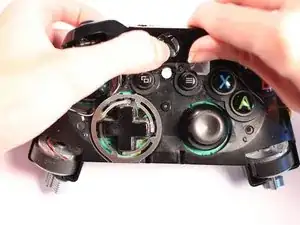
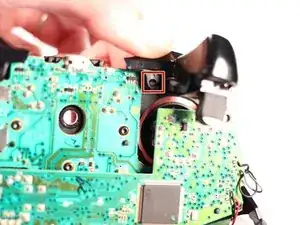
Remove the broken bumper by unclipping it from its pegs.
-
Hold the controller firmly and push the bumper piece up from its pegs to unclip.
-

To reassemble your device, follow these instructions in reverse order.
2 comments
On my controller the screws were T8 security type, so you'll need bits with a hole in the middle
Sean H -
Is there a way to do this without removing all of the front and grip.