Introduction
It’s well known that there are many videos and articles about dismantling the iPhone 11 Pro Max by teardown masters. From those teardown videos and articles, we know that the glass back of the iPhone 11 Pro Max is the toughest glass that Apple uses. If the back glass of the phone is broken, we have to remove all the components to fix it. It is very troublesome and difficult for some repairers to refurbish the phone, especially because of the triple lens camera system, which makes it much more difficult to repair the glass.
So, is there a useful and practical method to overcome this repair problem that doesn’t damage the OLED display?
There are many methods you may have attempted, including hot separation, frozen separation and more, but with little success.
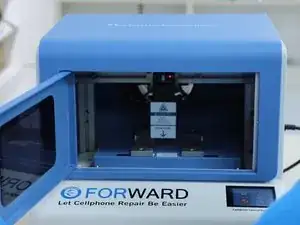
Recently, FORWARD LAB has tried to use a blue light laser separation machine to repair the iPhone 11 Pro Max back glass, let’s look at how.
Tools
Parts
-
-
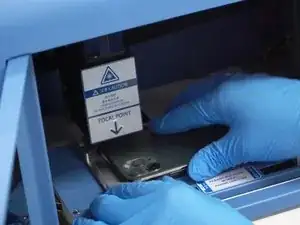
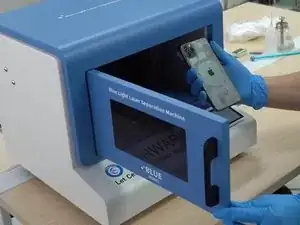
First, place the iPhone 11 Pro Max back glass into the centered positioning mold.
-
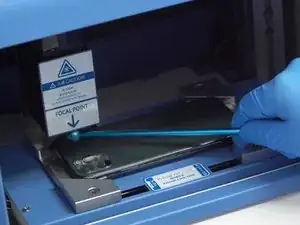
Then, use a focal length rod to adjust the distance between the laser head and the back glass.
-
-
-
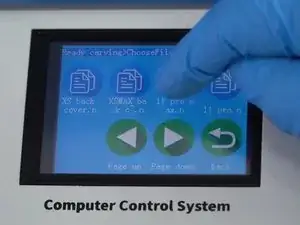
Close the door. Select the iPhone 11 Pro Max’s back cover drawing from the model list, then click the “Figures” key - the machine will laser the back glass automatically.
-
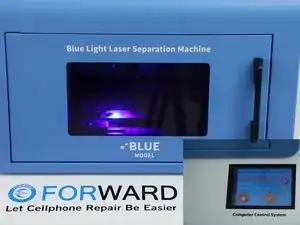
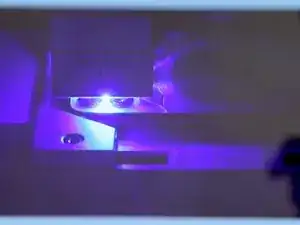
Here we can see that the machine is an enclosed structure with a window door and the laser is not exposed. You can observe the laser process at any time and it’s 100% safe and reliable during the operation.
-
What’s more, while the laser machine is working, you can release your hands to do other repair jobs. It’s very convenient.
-
-
-
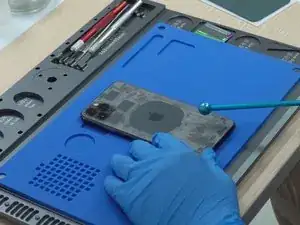
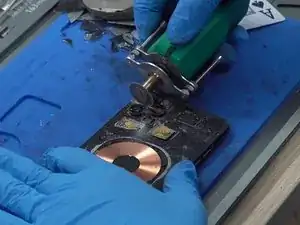
Once the laser is finished, take out the phone and give the back glass a little tap with a focal length rob. The back glass would appear with some cracks, it would be easier to separate.
-
-
-
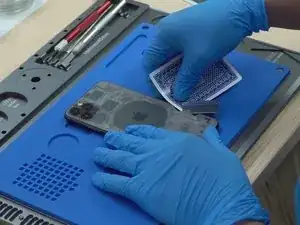
At this time, you can use a blade and a playing card to remove the back glass.
-
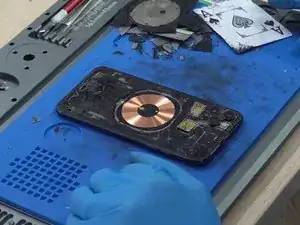
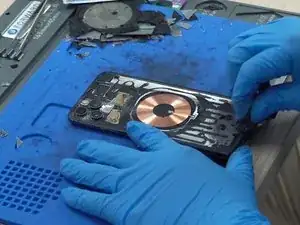
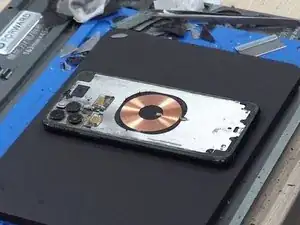
You can see a wireless charging sensor in the middle of the phone after you remove the back glass.
-
-
-
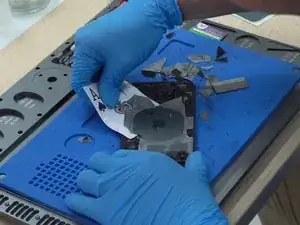
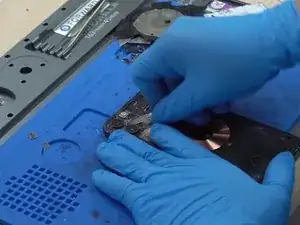
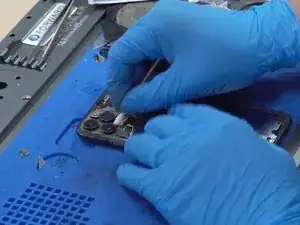
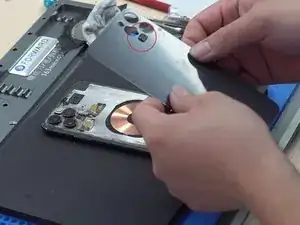
The glass around the triple-lens camera is relatively thick and the glass in this area is harder to remove. No matter how hard it is, you still can find a way to overcome it.
-
Here, the engineer is using a blade, a grinding tool, a sculpture knife to remove the glass in this area.
-
-
-
After finishing the last step, clean up the residual glue and black dust with alcohol and a dustless cloth.
-
Now you can see the back stainless steel plate is very clean in the picture. The next step is to install the new back glass.
-
-
-
Before installing the new back glass, you have to put the dustproof net back to the microphone area.
-
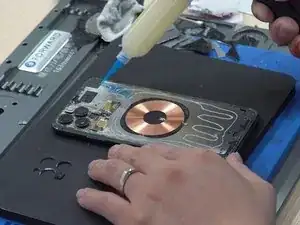
Then, add new glue onto the back stainless steel plate and laminate the new back glass to it.
-
-
-
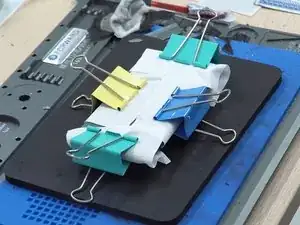
Finally, clamp it for 30 minutes.
-
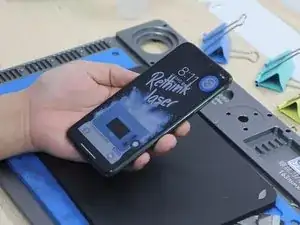
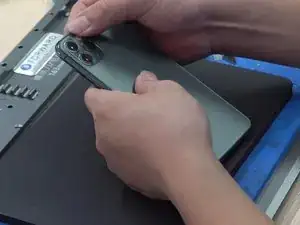
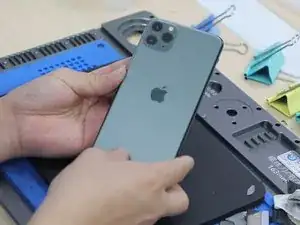
You can see the final effect in the below picture, that is so great.
-
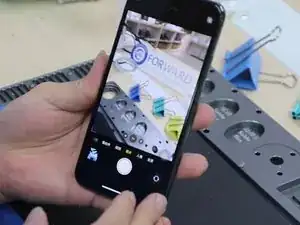
Test the camera. Perfect.
-


To reassemble your device, follow these instructions in reverse order. Save time and money with good tools.

10 comments
Did you guys experienced any restart problems ? i fixed 2 iphone 11 pro max this way and now customer’s phones keep restarting. i dont know what to do at this point. Is there something i need to watch out for ?
I m facing same restart issue on 11 pro max after back glass repair plz help me someone
it’s because you cut microphone or damaged it ,power button comes with the back microphone ,it’s need to replaced .imo
Hello same problem What is the microphone to replace? thank you
Comment je peux faire pour acheter cette machine?
Merci !