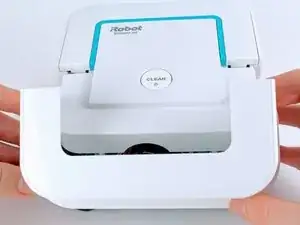
Introduction

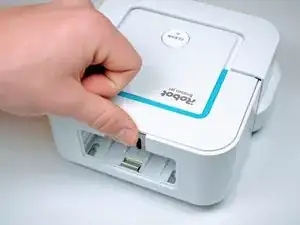
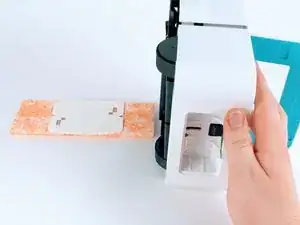
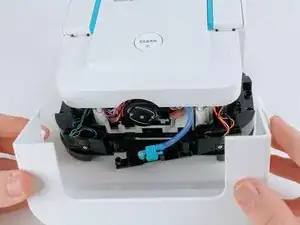
The front shell of the iRobot Braava Jet 240 covers all of the device’s circuitry as well as the nozzle. Therefore, to replace the nozzle, the front shell must first be removed. Follow this guide to remove the front shell.

  1. 1VJeBEuwYIIOhnKH
    • Turn the device off.

  2. QDu4pDJINBnNxiKw
    QDu4pDJINBnNxiKw
    AMTmeh2TvmPmYQ3y
    • Use your fingers to gently pop out the battery.

  3. FhefEuKIKyYXQ52H
    FhefEuKIKyYXQ52H
    ERAfZuJ1kdTtHSYx
    • Lift up the handle to reveal the eject button.

  4. ZNE3XxLkVdrGedOb
    ZNE3XxLkVdrGedOb
    e4WwBsBXLXs1PIhm
    MAFoN5UvYIJSLp51
    • Use your finger to push the eject button forward.

  5. fZsDCaksaSDPkpbt
    • Tilt the robot on its side and let the mop pad slide out.

  6. 1DBcLyOpwWnvBHKa
    1DBcLyOpwWnvBHKa
    vAmFLc3PBla5tFU6
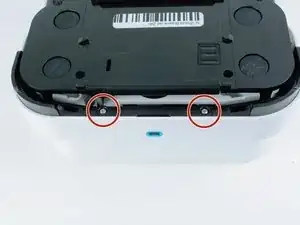
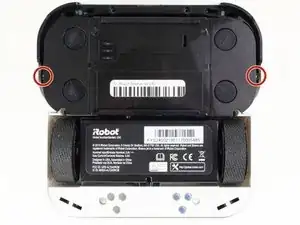
    • Remove the two 22.0 mm screws on the bottom-front of the robot using a Phillips #1 screwdriver.

    These screws have a non-threaded top. So they’ll move after unscrewing but not come out.

    At this stage it’s best to lift them and continue to unscrew until they’re removed as this makes removing the cover easier.

    Same for the other two 15mm screws.

    Justin Howard -

  7. DV6hdVFXOnePCA2T
    DV6hdVFXOnePCA2T
    TUuZf14kPIlMTdCb
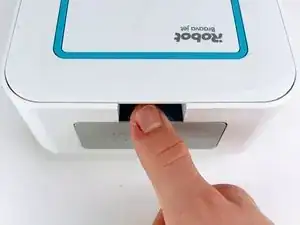
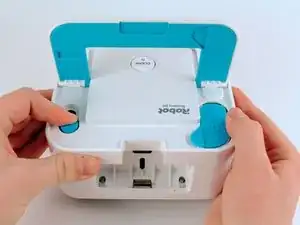
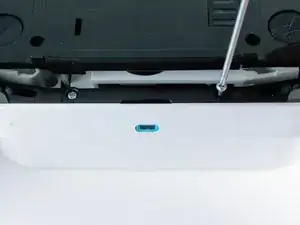
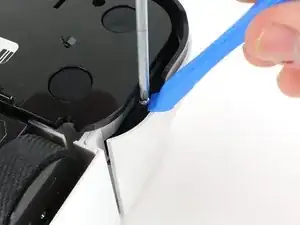
    • Use a Phillips #1 screwdriver and an iFixit opening tool to remove the two 15.0 mm screws on the front sides of the robot.

  8. 1FMxi6Cr1fYfvcGZ
    1FMxi6Cr1fYfvcGZ
    6ApDA3VNBHDU5OHk
    IAySl6vIwP1fNQw4
    • Carefully pull back on the front shell to remove it from the robot.

Conclusion

To reassemble your device, follow these instructions in reverse order.

Claire Franz

Member since: 10/02/20

2727 Reputation

0 comments