Introduction

  1. 1QmsO55qVEqaxFj2
    1QmsO55qVEqaxFj2
    btcKGXIaheNWF6Kq
    UXHA5TCuYesDsyAr
    • Unlock the button without spring

    • Slide the battery up while unlocking the button with spring

  2. M3AhURTVYXg4KtDg
    M3AhURTVYXg4KtDg
    gDHrZdbjUuQmvtbX
    4eMIcAX1MQMwLGQb
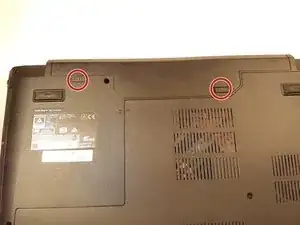
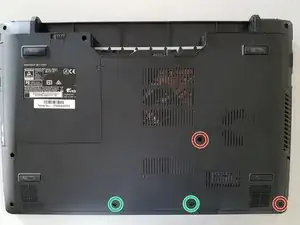
    • Unscrew the two large screws circled in red

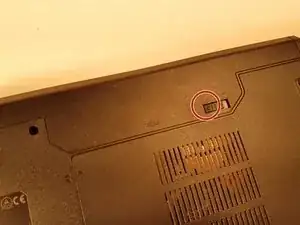
    • Unscrew the two small screws circled in green

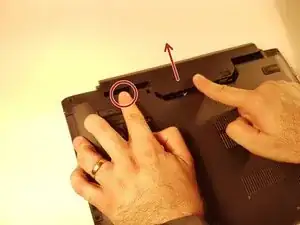
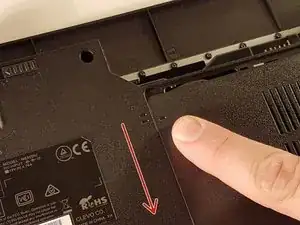
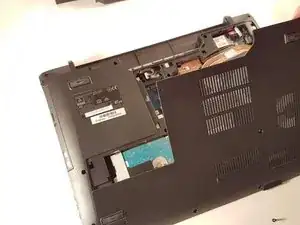
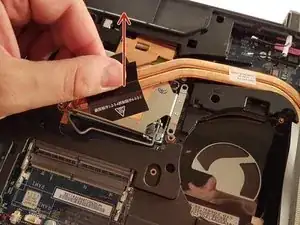
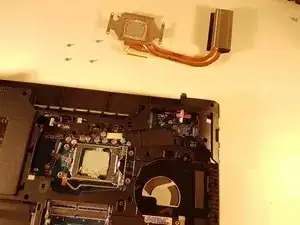
    • Slide the plate down and lift the

  3. pIeuSn1mhPI6CCdq
    pIeuSn1mhPI6CCdq
    g5ZlurTUMEKIGISc
    A6NEDkYkRNfUqqSV
    • Unscrew the four screws circled in red

    • Lift the radiator with the black label

  4. UbhXP6PZ32gH6H6r
    UbhXP6PZ32gH6H6r
    uqoEUTaRRSBoIkmU
    qlJ3jUtYVJOGKbDj
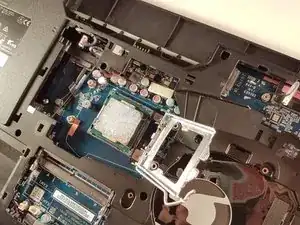
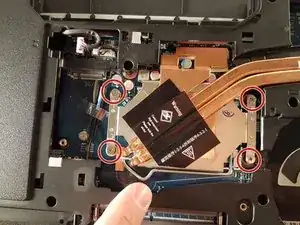
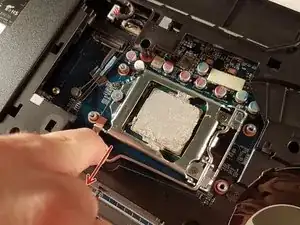
    • Push the lever in the direction of the red arrow while pushing it in

    • Lift the lever in the direction of the green arrow

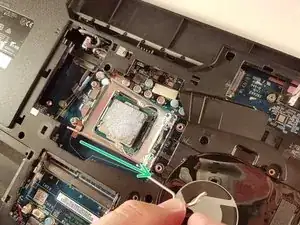
    • Do not touch the bottom of the processor and take it by the sides

Conclusion

To reassemble your device, Follow these instructions in reverse order.

Felice Suglia

Member since: 15/06/13

29001 Reputation

0 comments