Introduction
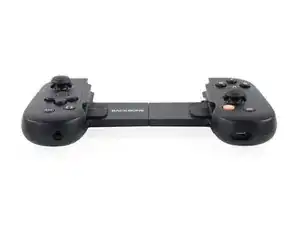
The Backbone One sneaks into the mobile gaming market with a handful of interesting features, including a passthrough Lightning port, headphone jack (novel!), and some dedicated controls, like gameplay recording and instant muting. But is this compact iPhone controller as repairable as it is tactile? Let’s take a closer peek.
For more exciting teardowns and repair news, be sure to follow us on Instagram, Twitter, and Facebook. And for iFixit goodness delivered straight to your inbox, subscribe to our newsletter.
-
-
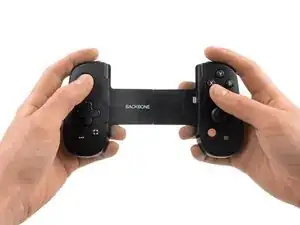
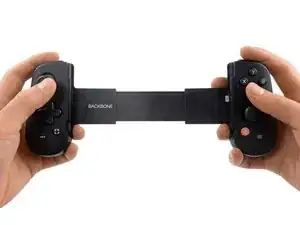
This Joy Con-esque controller may look like any other mobile gamepad—but on paper at least, it packs a few surprises. Let's unfurl a few of them here:
-
D-pad and thumbstick on the left. A-B-X-Y buttons and thumbstick on the right. Shoulder and trigger buttons on each side.
-
Lightning port for passthrough charging and connecting accessories.
-
3.5 mm headphone jack—a welcome sight here, after being dropped from the iPhone in 2016 and never seen again (well, almost never). Welcome back, little buddy!
-
Specialty buttons for instant muting, launching the Backbone app, and recording gameplay.
-
We can't decide if having no battery and no Bluetooth is a feature—but it seemingly reduces the number of things to go wrong.
-
-
-
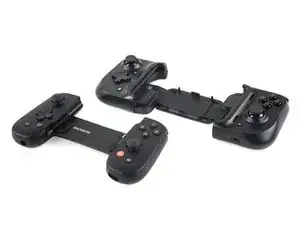
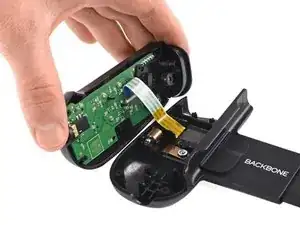
The Backbone One doesn't collapse as neatly or completely as the otherwise-bulky Razer Kishi. During playtime however, its fully extended form is pretty svelte.
-
If your phone's case adds significant volume, you might need to remove it for a nice snug fit inside the Backbone One. That's what makes you a true gamer, right?
-
-
-
Enough talk—let the games begin!
-
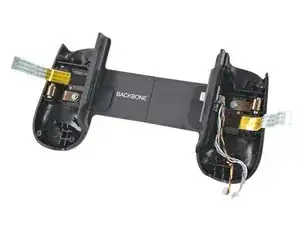
We're off to a fast start thanks to some external Phillips screws on the right grip. We'd like to take this opportunity to thank Backbone for having the spine not to glue this thing together. Huzzah!
-
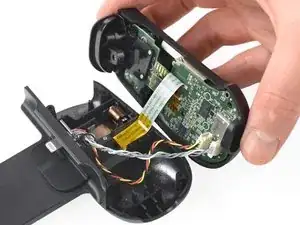
Beneath the plastic outer shell, some colorful cables—and our first look at the Backbone One's internals.
-
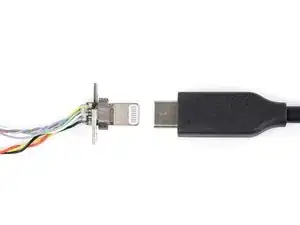
We free the interconnect cable from its ZIF connector claw and unplug the two Lightning connector cables from the motherboard.
-
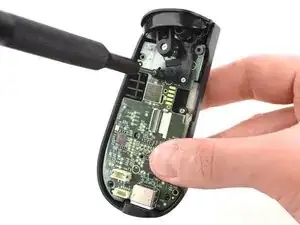
A few more Phillips screws later, we can extract the shoulder button, trigger, and our first PCB.
-
-
-
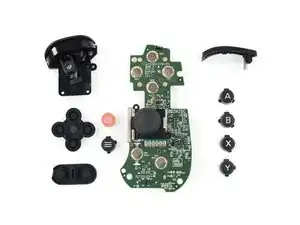
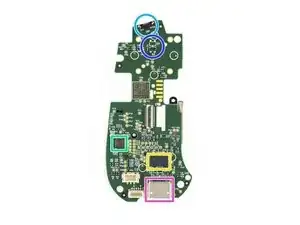
Let's see what this board brings to the game:
-
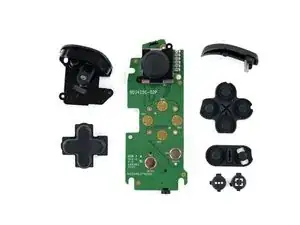
The joystick—soldered to the board (not a great start, if we've learned anything from Nintendo)
-
Six clickable contacts (tactile dome) for the A-B-X-Y buttons + orange Backbone App button + an option button
-
Skyworks SKY52101-11 IoT SoC (likely)
-
Avnera AV3425C single chip analog SoC for smart Lightning headsets
-
A soldered-on bumper button
-
A soldered-on Hall-effect sensor (Texas Instruments DRV5053) for the trigger button
-
A soldered-on Lightning port to pass through power to your phone, or sound to your headset
-
-
-
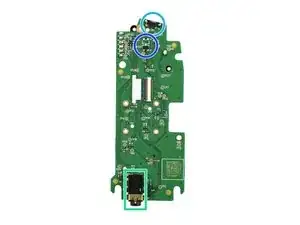
Over on the left side we find an almost identical setup—right down to the Phillips screws and ZIF connector.
-
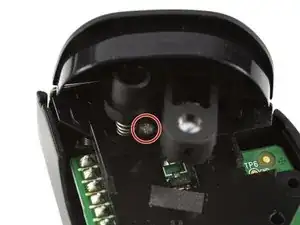
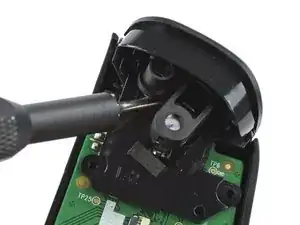
But we're momentarily stumped trying to remove the trigger button. Turns out, it's secured by just one well-hidden screw.
-
See the angle on that driver? If it looks wrong, that's because this isn't how screws are supposed to work. We're actually slightly surprised when it twists out safely and the trigger plonks onto the table.
-
-
-
Now let's see what the left board has to offer:
-
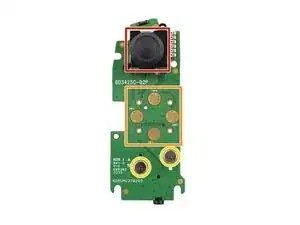
Another soldered joystick (like the Razer Kishi)
-
Four gold contacts for the direction pad and four holes to keep its silicone cover in place
-
Two clickable silver contacts (tactile dome) for the screenshot/record and option buttons
-
A soldered 3.5 mm headphone jack
-
A soldered bumper button
-
A soldered Hall sensor (Texas Instruments DRV5053) for the trigger button
-
-
-
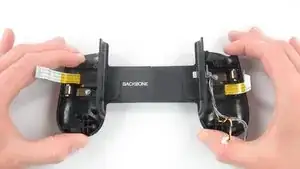
Next let's look for the backbone of this Backbone. It's in this area here, near the word "Backbone."
-
The sliding clamp mechanism uses a pair of flat spiral springs that unroll when you pull the handles apart. This provides more consistent compression and a tighter grip than the Razer Kishi, which uses helical extension springs to embrace your smartphone.
-
-
-
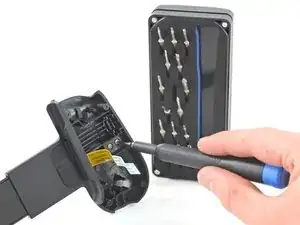
Two screws secure the Lightning port, making this high-wear part easy to replace if it breaks.
-
The interconnect cable wiggles in the casing but can't be removed without causing irreparable damage, so we leave it alone for now.
-
We free the springs with our Minnow portable bit set and save the game before the
final bosslayout.
-
-
-
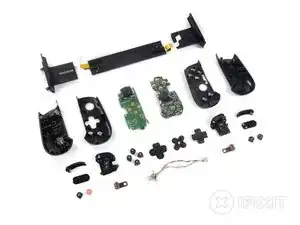
Game over! We have beaten the Backbone One. Let's see if we reached a high (repairability) score:
-
-
-
The Backbone One earns a 5 out of 10 on our repairability scale (10 is the easiest to repair):
-
Using fairly common tools, disassembly is straight-forward with components held in place only with screws.
-
The Lightning connector can be easily replaced by removing the cover and two screws.
-
Though no adhesive is used, some screws seem unnecessarily difficult to reach.
-
Shoulder buttons are soldered onto their respective boards, requiring micro-soldering skills for replacement.
-
Both joysticks are soldered directly onto the boards, as is the pass-through Lightning port.
-


2 comments
My right side joystick broke how can I fix it
Hi Randy, unfortunately, the joysticks are soldered to the mainboard. Check out this guide: Backbone One Teardown