Introduction

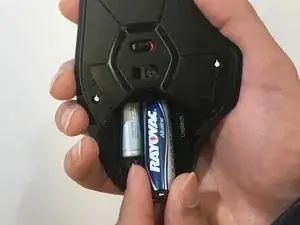
This guide presumes a full teardown has been done of the top shell only, including all the buttons. In this guide, the teardown was done for cleaning purposes.

  1. jLrEyulO4eoMFeOk
    • Use a blue spudger to pry all 4 mice feet from the bottom of the mouse.

  2. eviy1L6L5bCtaFVc
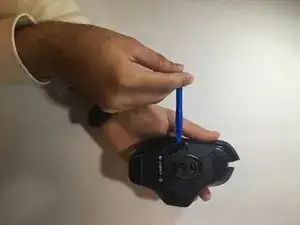
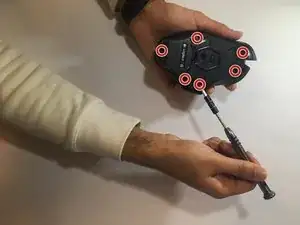
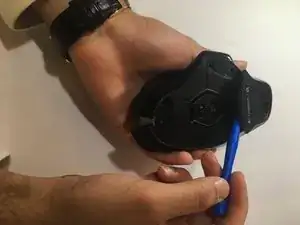
    • Use a Phillips #00 screwdriver to unscrew all 6 screws (3x5mm) from underneath the mice feet.

  3. S66Q1TAa1lAknUGK
    S66Q1TAa1lAknUGK
    LZCNDFeLPPq3knmv
    • Use the blue spudger to prop open the bottom battery port.

    • Remove the AA batteries.

  4. DLSalwnhLEKGHI1I
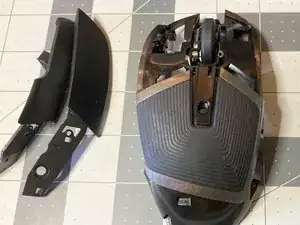
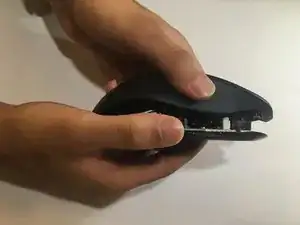
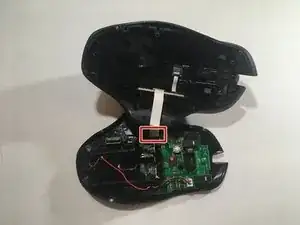
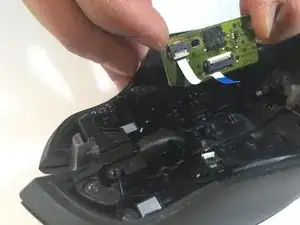
    • Lift the top of the mouse from the base of the mouse (separate the mouse in half) to expose the internal hardware.

  5. WSNvhBoVWM5XMQxk
    WSNvhBoVWM5XMQxk
    NRBIPyQDsnISMSlK
    • Use tweezers to grip and pull the white ribbon cable from the motherboard.

  6. ZlPGIIhSXBB4HdkX
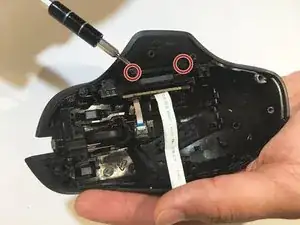
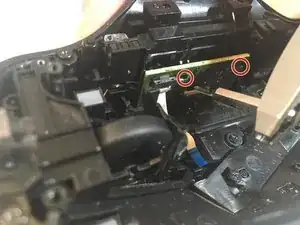
    • Use a Phillips #00 screwdriver to remove both screws (3x5mm ) from above the side motherboard.

  7. C1hMiprJZZhRyYaY
    • Use a Phillips #00 screwdriver and unscrew both screws from the side motherboard.

    • We used a set of pliers and a Phillips #00 screw bit because the screwdriver couldn't fit into the side of the device.

    In order to reach the screw easier, you can remove the right mouse button

    Chuck Sampson -

  8. THWrnTcPHJHnnvIM
    • Use a black spudger and your fingers to loosen and remove the side motherboard.

Conclusion

To reassemble your device, follow these instructions in reverse order.

Sarah J Luria

Member since: 18/09/18

1 Reputation

0 comments