Introduction
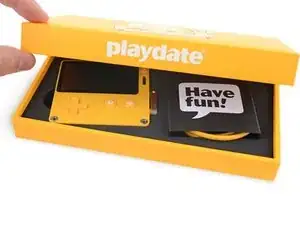
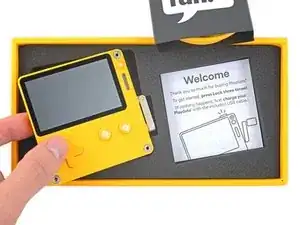
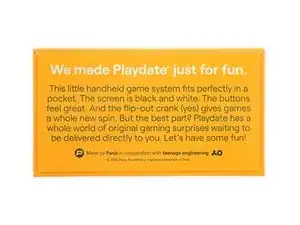
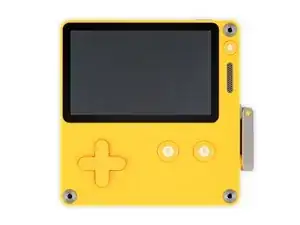
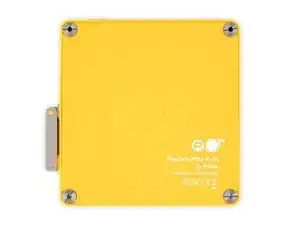
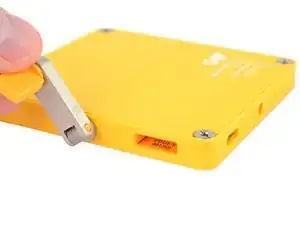
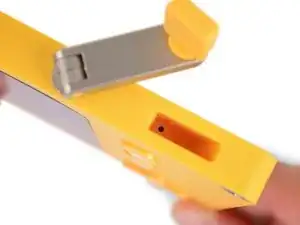
Panic, the company behind this yellow not-a-Game-Boy, say they made this quirky device “just for fun,” and it shows. From the 1-bit screen to its distinctive crank, the Playdate radiates novelty. We just hope it’s as much fun to tear down as it is to play!
Full disclosure: Our teardown unit came directly from Panic, who, refusing all manner of bribes, sent us a teardown unit for free. Unfortunately it didn’t come with any games, so a teardown was about all it was good for. Little did they know, teardown is our favorite game. (Okay, they probably did know that.)
Be sure to follow iFixit’s YouTube channel, our Instagram, and our Twitter, and subscribe to our newsletter so you’ll be the first to know when the newest consumer tech hits the teardown table.
Tools
-
-
Some specs for you while we unbox the fun:
-
Extremely high resolution (400×240) display—2.7 inches at 173 ppi
-
180 MHz ARM Cortex-M7F CPU
-
16 MB of onboard memory
-
4 GB flash storage
-
2.4 GHz Wi-Fi (b/g/n), Bluetooth 4.2, USB-C, headphone jack
-
Mechanical crank because why not
-
It's clear they haven't goosed the specs on this thing—but then, if you were obsessing over specs, you've already missed the point.
-
-
-
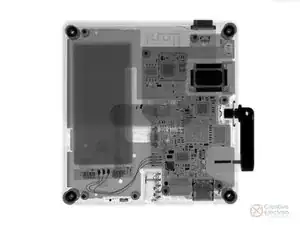
As per usual, we kick things off with a cranking good exploratory X-ray from Creative Electron.
-
Technically this shows everything inside, so... our job is done?
-
-
-
Inside the crank handle cavity: some secret intel.
-
Our serial number is 1255. Who got the first 1,254 units? No idea.
-
Hopefully they didn't think to take it apart and put it on the internet. Seriously, who would do that?
-
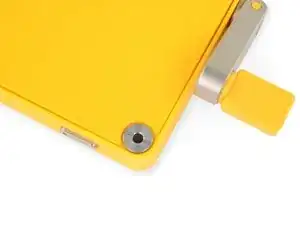
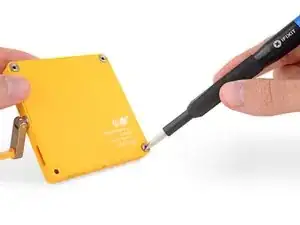
Answer: someone not intimidated by these donut-shaped flathead screws. Mmm... donuts.
-
Hang tight while we noodle on a strategy for opening this thing. If we have to eat a dozen donuts in the process, that's a sacrifice we're prepared to make. Will that help? Somehow yes.
-
-
-
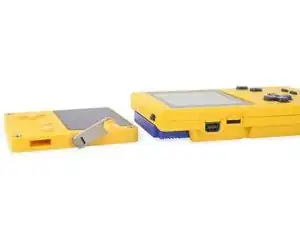
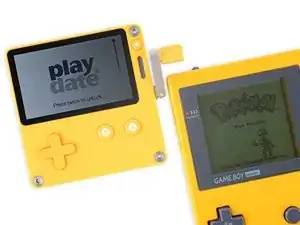
That yellow shade... it seems familiar, somehow.
-
Things that are not a match:
-
Physical volume—the Playdate handily wins here. Is it even 1/4 the size? ...seriously, is it? We're not here to measure things for you.
-
Display quality—another win for the Playdate, provided spinach isn't your favorite color.
-
Crankiness—again, nod to the Playdate.
-
Take it apart already, we hear you say. As soon as we finish our spinach, you hear us say. And then you wait patiently for the rest of the teardown. Right? Hello?
-
-
-
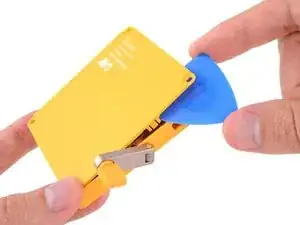
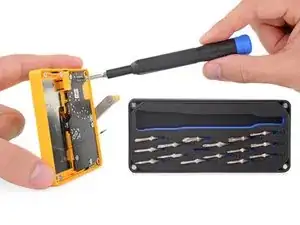
In we go! We grab our big flathead driver for this most diminutive console, and twist away some screws.
-
Next, a few plastic clips stand guard at the entry point. We're careful not to let any precious nostalgia escape while we wield our opening pick.
-
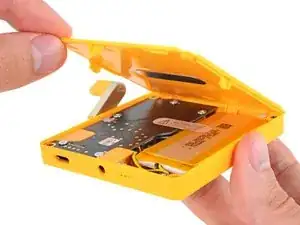
First look inside reveals: Tidiness. Yellowness. And an easily-accessible battery, a.k.a. repair happiness.
-
-
-
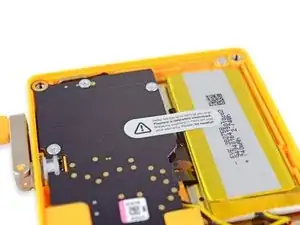
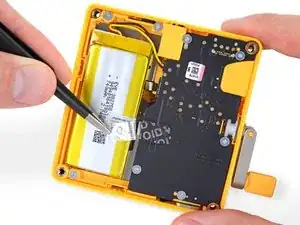
Hold up—there's some sort of warranty sticker guarding this battery.
-
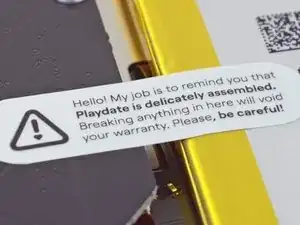
Zoom and enhance?
-
Oh, wait: breaking voids your warranty, not simply opening. A tip of the hat to the good sirs Magnuson and Moss, and we carry on—carefully.
-
-
-
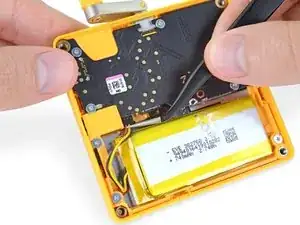
Battery unpluggability: 8.5/10, mostly easy. Just make sure you don't poke anything flammable with your tweezers.
-
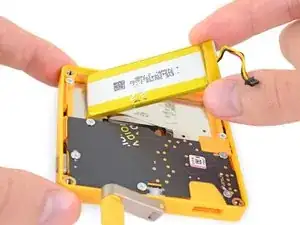
The battery itself is mildly glued down. Be persuasive, but don't make it angry.
-
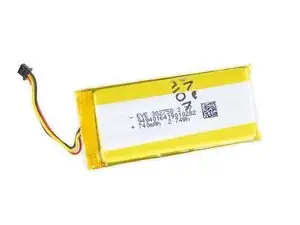
Battery specs? It clocks in at 2.74 Wh (740 mAh @ 3.7V).
-
That's about 25% of the capacity of an iPhone 12, or:
-
1.9% of a small car battery (kind of)
-
Inside the range of the sort of "general purpose" AA battery that Game Boys ate for sport
-
Close in performance to a 500-pound potato battery once driven around Portland, Ore.
-
-
-
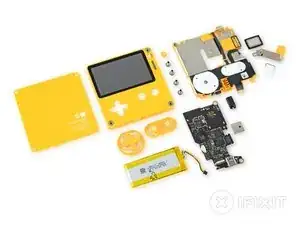
With our minimalist Minnow Driver Kit applied to a minimalist device, we separate pretty much everything from pretty much everything else.
-
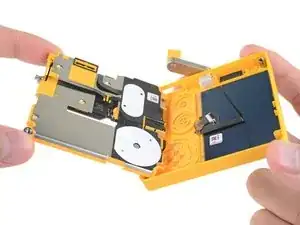
Both the display and crank stay comfortably ensconced in the forward housing, along with some button covers.
-
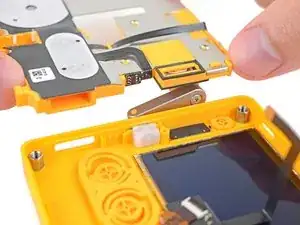
Everything else just flips out, provided you're deft with a spudger and can persuade a few small ribbon cables to stand aside.
-
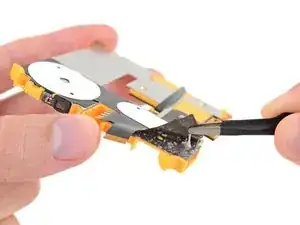
And here we get an early look at how the crank works. No gears! No funny business! Just a nice simple Hall-effect sensor and a ... thing ... enshrouded in white plastic. Important? We'll see.
-
-
-
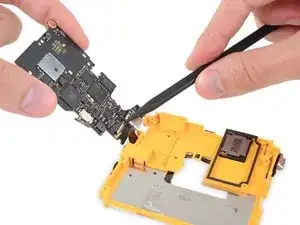
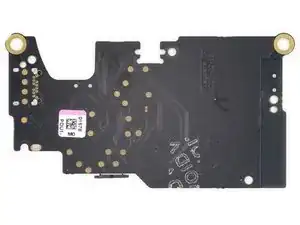
More crank action in a minute, but first: Let's see what powers this pocketable piece of gaming goodness. The hidden side of the board contains:
-
STMicroelectronics STM32F746IGK6, an ARM Cortex-M7 based SoC
-
4 GB of Kioxia (formerly Toshiba) THGBMDG5D1LBAIT eMMC NAND flash memory
-
128 Mb of Winbond W967D6HBG low-power SRAM
-
32 Mb of Winbond W25Q32JV serial NOR flash memory
-
Analog Devices (formerly Linear Techology) LTC3576 power management IC
-
Cirrus Logic CS42L52 audio codec w/ headphone/speaker amplifiers
-
Espressif Systems ESP32-D0WDQ6 Wi-Fi and Bluetooth SoC
-
-
-
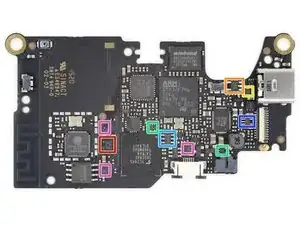
This small board is packed full, so let's continue!
-
STMicroelectronics LIS3DH 3-axis MEMS accelerometer
-
Allegro Microelectronics A1266 Hall-effect switch
-
ON Semiconductor FUSB301TMX USB Type-C controller
-
Rohm BU4216FVE and BU4227FVE 1.6 V and 2.7 V voltage detector
-
Texas Instruments REG710NA-5 60 mA buck-boost charge pump
-
Microchip (formerly Micrel) MIC5365-3.3YC5 150 mA / 3.3 V LDO regulator
-
NXP Semiconductor NTB0104 voltage level translator
-
-
-
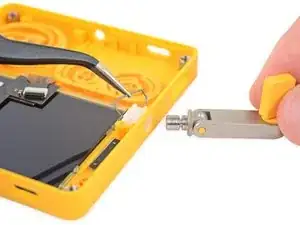
Time to pull the pin on this crank.
-
Out it comes. There's a cylindrical magnet embedded in the shaft. As it cranks, the rotating magnetic field hits the aforementioned Hall-effect sensor, which activates ... something, in your game.
-
One thing this crank won't do? Drift. There's no wiper or spring or sensor surface to wear out. The design is simplicity itself. You might even say there's ... no cranky-panky.
-
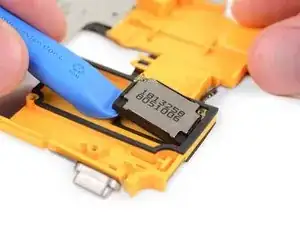
Elsewhere on the front side, the tiny mono speaker is adhered in place. Pretty easy to remove, but would be fussy to rework and replace.
-
-
-
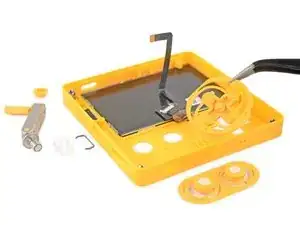
Here's where our disassembly efforts get gummed up.
-
The display—rumored to be a Sharp Memory LCD—seems firmly glued to the front half of the plastic enclosure. If you need to replace your display, you'll probably need a whole new plastic face—we were not confident we could separate the screen without destroying it. Probably not expensive, but not ideal.
-
Meanwhile, the buttons and other various I/O live on this sprawling flexible printed circuit, which is glued to the midframe. We started to un-glue it before realizing this wasn't a good, or reversible, idea.
-
One huge bright spot, though, is this 100% modular headphone jack. Is that considered retro now? Whatever the case, we're big fans.
-
-
-
Does it go back together and still work? Indeed it does. That's a good sign. Stay tuned for a video with proof of life, and then we'll tear it down all over again.
-
As you can likely tell, however, getting inside and getting some parts out isn't too painful.
-
Speaking of parts: Panic developed this little gadget in collaboration with Teenage Engineering. Hey, we know them!
-
-
-
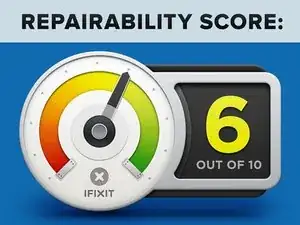
The Playdate earns a 6 out of 10 on our repairability scale (10 is the easiest to repair):
-
A big flathead screwdriver and an opening pick will get you inside.
-
You can twirl away all the internal (Pozidriv) screws with a basic Phillips driver.
-
The battery is immediately accessible and only lightly adhered in place.
-
The headphone jack is completely modular, and the crank design is simple and serviceable.
-
You can swap the display, but only if you replace the entire front case.
-
All of the controls are aggregated onto a single FPC—easy to swap, but a bit wasteful if only one thing breaks.
-
The USB-C port is soldered to the main board.
-
20 comments
Wonderful teardown! I think the modding community is going to have a great time with this one!
The Screen (which by the way it may be Sharp LS027B7DH01 or LS027B7DH01A) looks very identical to Adafruit 4694 (SHARP Memory Display Breakout https://www.adafruit.com/product/4694) so aside from being glued, Screen replacement may be possible
I am pretty curious whether if the display is already cracked (from a drop), that it would be acceptable to just put the front part in hot water to soften the glue, and just rip out the cracked display. The only reason I’d swap out is if the display was already broken.
I can re-glue a new display, perhaps?
It would be pretty hard to crack the display since the bezels on these devices are immense, compared to modern cellphones.
Also, the outside screen with round edges are probably plastic (maybe glass) and are separate from the actual display, so the actual display is even less likely to break.
However, the outside screen, if glass, may be stubbornly glued in place. But again, I didn’t buy and took apart one of these yet.
But yes, if your display is cracked then I’m sure you can replace one yourself.
I managed to damage my display but it did not crack. The device slipped right out of my hand and slammed face down on hard tile floor. The display has a flicker and discoloring issue now. Panic Support has not reached back to me so I am going to attempt to take matters into my own hands.
I am going to attempt to remove the defective display and replace it with the display linked here https://www.adafruit.com/product/4694
Anyone had any luck with this? I’m only worried about removing the defective screen from the plastic case since it is apparently glued down. Any recommendations would be appreciated!
Seems like the connector on the display is mostly identical, and so perhaps a display swap is a doable process.
