Einleitung
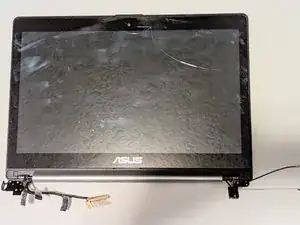
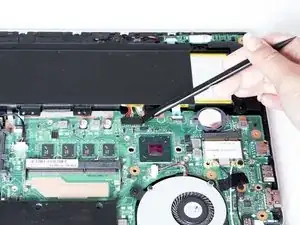
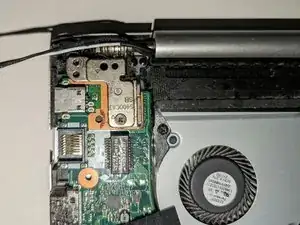
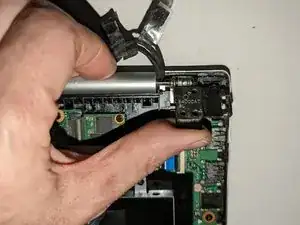
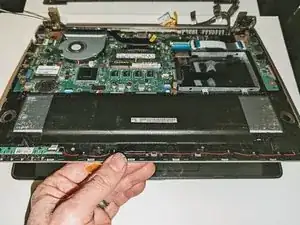
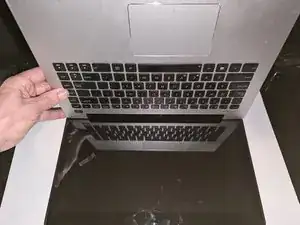
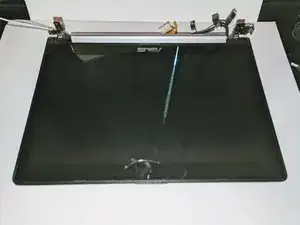
Use this guide to replace the complete display assembly as a unit, consisting of the display housing, hinges, WiFi and display cables, LCD, touch screen and front bezel, as well as the interior electronics (microphone, camera and touchscreen controller).
In most cases this would only be done if you've purchased a used display complete and only need to swap out the display without having to open it to get to the LCD or touch screen.
Werkzeuge
-
-
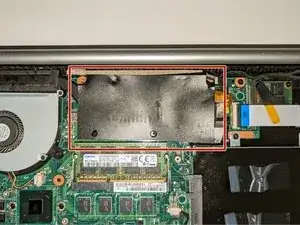
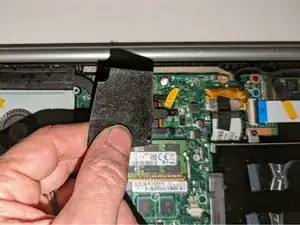
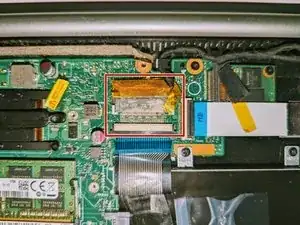
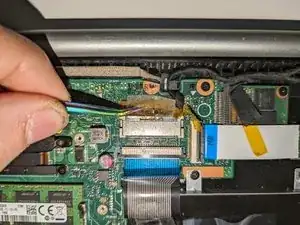
Remove the black tape securing the keyboard ribbon cable to the display connector.
-
Fold the ribbon cable the opposite way, resecuring it to the hard drive to keep it out of the way.
-
-
-
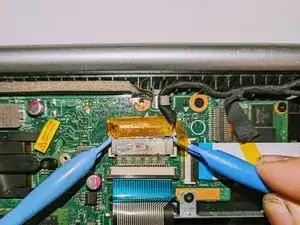
Position spudgers on the white tabs on either side of the connector and push evenly to unplug the display.
-
-
-
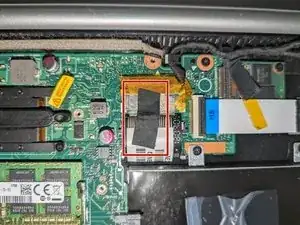
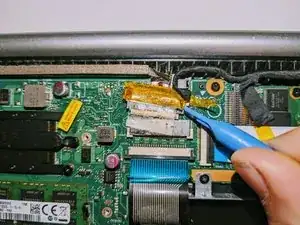
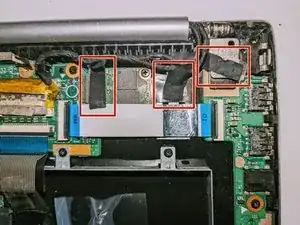
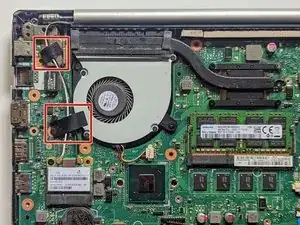
Peel off the three pieces of black tape securing the display cable to the motherboard.
-
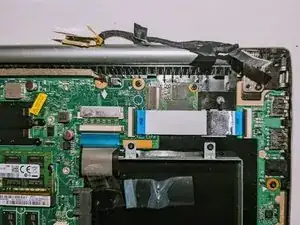
Deroute the cable from the channel it sits in.
-
Move the cable to the side, out of the way.
-
-
-
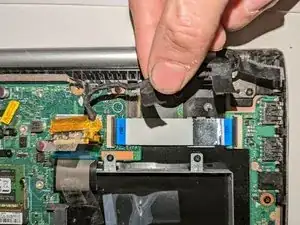
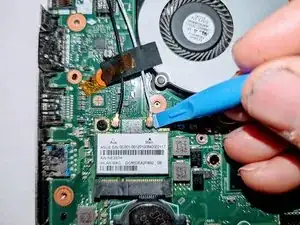
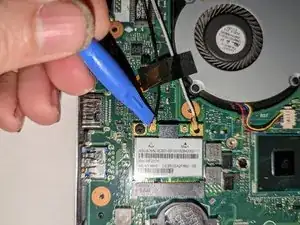
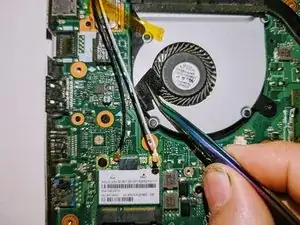
Lift the tapes securing the wires to the motherboard.
-
Move the wires to the side out of the way.
-
-
-
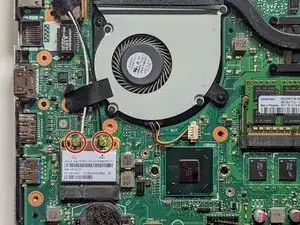
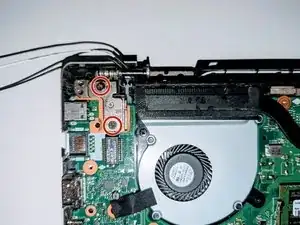
Remove the two screws securing the hinge on the left.
-
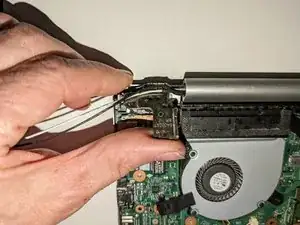
Pry the hinge up by hand to a 90 degree angle.
-
-
-
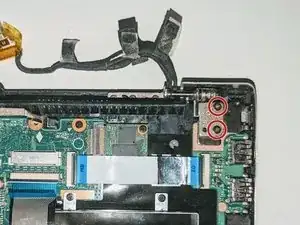
Remove the two screws securing the hinge on the right.
-
Pry the hinge up by hand to a 90 degree angle.
-
-
-
Lift the base of the laptop from the front.
-
Raise it to a 90 degree angle.
-
Slide it forward slightly to clear the hinges.
-
The display is now free.
-
To reassemble your device, follow these instructions in reverse order.
