Einleitung
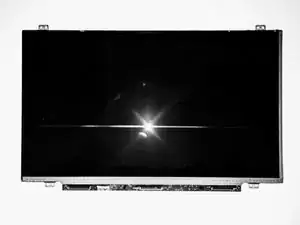
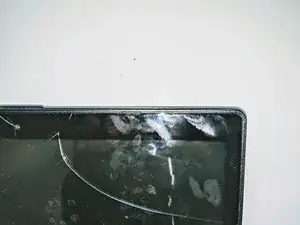
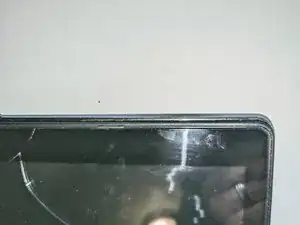
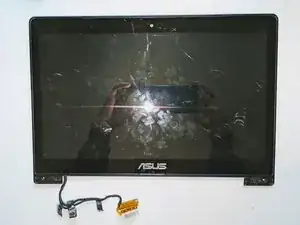
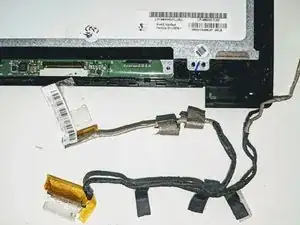
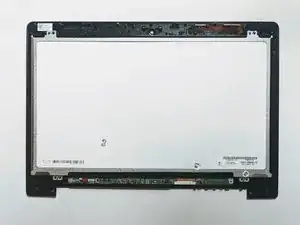
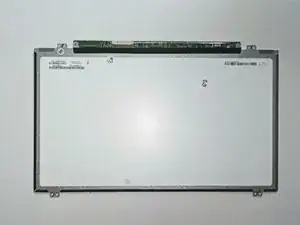
The computer screen is responsible for displaying all of the visual output contained in the laptop. A broken or malfunctioning screen can show varying symptoms including signs of damage such as cracks, inconsistent resolution or coloration, black spots, screen flickering, or complete loss of image display.
Absence of any image on the screen could be caused by problems with other laptop components, so review the troubleshooting page to rule out other possible causes.
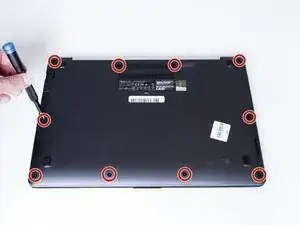
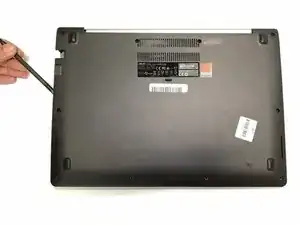
Make sure that you power off and unplug your computer before beginning.
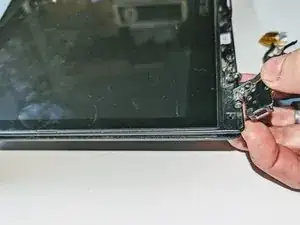
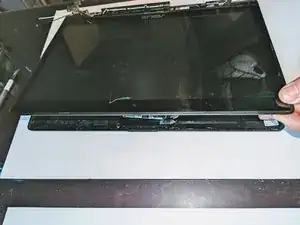
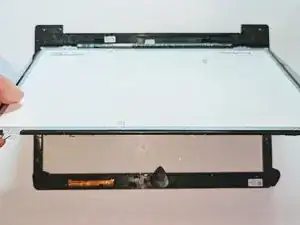
The LCD is adhered to the digitizer / touch screen with double-sided tape around the edge, so it is relatively straight-forward to replace it without having to replace the entire assembly.
If there is a possibility you will need to replace the LCD adhesive and want to have all parts on hand before you begin, read through the ASUS VivoBook S400C LCD Adhesive Replacement guide and consider ordering the 3 mm Double Sided Adhesive Tape.
Werkzeuge
Ersatzteile
-
-
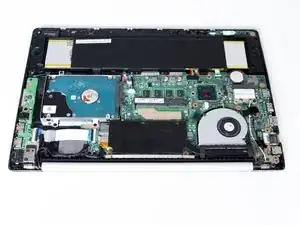
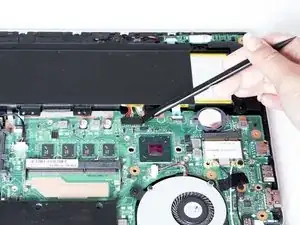
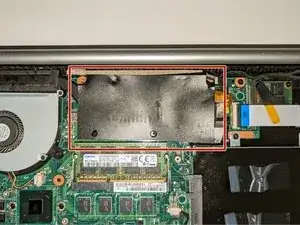
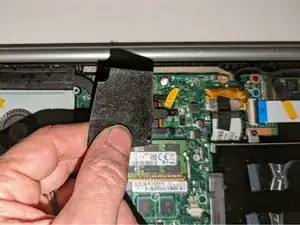
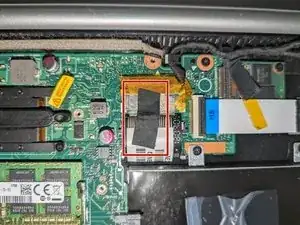
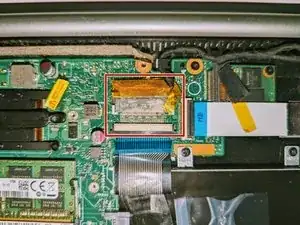
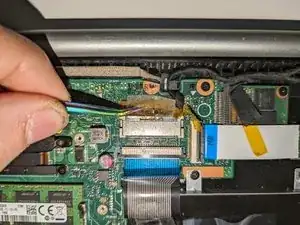
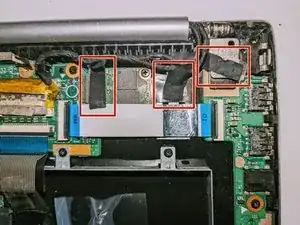
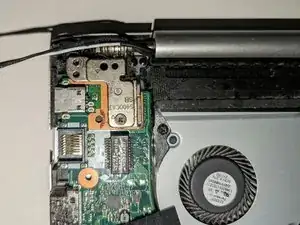
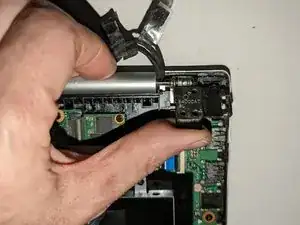
Remove the black tape securing the keyboard ribbon cable to the display connector.
-
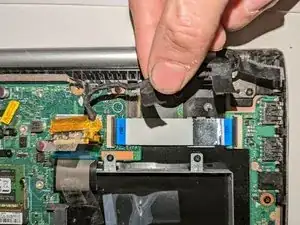
Fold the ribbon cable the opposite way, resecuring it to the hard drive to keep it out of the way.
-
-
-
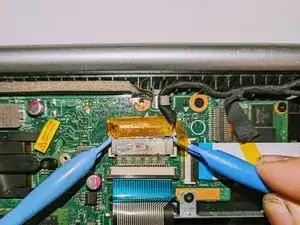
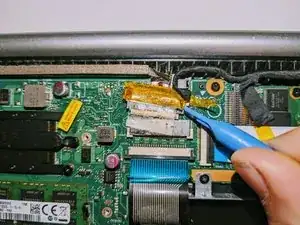
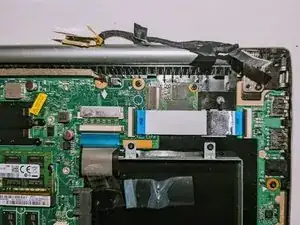
Position spudgers on the white tabs on either side of the connector and push evenly to unplug the display.
-
-
-
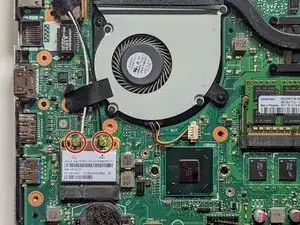
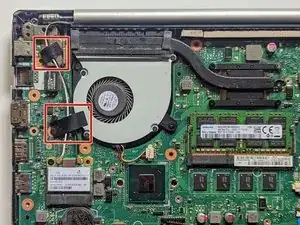
Peel off the three pieces of black tape securing the display cable to the motherboard.
-
Deroute the cable from the channel it sits in.
-
Move the cable to the side, out of the way.
-
-
-
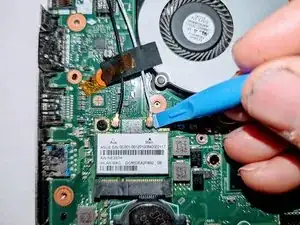
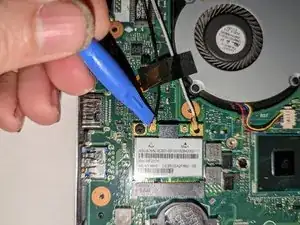
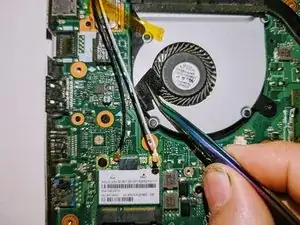
Lift the tapes securing the wires to the motherboard.
-
Move the wires to the side out of the way.
-
-
-
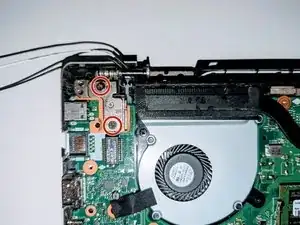
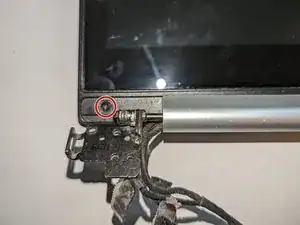
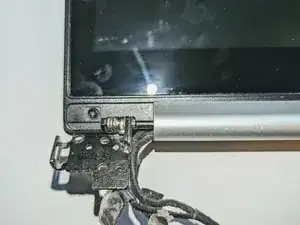
Remove the two screws securing the hinge on the left.
-
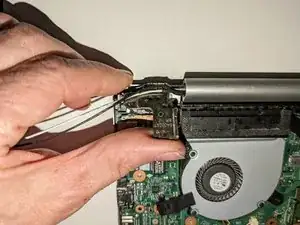
Pry the hinge up by hand to a 90 degree angle.
-
-
-
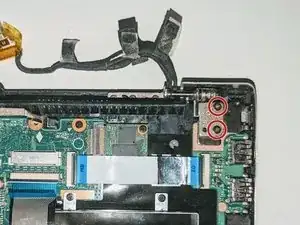
Remove the two screws securing the hinge on the right.
-
Pry the hinge up by hand to a 90 degree angle.
-
-
-
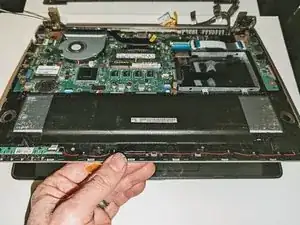
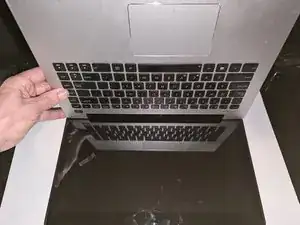
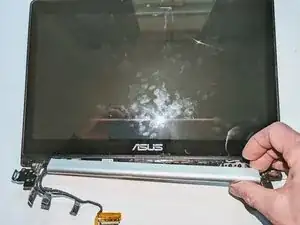
Lift the base of the laptop from the front.
-
Raise it to a 90 degree angle.
-
Slide it forward slightly to clear the hinges.
-
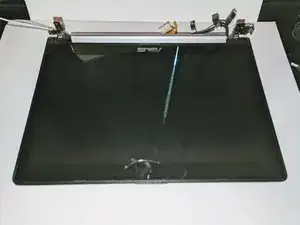
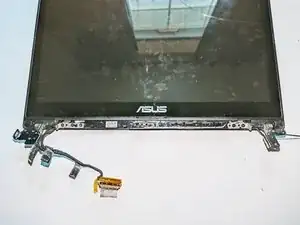
The display is now free.
-
-
-
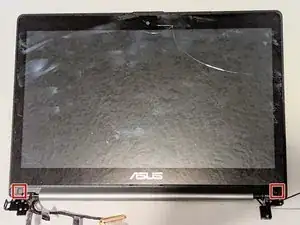
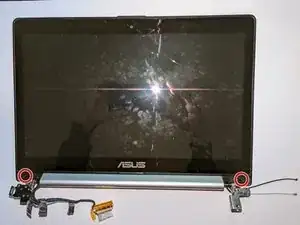
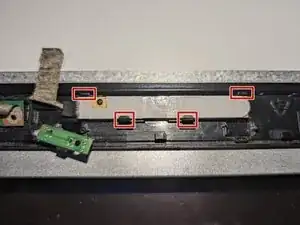
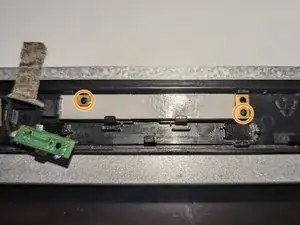
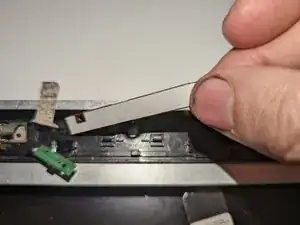
There are two black square plastic tabs covering the retaining screws. The tabs are fixed in place with light adhesive.
-
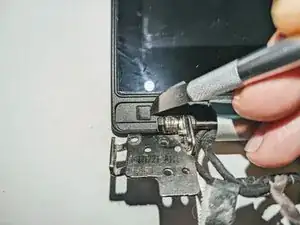
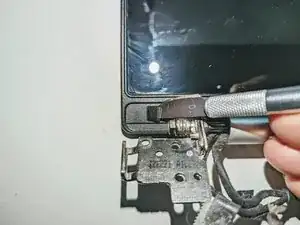
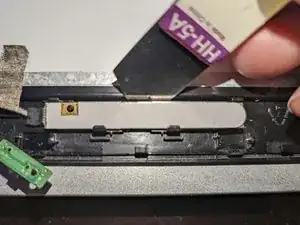
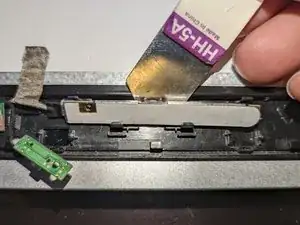
Using a thin blade, pry off the tabs covering the screws.
-
-
-
Lift up on the now-exposed bottom edge of the screen. Go around the edges, lifting it away from the housing. If it is still caught anywhere, remember to slide it down to free it.
-
Slide the screen out from under the hinges and remove it.
-
-
-
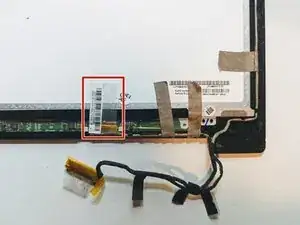
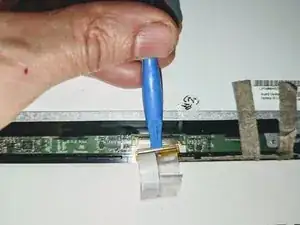
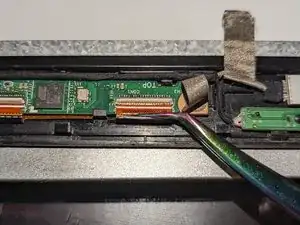
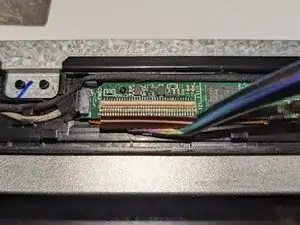
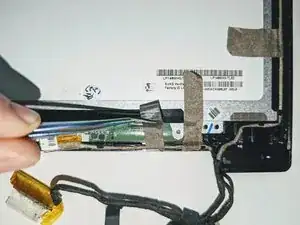
Flip the touch screen assembly over and peel the clear tape covering the LCD connector off the LCD panel.
-
-
-
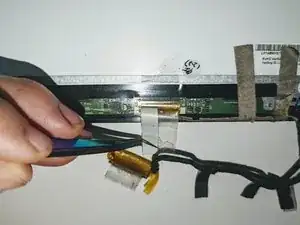
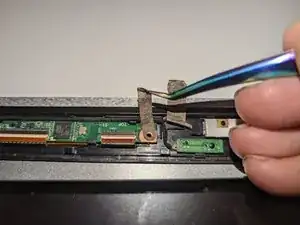
Peel off the tape providing a ground point to the LCD frame.
-
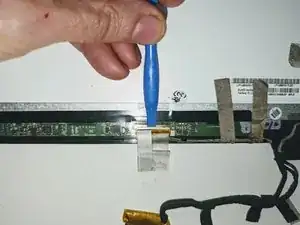
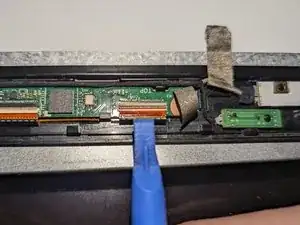
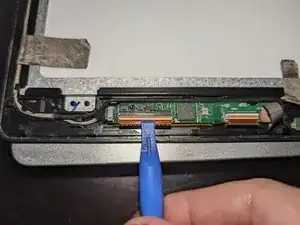
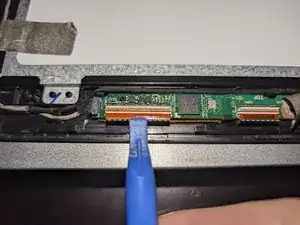
Use the flat end of a spudger to flip up the latch on the right connector.
-
-
-
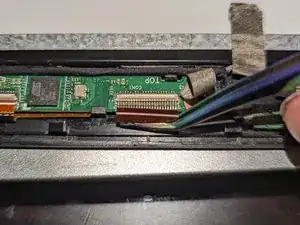
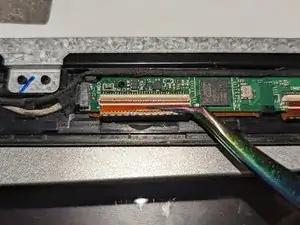
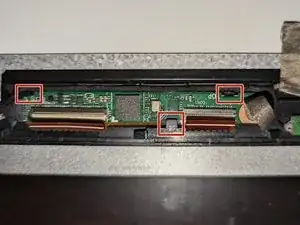
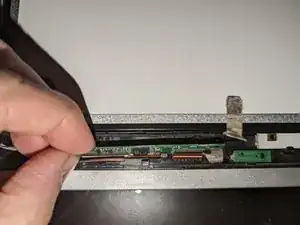
The touchscreen board is secured to the bezel with two latches on the far side and a plastic hook on the near side.
-
Use a spudger to open the right latch while gently prying up with an opening tool or a fingernail.
-
Use a spudger to open the left latch while gently prying up with an opening tool or a fingernail.
-
-
-
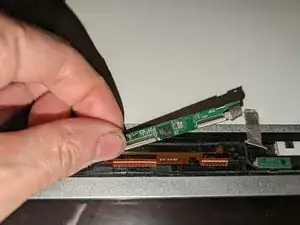
Rotate the board toward you while sliding it forward slightly to free it from the bottom hook.
-
Lift the board away from the bezel and move it aside.
-
-
-
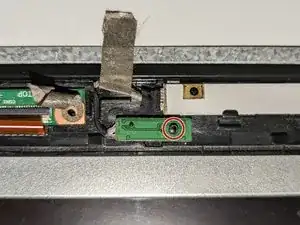
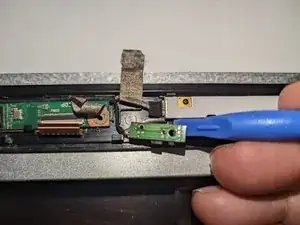
The microphone daughterboard is held in place by being pressed down onto a plastic pin.
-
Pry it up off the retaining pin with a plastic spudger.
-
-
-
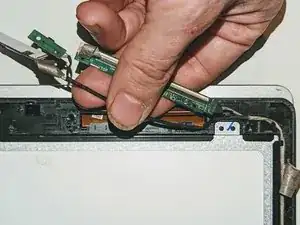
The camera daughterboard is held in place with two latches along the top of the board and two hooks on the bottom.
-
It is seated on two plastic guide pins as well.
-
-
-
Slide a thin pry tool between the top of the camera board and the lip of the bezel.
-
Gently pry up on the board to free it from the latches and the guide pins it sits on.
-
Lift it up and away from the bezel and set it to the side.
-
-
-
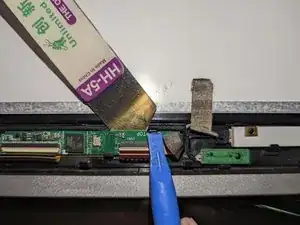
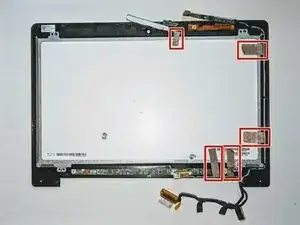
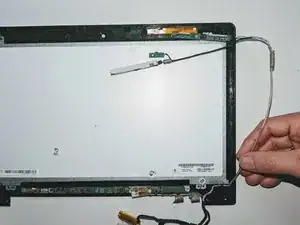
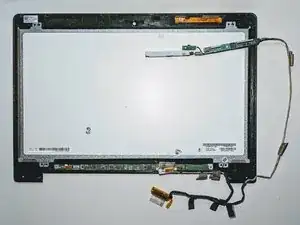
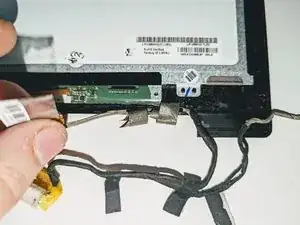
Carefully remove the five pieces of conductive tape securing the cables to the LCD frame.
-
-
-
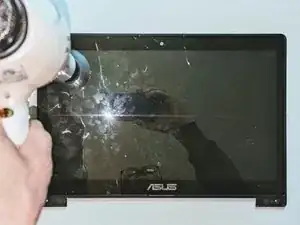
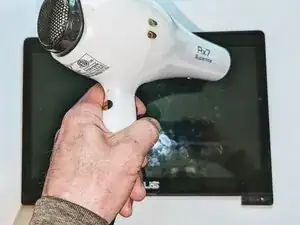
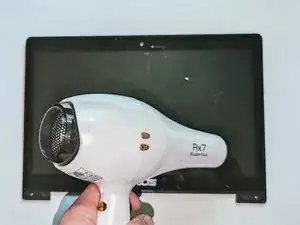
Heat the front edges of the touch screen with an iOpener, a heat gun or a hair dryer to loosen the adhesive securing the LCD to the digitizer.
-
-
-
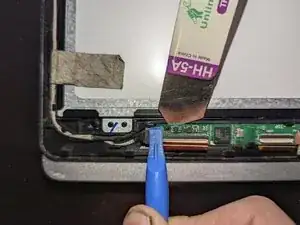
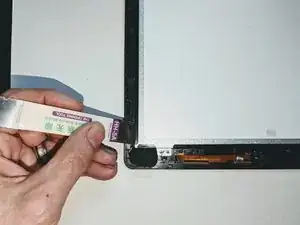
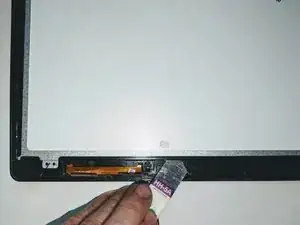
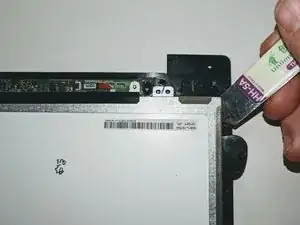
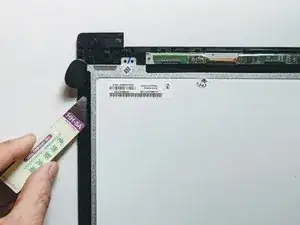
Using a flat metal opening tool, carefully pry up the LCD, inserting opening picks as you go to prevent the display from re-adhering to the digitizer.
-
Start with the top edge of the display.
-
-
-
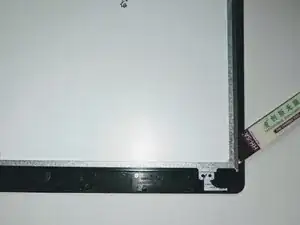
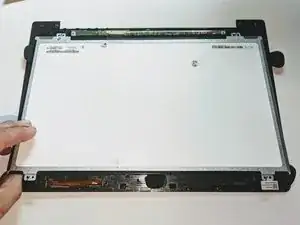
Carefully lift the top edge of the LCD away from the frame.
-
The remaining adhesive on the bottom of the glass will peel off as you continue to lift the LCD.
-
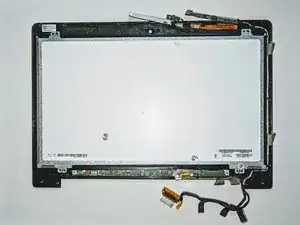
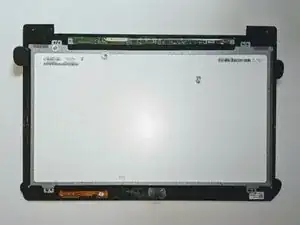
The LCD is now free from the display.
-
To reassemble your device, follow these instructions in reverse order.
See the ASUS VivoBook S400C LCD Adhesive Replacement guide for instructions on how to replace the adhesive tape on the display frame if needed.
