Einleitung
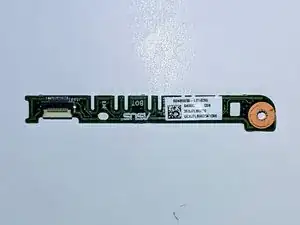
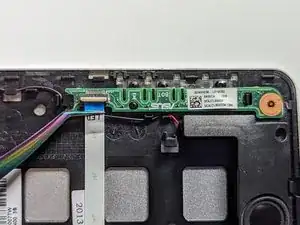
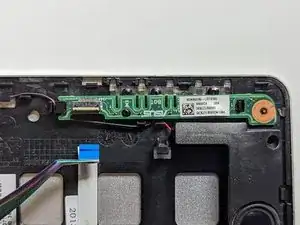
It is rare for LED boards to fail, so be sure to check that the function that is supposed to be lighting the LED is working correctly before suspecting a faulty LED.
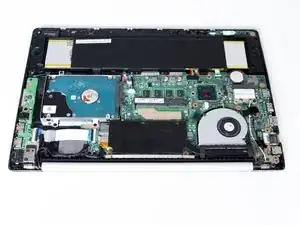
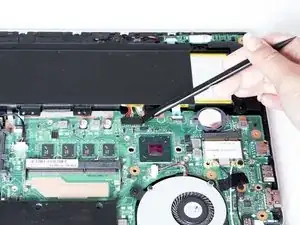
Note that the battery has been removed for the purpose of visual clarity in this guide, but it is not necessary in order to replace the LED board. Doing so does make removing the ribbon cable slightly easier.
Werkzeuge
-
-
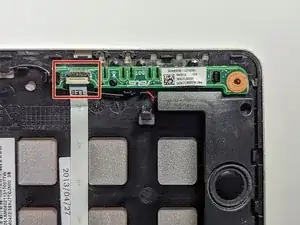
Disconnect the ribbon cable connecting the LED daughterboard and the motherboard by lifting the white tab on the LED side of the cable.
-
-
-
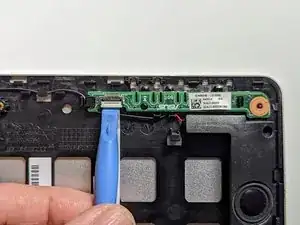
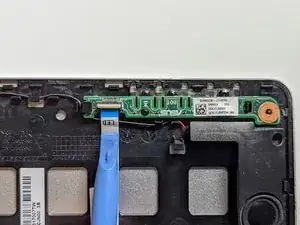
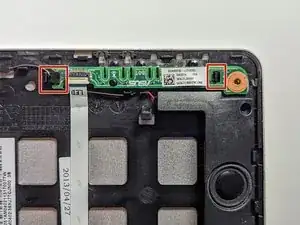
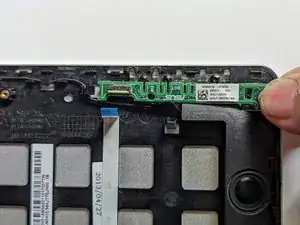
The LED board is held in place by a hook on the left end and a latch on the right.
-
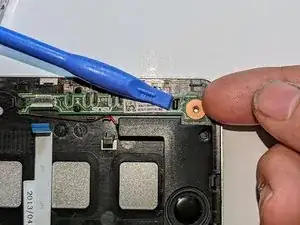
Press the latch with a spudger while lifting with a fingernail.
-
Pull the LED board to the right to clear the left-hand hook.
-
To reassemble your device, follow these instructions in reverse order.
