Einleitung

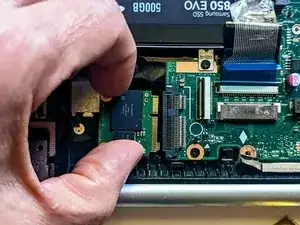
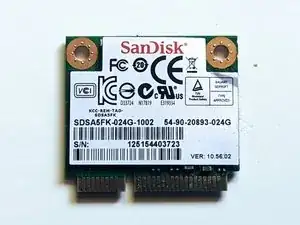
The mSATA SSD is used as a cache for the HDD to substantially speed up disk operations and reduce boot time.

  1. HkGAAb6CZRqXFLPE
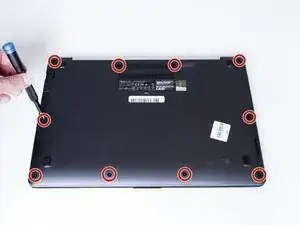
    • Flip the device over and remove the ten 5.7 mm screws with a Phillips #0 screwdriver.

  2. rgGvNFvEhEGnfJ4u
    rgGvNFvEhEGnfJ4u
    axgx2HguWeMp3yjC
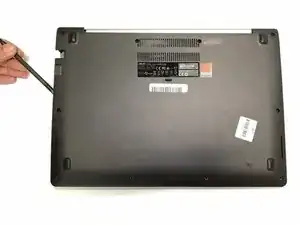
    • Use a spudger or your fingers to go around and lift the edges and release the back panel.

  3. 3KTeWNBFWIWWKbTa
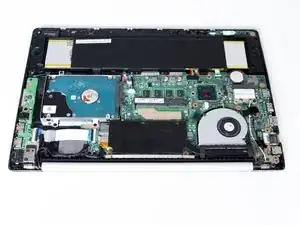
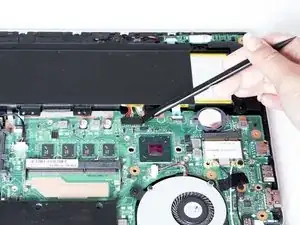
    • Using a spudger, lift up the plug connecting the battery to the motherboard.

  4. RCBWsITsXW5ANqjf
    RCBWsITsXW5ANqjf
    gBaQ3bGmL3vujNkH
    DaNQfXqNLglcekpy
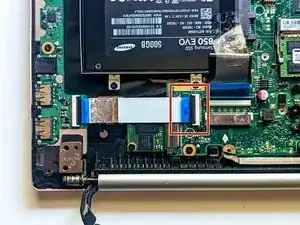
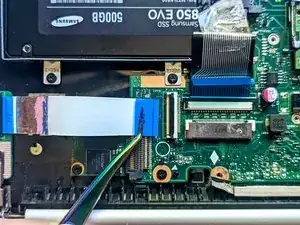
    • Disconnect the I/O Board ribbon cable from the motherboard.

    • Flip up the retaining latch with a spudger.

  5. 5xvfFsi1kUx4vEJ2
    5xvfFsi1kUx4vEJ2
    u51EKShoqO2HvrmU
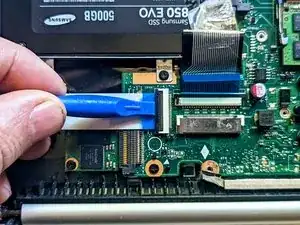
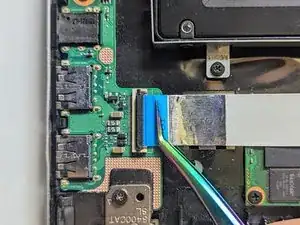
    • Grasp the ribbon cable by the blue tab and pull it straight out from the connector.

  6. PLDh2HPeruPc21TR
    PLDh2HPeruPc21TR
    FYK5g2RQasQpXgWV
    EgWy43JM4f24JvSP
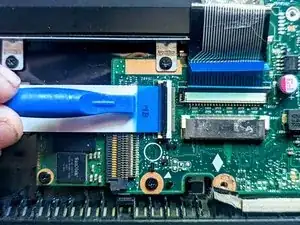
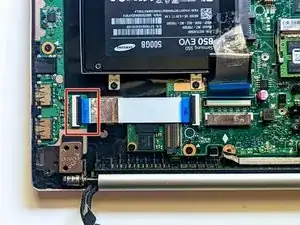
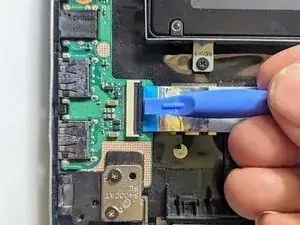
    • Disconnect the I/O Board ribbon cable from the I/O board.

    • Flip up the latch with a spudger.

  7. EpXfNrGvXLQEdZgJ
    EpXfNrGvXLQEdZgJ
    uDC51df2qJCdHqxg
    SsGXVKtookCV2Dnh
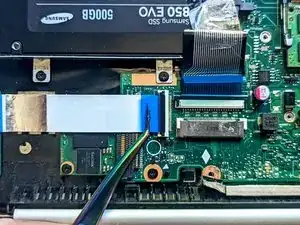
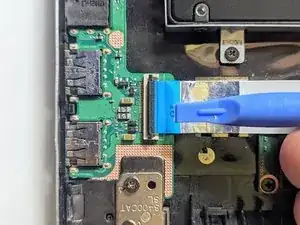
    • Grasp the ribbon cable by the blue tab and pull it straight out from the connector.

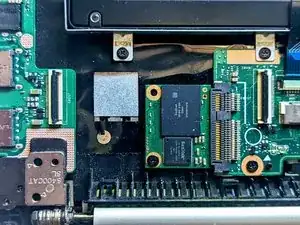
    • Remove the ribbon cable to expose the SSD device.

  8. OZ4l4DAY1DBFskoZ
    • If present, remove any insulating sheet covering the SSD.

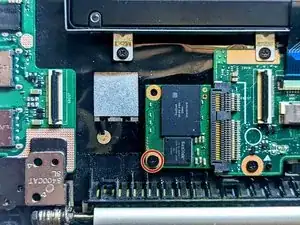
    • Remove the single retaining screw.

  9. BWyq1gDmBUG21fvl
    BWyq1gDmBUG21fvl
    QQQerdnLSOJ4XCNl
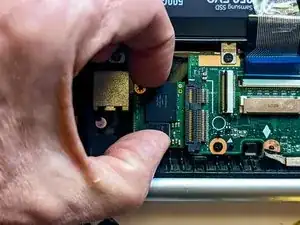
    • Grasp the SSD by the sides and slide it out of the connector.

Abschluss

To reassemble your device, follow these instructions in reverse order.
Jerry W

Mitglied seit: 21/03/22

30577 Reputation

0 Kommentare