Einleitung

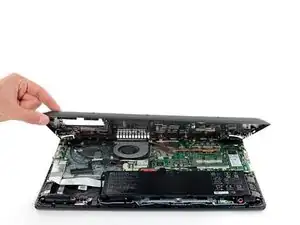
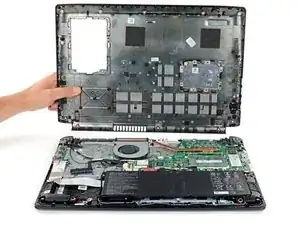
Use this guide to replace the battery in your Acer Aspire A515-51G Laptop.

For your safety, discharge the battery below 25% before disassembling your device. This reduces the risk of fire if the battery is accidentally damaged during the repair. If your battery is swollen, take appropriate precautions.

  1. ZUWSPKQEOVMZAlYY
    ZUWSPKQEOVMZAlYY
    WWqe3hdZeYljZ2LU
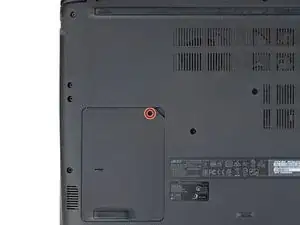
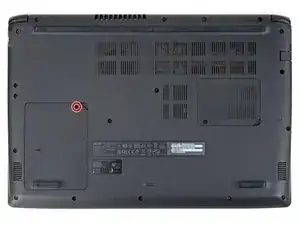
    • Use a Phillips screwdriver to remove the screw securing the HDD hatch on the bottom left of the lower case.

  2. KyPiuqYKxasj23O3
    KyPiuqYKxasj23O3
    SigPHBKcJwLaVyDf
    OGPxfJokmvkKiSLH
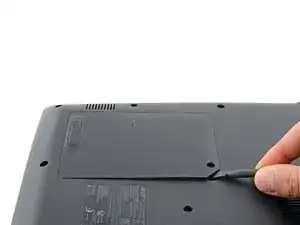
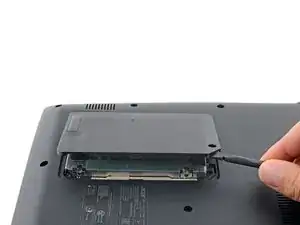
    • Insert the flat end of a spudger under the cutout on the top right corner of the HDD hatch and pry it up.

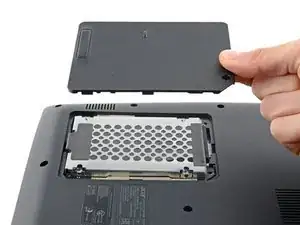
    • Remove the HDD hatch.

  3. l2wSCRAfahIWHKwJ
    l2wSCRAfahIWHKwJ
    BMdJpncKqybSiIWW
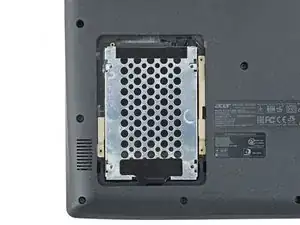
    • Your HDD assembly may be secured to the lower case with screws. If it's not, skip this step.

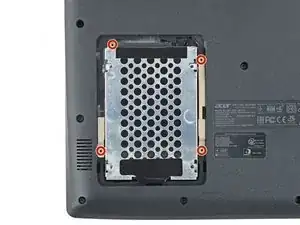
    • Use a Phillips screwdriver to remove the four screws securing the HDD assembly.

  4. wPKvZrNysvNFnrBW
    wPKvZrNysvNFnrBW
    yjwDCZjI5wAqnBU2
    DQV4aUejJZ5cPONe
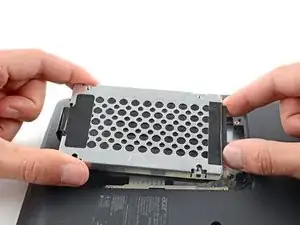
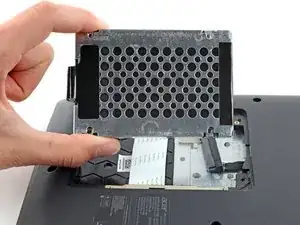
    • Firmly grip the HDD assembly and HDD cable connector head.

    • Pull the HDD cable connector out of its socket.

    • Remove the HDD assembly.

  5. TmhY1HBnOhTtXhor
    TmhY1HBnOhTtXhor
    l4tKo4bnTtcNdJun
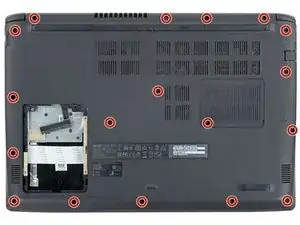
    • Use a Phillips screwdriver to remove the eighteen 6.6 mm screws securing the case.

    WARNING, WARNING WILL ROBINSON!!

    Before you remove the lower case, you MUST remove the HDD as it is attached to the lower case. If you pull the lower case up with HDD still attached you will rip the HDD cable off the motherboard. So ...

    Unscrew the HDD hatch.

    Pull HDD hatch on lower right off carefully.

    Unscrew the four black screws holding the HDD assembly to lower case.

    Carefully pull the HDD cable off the HDD (careful here, you could rip cable off motherboard).

    Carefully pry HDD assembly upwards (with spunger) and remove HDD.

    Now proceed with rest of remining steps.

    Would someone be able to attach photos to these steps. I don't have the ability to do so, easily.

    Stephen Davidson -

    Hi Stephen, our device didn't have an HDD installed so I was unaware of this. I have updated the guide accordingly, thank you!

    Spencer Day -

  6. gbHKfPAsuTrpSMmO
    gbHKfPAsuTrpSMmO
    RLALOXSEM4vcUpOg
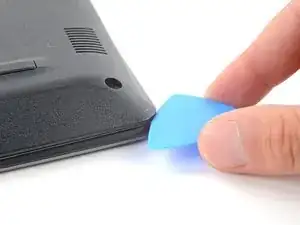
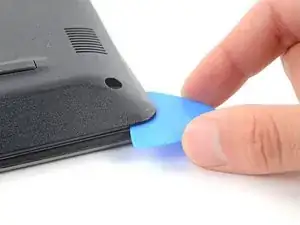
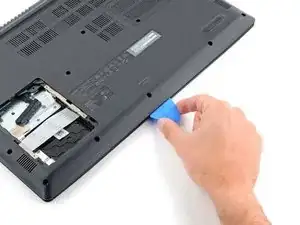
    • Insert an opening pick between the lower case and the chassis on the front right edge.

  7. SQpxRpkrBTooNHPg
    SQpxRpkrBTooNHPg
    NvoZZQKJvCUxESW1
    XTsEfuZyehCDHMDn
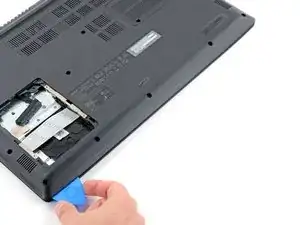
    • Slide the pick along the front edge to release the clips securing the lower case.

  8. boHhrGTlNm1DTgeO
    boHhrGTlNm1DTgeO
    l3lrtgLKAniWM1FN
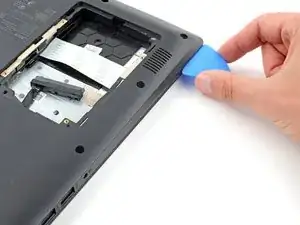
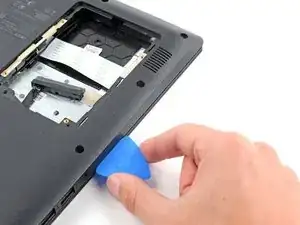
    • Continue sliding the opening pick along the perimeter of the lower case to release the remaining clips.

  9. iCMsWEOyLWJPy1Jy
    iCMsWEOyLWJPy1Jy
    cHalSUKaKWZCRP2V
    Ydgw6GCApxxKZ5dx
    • Lift the lower case from the chassis and remove it.

    • During reassembly, this is a good point to power on your laptop and test all functions before sealing it up. Be sure to power your laptop back down before you continue working.

  10. lddQBZNAPxxFPwAq
    lddQBZNAPxxFPwAq
    CAb5FdVx2aUwlNCR
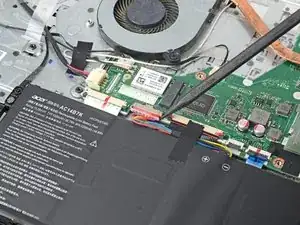
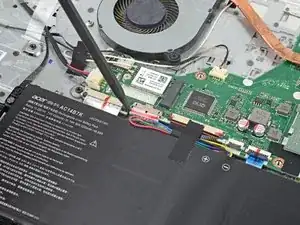
    • Use the pointed end of a spudger to push each side of the battery connector until it comes out of the socket.

  11. pNaVVW3tDwFjixJg
    pNaVVW3tDwFjixJg
    fTLKviQO42W6E6WV
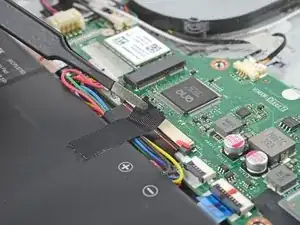
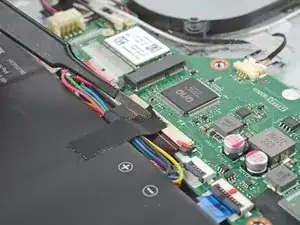
    • Use tweezers, or your fingers, to peel back the tape connecting the battery to the motherboard.

  12. FWtVYnQMBDVNXXd1
    FWtVYnQMBDVNXXd1
    qOEDEqNMXYNIQrRd
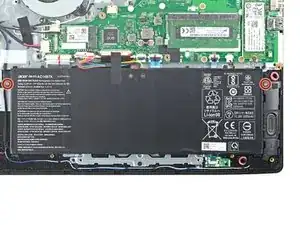
    • Use a Phillips screwdriver to remove the two 4.5 mm-long screws securing the battery.

  13. vcBB2ODpYnjmkJW1
    vcBB2ODpYnjmkJW1
    Eud5P2Fe43DQgvVP
    Q3j2UPaiFNVtWJwD
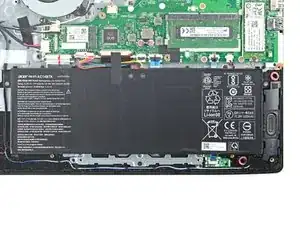
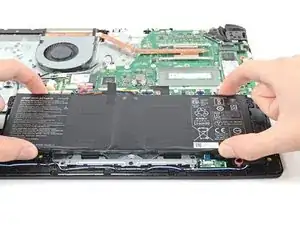
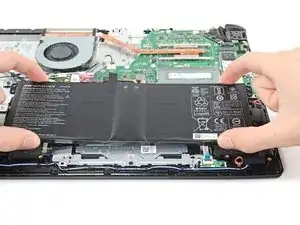
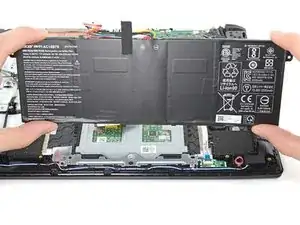
    • Pull the battery towards the top of the laptop to release its plastic clips.

    • Remove the battery.

Abschluss

To reassemble your device, follow these instructions in reverse order.

For optimal performance, calibrate your newly installed battery after completing this guide.

Take your e-waste to an R2 or e-Stewards certified recycler.

Repair didn’t go as planned? Try some basic troubleshooting, or ask our Answers community for help.
Alex Diaz-Kokaisl

Mitglied seit: 16/01/22

69204 Reputation

0 Kommentare