Einleitung
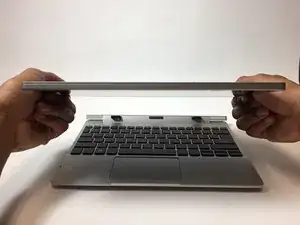
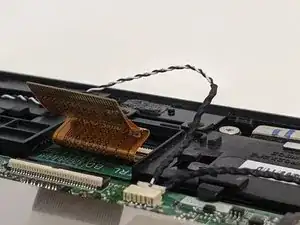
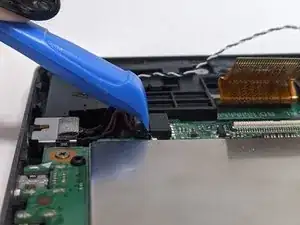
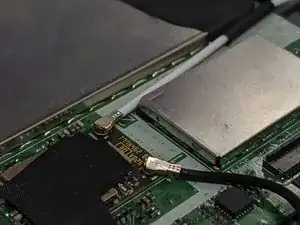
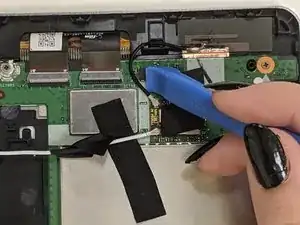
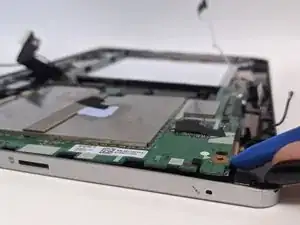
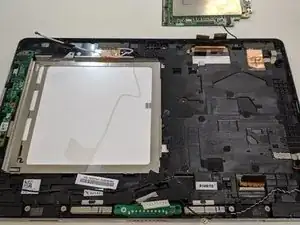
If your device will not display anything, your display may be at fault. If your display is cracked or will not display anything, you probably need to replace it. The display is the output surface and projecting mechanism that shows the graphic images you can see. Before doing this guide, make sure your device is powered on and charged to double-check that this is not the problem. Since the display is part of the motherboard tray, you will need to replace the entire screen. The guide helps remove everything you would need to get to just the motherboard tray. Before you begin, make sure your device is powered off and not connected to any external power sources.
Werkzeuge
-
-
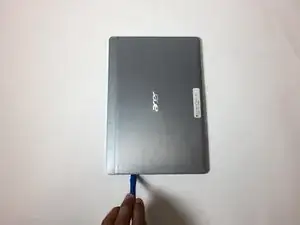
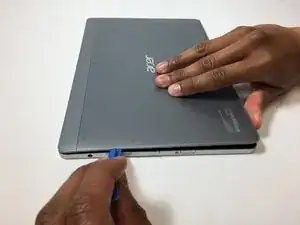
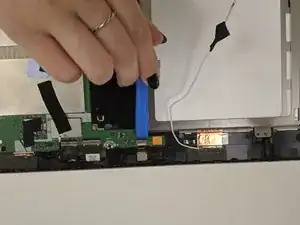
Use the opening tool to open the back cover. The opening tool should fit under the cover if you place it above the power button.
-
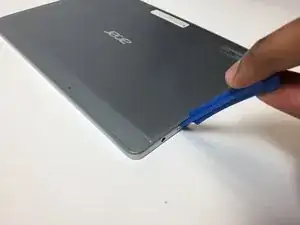
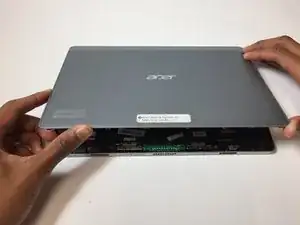
Lift this side of the back cover once the opening tool is inside the device.
-
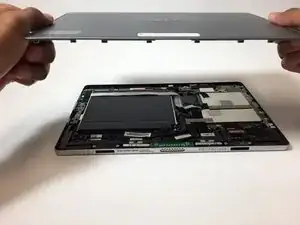
Use the opening tool and your hands to gradually work around the edges of the cover.
-
-
-
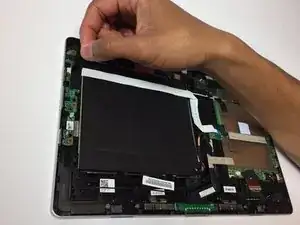
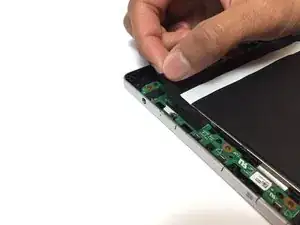
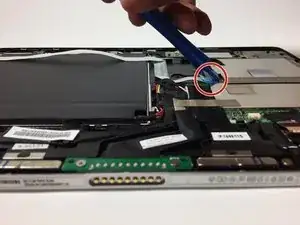
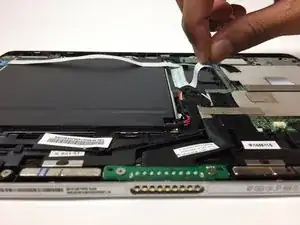
Remove the piece of black, thin tape that is attached to the circuit board closest to the power button.
-
-
-
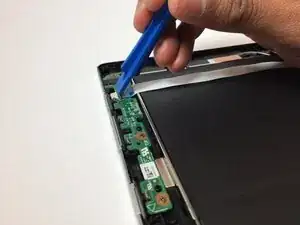
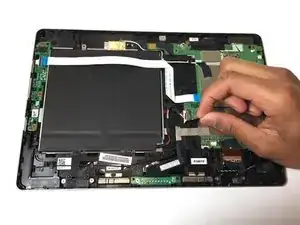
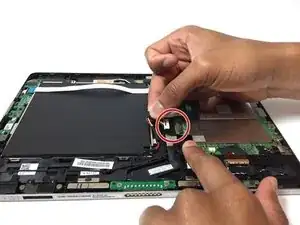
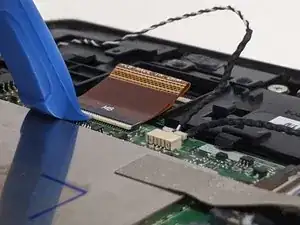
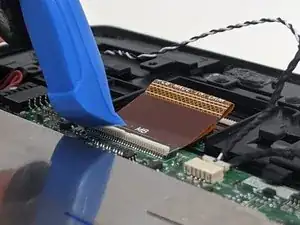
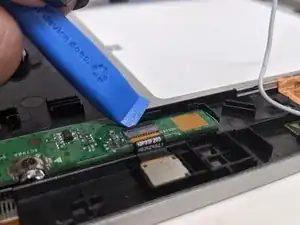
Use the opening tool to lift the ZIF connector holding the ribbon cable in place on the circuit board.
-
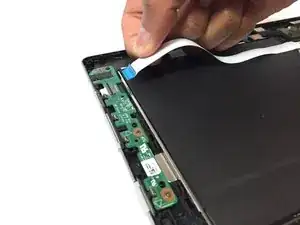
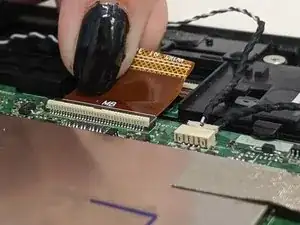
Pull out the ribbon cable from the circuit board. This cable should have the word "Audio" on it.
-
-
-
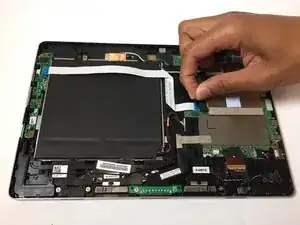
Remove the piece of thin, black tape that is attached to the circuit board on the other side of the battery.
-
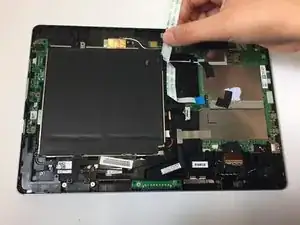
Use the opening tool to lift the black ZIF connector holding the ribbon cable in place.
-
Pull out the ribbon cable from the circuit board.
-
-
-
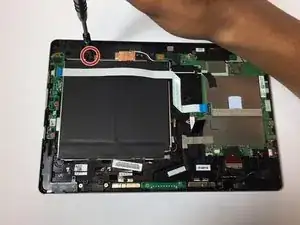
Partially remove the piece of black tape that is holding the bundled cable connector to the battery in place.
-
Pull on the battery's bundled cable connector to unplug it from the circuit board.
-
-
-
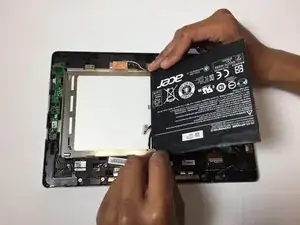
Using the Phillips #000 screwdriver, remove the 3 mm screw that is holding the battery in place.
-
-
-
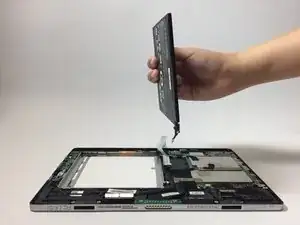
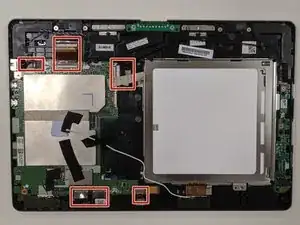
Now that the battery is removed, it is time to remove the remaining ribbon cables and connectors (marked in red) from the motherboard.
-
-
-
Remove motherboard ribbon cable and slide the opening tool under the cable lock.
-
Flip the cable lock up.
-
-
-
Remove the charging port cable from the motherboard using the opening tool. Remove them in the same fashion you removed the other cables.
-
-
-
Remove the Wifi cables.
-
Slide the opening tool under the cables and pop them out of their connectors.
-
-
-
Remove the webcam ribbon cable.
-
Slide the opening tool underneath the port lock and pop it upward.
-
Remove the webcam, if possible, putting it safely aside.
-
-
-
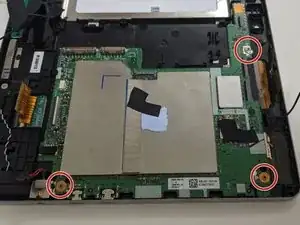
Using the Phillips #000 screwdriver remove the three 3 mm screws, circled in red, on the motherboard.
-
-
-
With all screws and ribbon cables removed, it is now possible to remove the motherboard from the tray.
-
Slide the opening tool under the motherboard.
-
Lift up to remove.
-
-
-
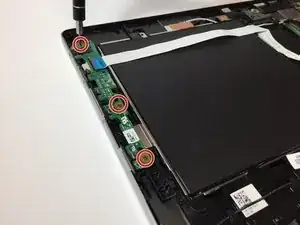
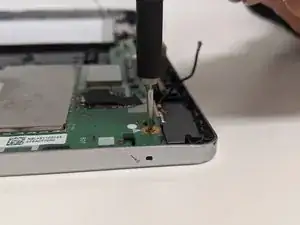
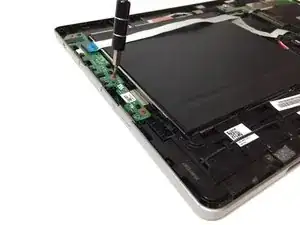
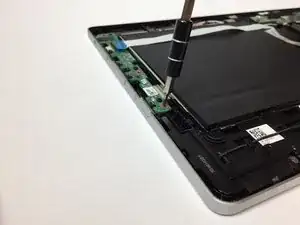
Use the Phillips #000 screwdriver to remove the three 3 mm screws on the circuit board.
-
Disregard the battery in the pictures since the battery is already removed at this point in this guide.
-
-
-
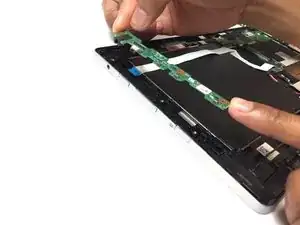
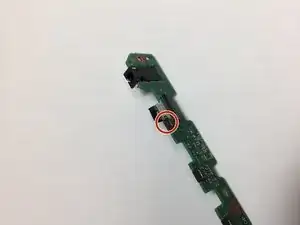
Carefully remove the circuit board from the device. The power button is located on this piece.
-
For more information on soldering, please read through the How To Solder and Desolder Connections guide.
-
-
-
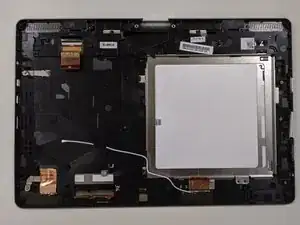
Since the display assembly is part of the motherboard tray, you will need to source a new display and do the steps within this guide in reverse to reassemble.
-
To reassemble your device, follow these instructions in reverse order.
Ein Kommentar
Where exactly is the display on the motherboard?
