Einleitung

If your Acer Spin 5 SP515-51GN-807G no longer produces clear audio, use this guide to replace your faulty speakers.

The speakers are small devices that connect to the laptop’s motherboard. The speakers receive electronic signals and convert them to audio signals.

Before using this guide, make sure to check all your audio settings. Sometimes, the speakers are not configured as the default audio device, and thus will not produce any audio.

Step 13 requires the removal of the heatsink. You will need to use thermal paste when you reassemble this part.

Be sure to completely power off your laptop and disconnect from external power prior to using this guide.

  1. 2NhMUJrFdT5D4S1n
    • Remove the eleven 6.5 mm screws that secure the back case using a Phillips #1 screwdriver.

  2. pxKWyoOMwCjcSERk
    pxKWyoOMwCjcSERk
    UtREdKtO2NsLOFLN
    BRWSnRTNhw24rcCe
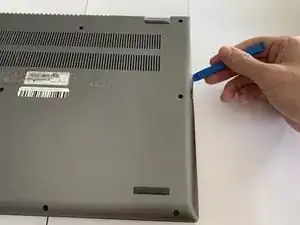
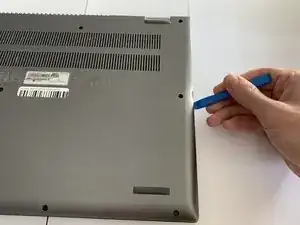
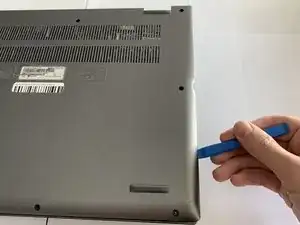
    • Use a plastic opening tool to gently pry open the back cover.

  3. IiVeqVpZAapugxvH
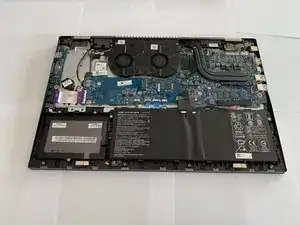
    • Gently remove the back cover from the device.

  4. oLFuuGujkFDetbpD
    oLFuuGujkFDetbpD
    Jp2cgIxlVrU4OUhZ
    lGLDCUFw2dHyII51
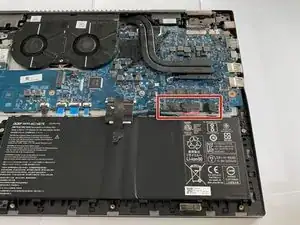
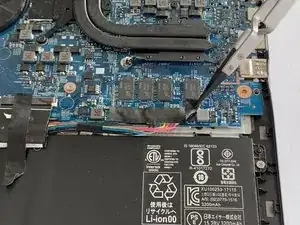
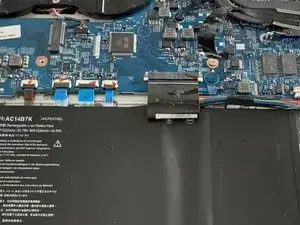
    • Using tweezers, remove the piece of black tape over the battery cable connector.

  5. K3TS3BUWDwoednur
    K3TS3BUWDwoednur
    4xJ1TwerPG3CI2sB
    ipEPC2nmZFe5ZK1Q
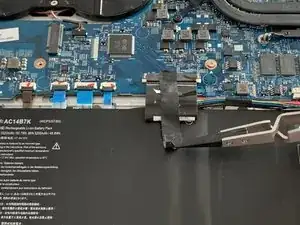
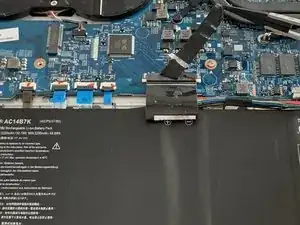
    • Remove the piece of black tape that covers the battery.

  6. fxyWTUsMOH4TQ4p4
    fxyWTUsMOH4TQ4p4
    AwXZurd5hqjSjQSu
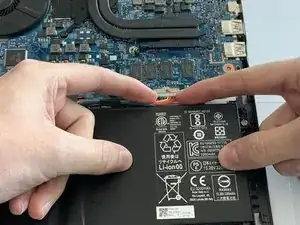
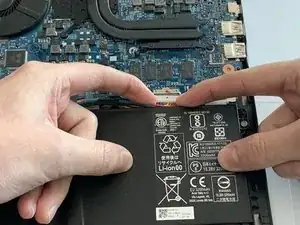
    • Grip the battery cable on both sides with your fingertips and gently pull it away from the port.

    • If needed, use the plastic opening tool to remove the cord from its port.

    Great work with clear, specific directions here and a nice flipbook shot. This step would be easy to follow.

    Alex Watkins -

  7. 3c3AEhCpPvXUcLe5
    3c3AEhCpPvXUcLe5
    IxD6AAyhogWIRgiS
    QXXrsq3EBhjDGTRv
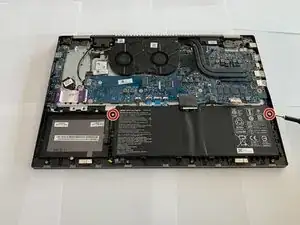
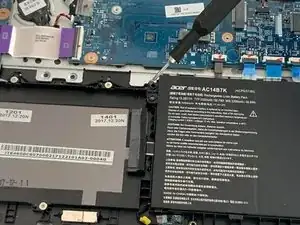
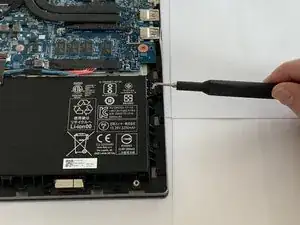
    • Remove the two 3.5 mm screws that secure the battery using a Phillips #00 screwdriver (PH00 bit).

  8. 3WlLVqNdexXkqXpV
    3WlLVqNdexXkqXpV
    OxWpPL4v1WRuCsnq
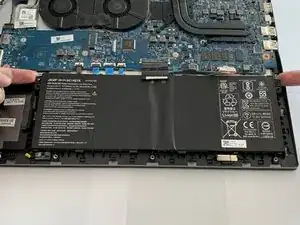
    • Carefully place your fingers under the plastic lip where the screws were removed.

    • Lift upwards to remove the battery.

    • Do not bend or puncture the lithium ion battery as it poses a fire hazard.

  9. CWWG2ZOSNSTRGmdG
    CWWG2ZOSNSTRGmdG
    wUyDEvbZBKOni4uN
    hDlAKbjdjNAMWWur
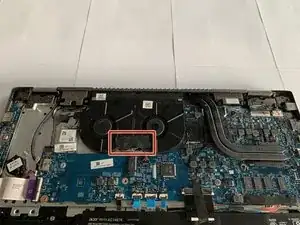
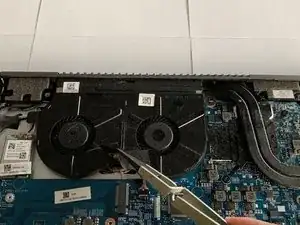
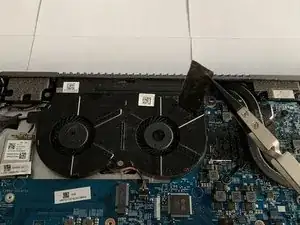
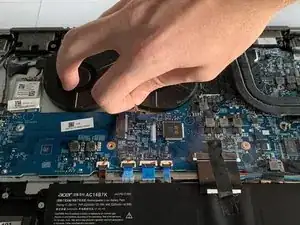
    • Remove the piece of tape covering the fan screw using a pair of tweezers.

    • This can also be done using your fingernail.

  10. 1rj3tRy2CDTjYtOk
    1rj3tRy2CDTjYtOk
    BKmSUrUFHxjZNDJK
    ReRSWrpuCSklloAU
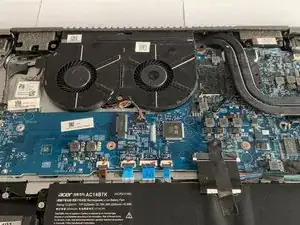
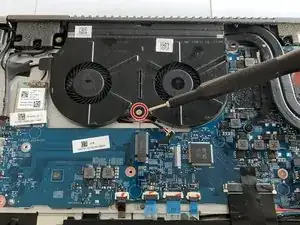
    • Grip the cord that connects the fan to the motherboard and gently pull out to disconnect the cable from the connector.

  11. OC2TkGaKTQJMbhgK
    OC2TkGaKTQJMbhgK
    i44OZMWiGfYQUlbj
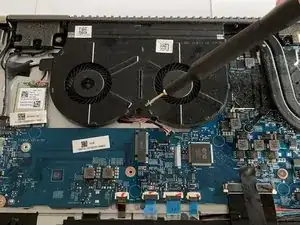
    • Remove the 3.5 mm screw connecting the fan to the computer using a Phillips #00 screwdriver (PH00 bit).

  12. EKCJaKXGcddL2VPm
    EKCJaKXGcddL2VPm
    4s3pPxvhcBuBIGoc
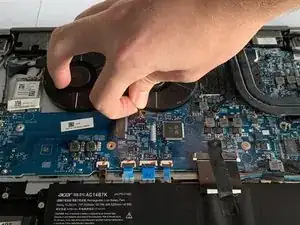
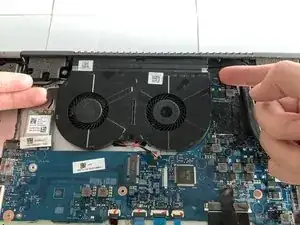
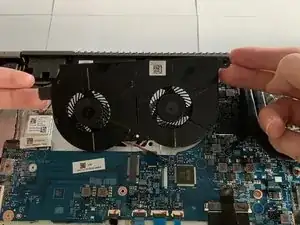
    • Grip the fan with your fingers by the edges and lift up to remove the fan.

  13. BUSgt6AEsrGqwEMB
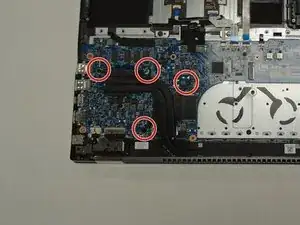
    • Unscrew the four captive screws on the heatsink with a Phillips #00 screwdriver.

    • These captive screws will remain in the heatsink bracket once disengaged.

    • Lift off the heatsink.

    • Be sure to reapply thermal paste while reinstalling the heatsink.

  14. r6LyBKgKSZrHm6NW
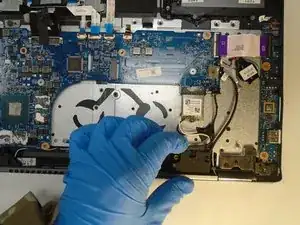
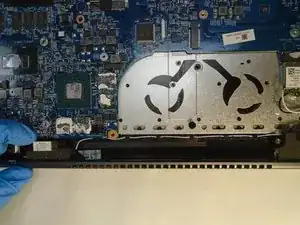
    • Unplug the speaker cables from the motherboard.

  15. RKeOFRZu1ZnTGQQn
    RKeOFRZu1ZnTGQQn
    TZf5ejQ6EAN3ejTd
    Q1XWlmVSx3UImlem
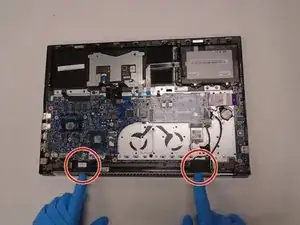
    • Remove the two speakers.

    • You may need to unhook the cables from the plastic pegs holding them in case. Be careful not to snag the cables on these pegs.

Abschluss

To reassemble your device, follow these instructions in reverse order.
Hikeem E Elmore

Mitglied seit: 17/09/20

265 Reputation

0 Kommentare