Einleitung
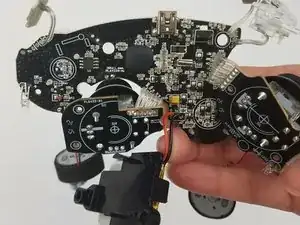
The replacement of the motherboard requires the complete removal of the battery, trigger buttons, joy sticks, and vibrations motors. All of which will require soldering for removal.
Werkzeuge
-
-
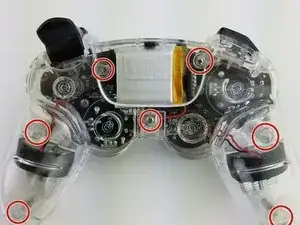
Lay the controller face down on a flat surface and remove the seven 9mm Phillips #0 screws on the back of the controller.
-
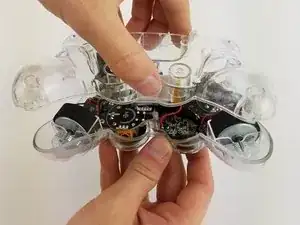
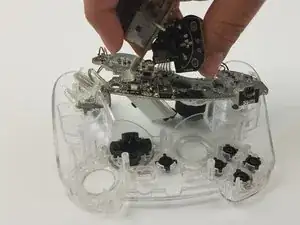
Lift up and remove the controller back plate.
-
-
-
Unscrew the two 9mm Phillips #0 screws that secure the motherboard to the controller front plate.
-
-
-
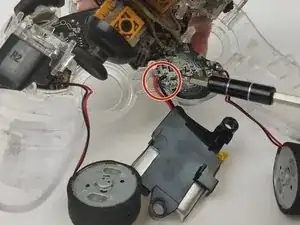
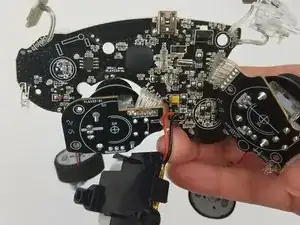
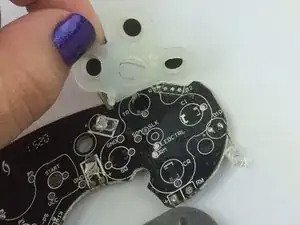
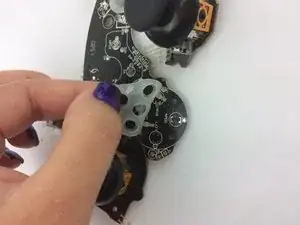
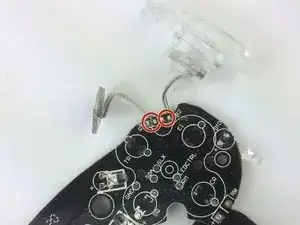
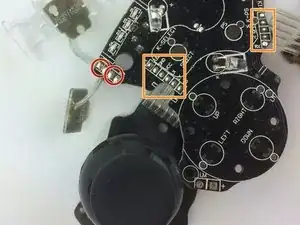
Desolder the four button connections from the motherboard.
-
Desolder the joy stick connections located on the front.
-
Abschluss
To reassemble your device, follow these instructions in reverse order.
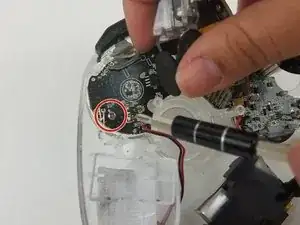
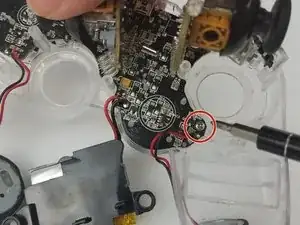
It should be noted that the screws that are just above the vibration wheels, at the thickest part of the handles, are ever so slightly longer than the clearance of the bit when it’s in the driver. This is easy to get around by just using the bit by itself.
Daniel Anderson -