Einleitung
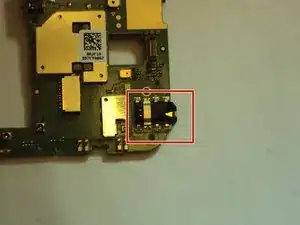
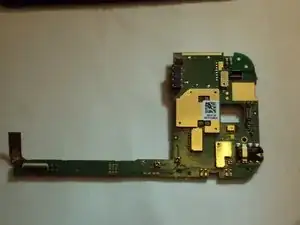
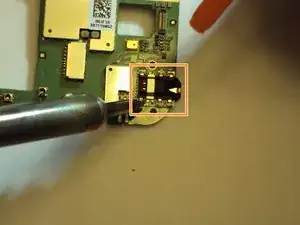
Removing the headphone jack requires that you remove the solder attaching the headphone jack to the motherboard. This is not a process that should be tried unless you have some experience soldering.
Also, make sure, that when using the metal spudger that may cause electrostatic discharge, to ground yourself by touching a metal object before using the spudger.
Werkzeuge
-
-
Shut down the device
-
Flip the phone so that the screen is facing the surface you are working on
-
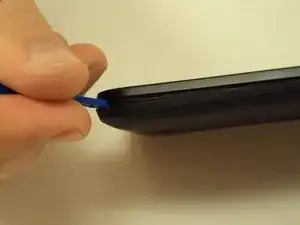
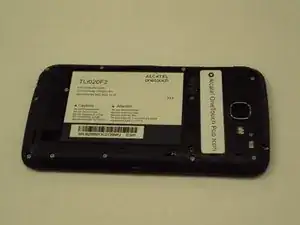
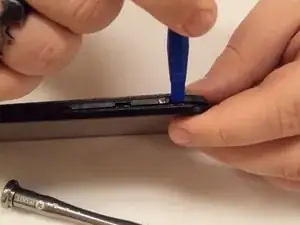
Use the plastic opening tool to gently pry off the back panel. There is a small notch in the bottom left corner of the phone that you can use for increased leverage.
-
-
-
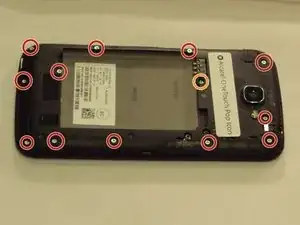
Using the J000 Phillips screwdriver, remove the twelve silver 3mm screws.
-
Using the J000 Phillips screwdriver, remove the one green 3mm screw.
-
-
-
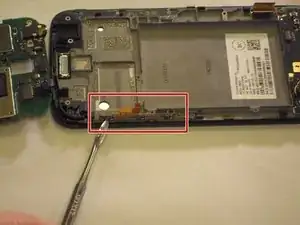
With the screen facing you and the front facing camera to your right, insert the plastic opening tool between the screen and the interior back panel and gently pry it off.
-
-
-
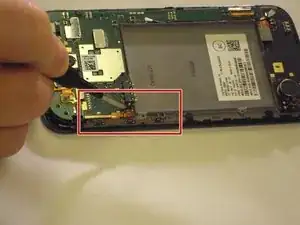
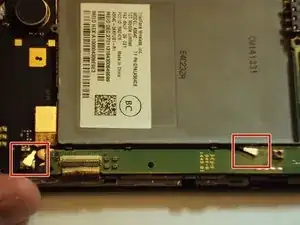
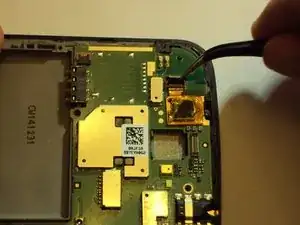
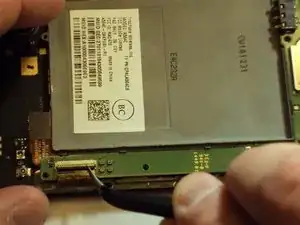
Remove the tape on top of the ribbon.
-
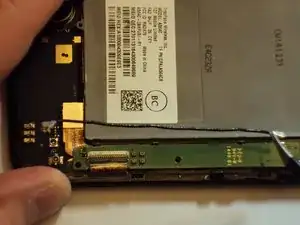
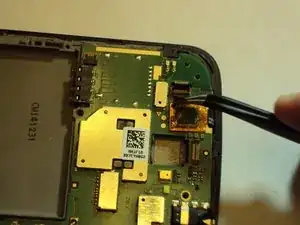
Lift the black latch to release the ribbon.
-
Remove the ribbon from the latch.
-
-
-
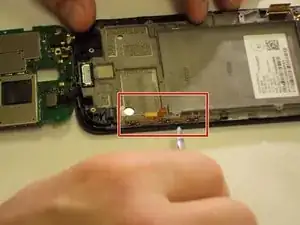
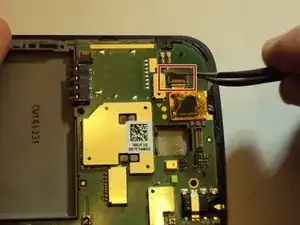
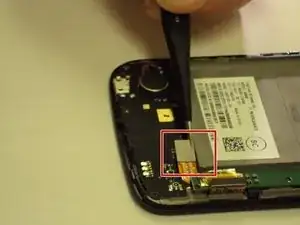
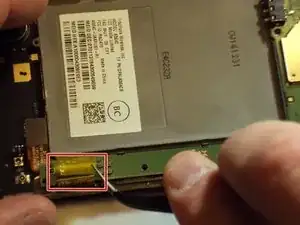
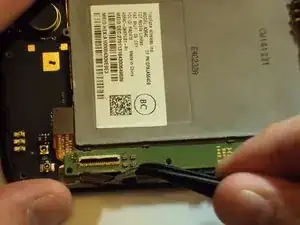
Use the tweezers to remove tape the from the top of the latch. Still using the tweezers, lift the black latch to release the ribbon.
-
Remove the ribbon from the latch.
-
-
-
Follow the directions in this attached guide for tips on soldering: Wie man Lötverbindungen herstellt und entlötet.
-
To reassemble your device, follow these instructions in reverse order.
