Einleitung

The Alldaymall A88X has a 0.3 MP forward facing camera and a 2.0 MP rear facing camera. They are mounted on to the back panel. This guide will walk you through the process of removing the existing cameras and installing new ones.

  1. Be54VAW46BlgcY3w
    Be54VAW46BlgcY3w
    X1ZCPd121AZEnVoV
    4tYo5kjK6ONkroOC
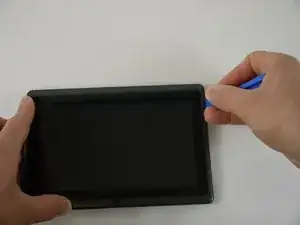
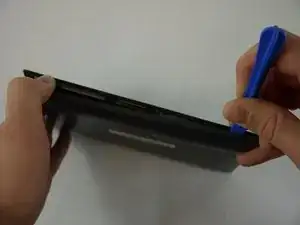
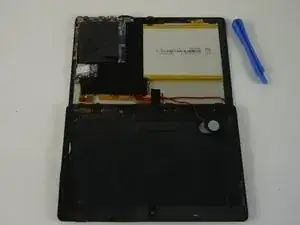
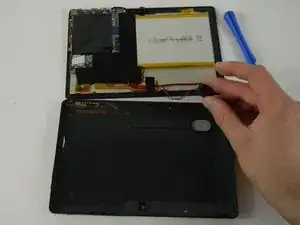
    • Using a plastic opening tool, carefully pry the device apart. Make your way around the entire perimeter of the device and carefully place the two panels next to each other.

    • After the panels are separated, watch out for the speaker on the rear panel as it's wire is rather short.

    • When separating the panels keep an eye out for the power button and volume rocker as they can be dislodged.

  2. pR1pZKaTPpfBjqTl
    • Grip the speaker from the sides with your fingers or a pair of tweezers and slowly begin to remove it from the rear panel.

    • When removing the speaker, make sure not to disconnect the wires in any way.

    • After the speaker has been removed, place the rear panel aside.

  3. JGDjQsiXbgpAnlfy
    JGDjQsiXbgpAnlfy
    TZPmcRkYy1mEYHmq
    if152V5I6oueMJSC
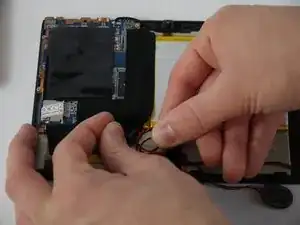
    • Carefully separate the speaker wire from the tape and proceed to peel the tape off in an upwards direction.

    • The tape we are removing covers a number of connections on the motherboard. Be extra careful not to sever any of these.

  4. tUQIiKHpDWKK3kNE
    tUQIiKHpDWKK3kNE
    x4ncyjdOQg1GBdon
    xb6ZBD2fRRCmZo4S
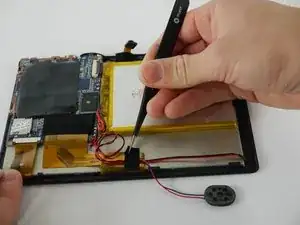
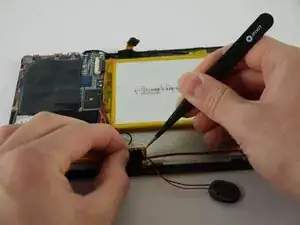
    • Using a pair of tweezers, begin separating the tape downwards from the back panel.

    • Pull the tape away from the wire bundle beneath.

    • Isolate the wire running from the speaker to the motherboard.

  5. vs44v2a1OInBljjF
    vs44v2a1OInBljjF
    xCiJQO5jLuulb4Qt
    NTmXMYUynOheKfId
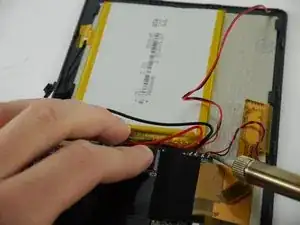
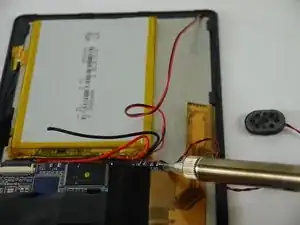
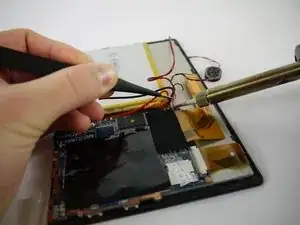
    • Desolder the speaker wires from the motherboard.

  6. thSyewKvS5oiRnoH
    thSyewKvS5oiRnoH
    1pWGErfsFRQvEsbI
    UaYQRfWiA3wKviC4
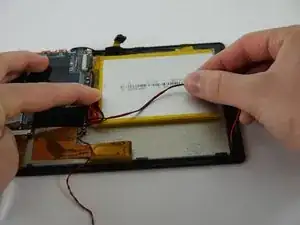
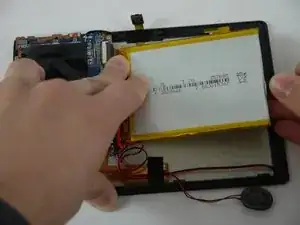
    • Using a nylon spudger, slowly work your way underneath the battery separating it from the panel beneath.

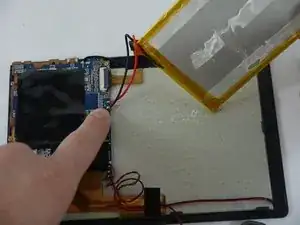
    • After the battery is separated from the panel make sure to place it face down above the tablet itself.

    • Throughout the removal process keep an eye on the battery's wires and make sure they do not break.

  7. wTTyHDUGBNlL6BQA
    wTTyHDUGBNlL6BQA
    dPQyFoKMbNqrCSaA
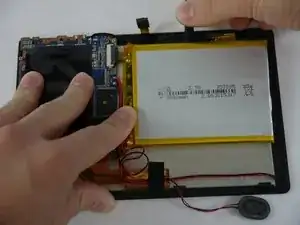
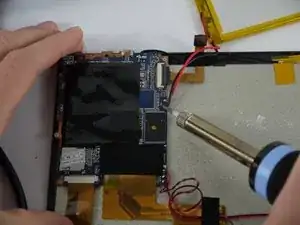
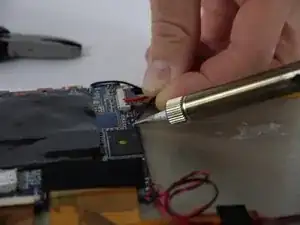
    • Desolder the wires that connect the battery to the motherboard.

  8. 36XbOtCAHKUJ6Im2
    36XbOtCAHKUJ6Im2
    TsBS1Imca5AhqBZF
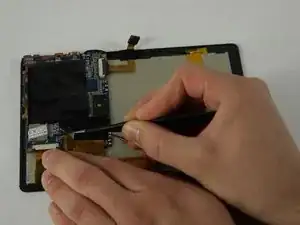
    • Using a pair of tweezers begin to peel the tape covering the ribbon cable on the motherboard.

  9. T3RQBKuCy6OkRXlp
    T3RQBKuCy6OkRXlp
    AdPpJBKSkpVmNajR
    eXIAsvYUFxMYtUfG
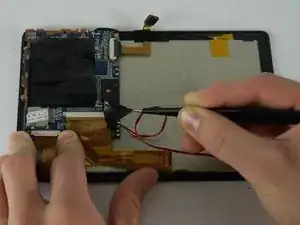
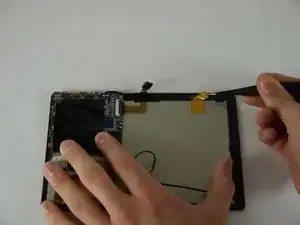
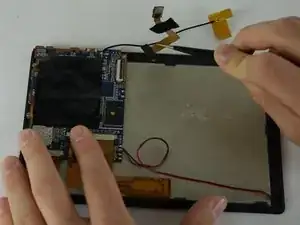
    • Using a pair of tweezers begin to peel the antenna from the metal panel.

    • Work your way down until the antenna is completely removed.

    • Be careful not deform the antenna or sever its connection.

  10. TFUuvgHtPt4UIcOp
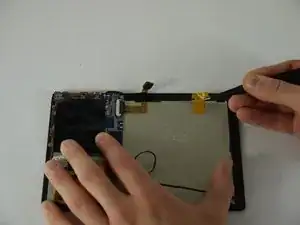
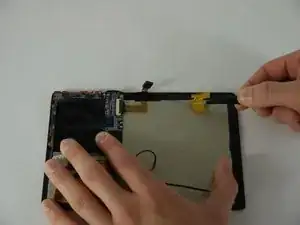
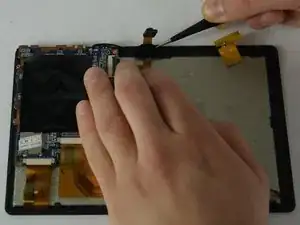
    • Using a pair of tweezers remove the tape securing the cameras to the back panel.

  11. obnmYLhQcwDfgahs
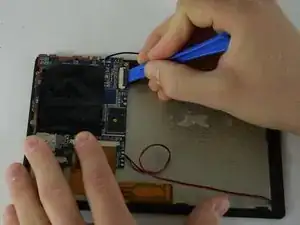
    • Using a plastic opening tool lift up the flap on the ribbon cable receptacle.

  12. 5Cqg3mMLpiyowTOr
    5Cqg3mMLpiyowTOr
    fQ3SbIsmIfWUNxVq
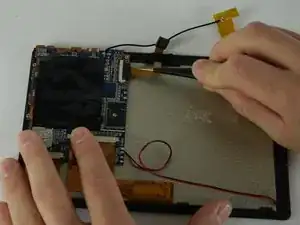
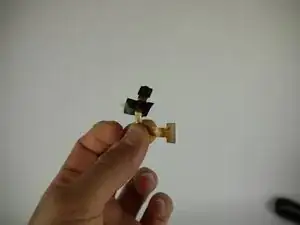
    • Using a pair of tweezers remove the camera assembly from its housing and its receptacles.

Abschluss

To reassemble your device, follow these instructions in reverse order.
Drhaber

Mitglied seit: 10/02/16

985 Reputation

0 Kommentare