Einleitung

PREREQUISITE

  1. Be54VAW46BlgcY3w
    Be54VAW46BlgcY3w
    X1ZCPd121AZEnVoV
    4tYo5kjK6ONkroOC
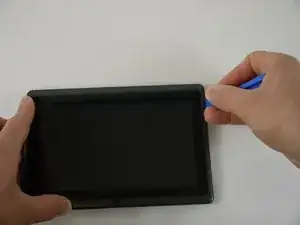
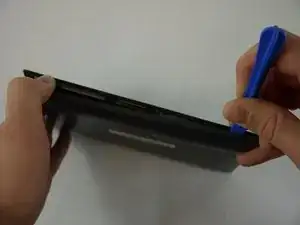
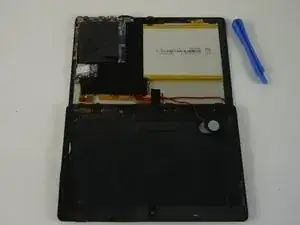
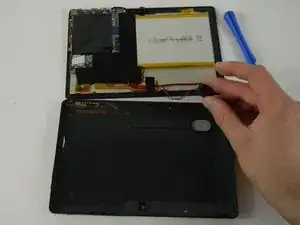
    • Using a plastic opening tool, carefully pry the device apart. Make your way around the entire perimeter of the device and carefully place the two panels next to each other.

    • After the panels are separated, watch out for the speaker on the rear panel as it's wire is rather short.

    • When separating the panels keep an eye out for the power button and volume rocker as they can be dislodged.

  2. pR1pZKaTPpfBjqTl
    • Grip the speaker from the sides with your fingers or a pair of tweezers and slowly begin to remove it from the rear panel.

    • When removing the speaker, make sure not to disconnect the wires in any way.

    • After the speaker has been removed, place the rear panel aside.

  3. JGDjQsiXbgpAnlfy
    JGDjQsiXbgpAnlfy
    TZPmcRkYy1mEYHmq
    if152V5I6oueMJSC
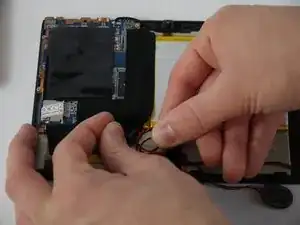
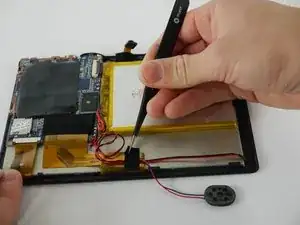
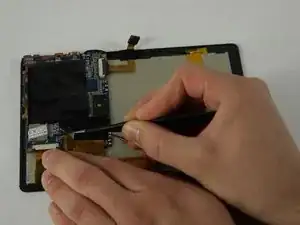
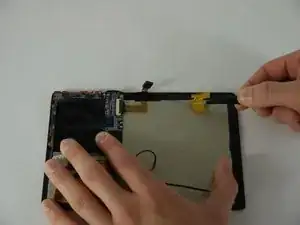
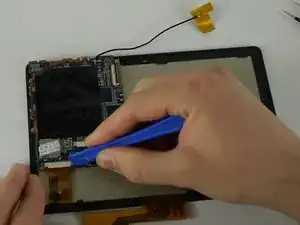
    • Carefully separate the speaker wire from the tape and proceed to peel the tape off in an upwards direction.

    • The tape we are removing covers a number of connections on the motherboard. Be extra careful not to sever any of these.

  4. tUQIiKHpDWKK3kNE
    tUQIiKHpDWKK3kNE
    x4ncyjdOQg1GBdon
    xb6ZBD2fRRCmZo4S
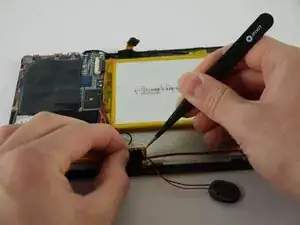
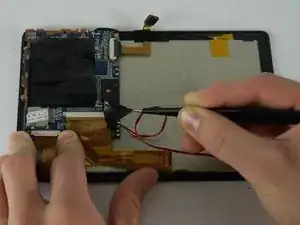
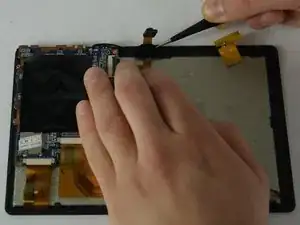
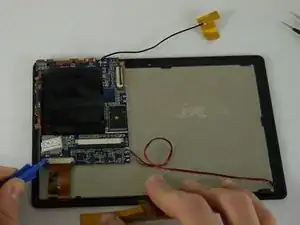
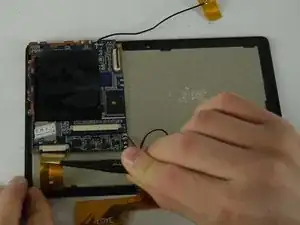
    • Using a pair of tweezers, begin separating the tape downwards from the back panel.

    • Pull the tape away from the wire bundle beneath.

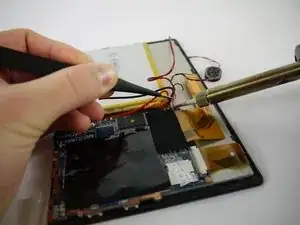
    • Isolate the wire running from the speaker to the motherboard.

  5. vs44v2a1OInBljjF
    vs44v2a1OInBljjF
    xCiJQO5jLuulb4Qt
    NTmXMYUynOheKfId
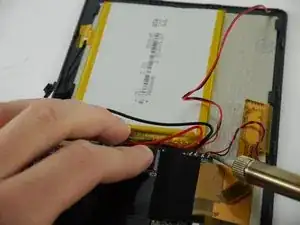
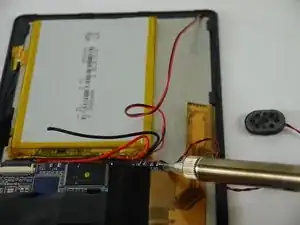
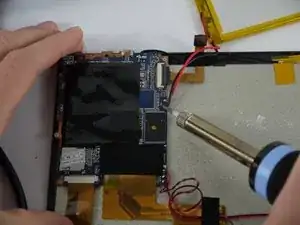
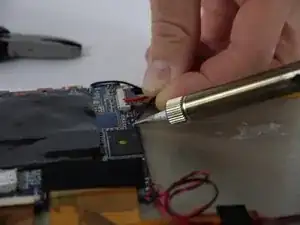
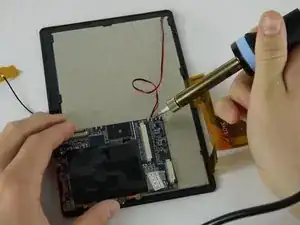
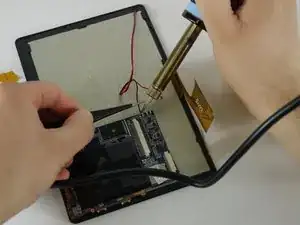
    • Desolder the speaker wires from the motherboard.

  6. thSyewKvS5oiRnoH
    thSyewKvS5oiRnoH
    1pWGErfsFRQvEsbI
    UaYQRfWiA3wKviC4
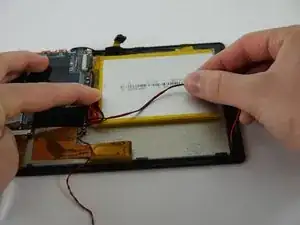
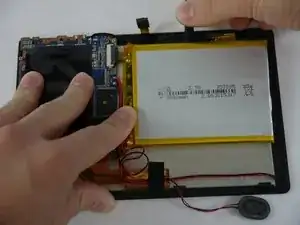
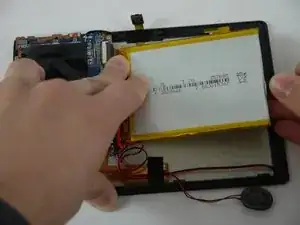
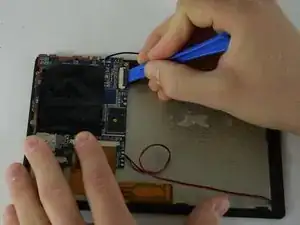
    • Using a nylon spudger, slowly work your way underneath the battery separating it from the panel beneath.

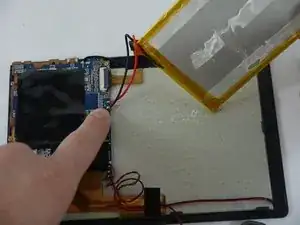
    • After the battery is separated from the panel make sure to place it face down above the tablet itself.

    • Throughout the removal process keep an eye on the battery's wires and make sure they do not break.

  7. wTTyHDUGBNlL6BQA
    wTTyHDUGBNlL6BQA
    dPQyFoKMbNqrCSaA
    • Desolder the wires that connect the battery to the motherboard.

  8. 36XbOtCAHKUJ6Im2
    36XbOtCAHKUJ6Im2
    TsBS1Imca5AhqBZF
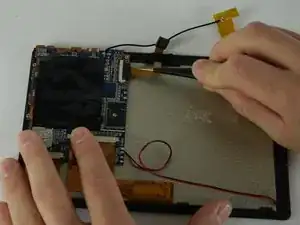
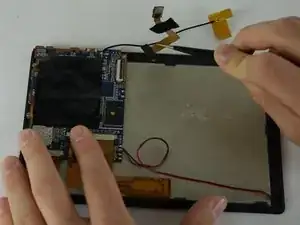
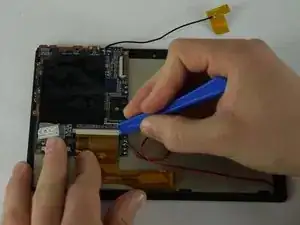
    • Using a pair of tweezers begin to peel the tape covering the ribbon cable on the motherboard.

  9. T3RQBKuCy6OkRXlp
    T3RQBKuCy6OkRXlp
    AdPpJBKSkpVmNajR
    eXIAsvYUFxMYtUfG
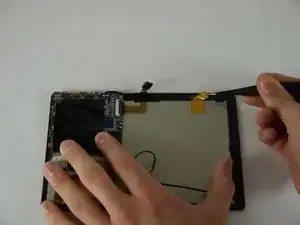
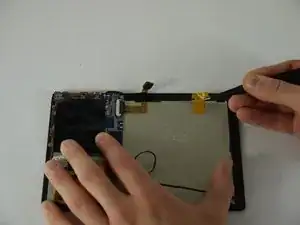
    • Using a pair of tweezers begin to peel the antenna from the metal panel.

    • Work your way down until the antenna is completely removed.

    • Be careful not deform the antenna or sever its connection.

  10. TFUuvgHtPt4UIcOp
    • Using a pair of tweezers remove the tape securing the cameras to the back panel.

  11. obnmYLhQcwDfgahs
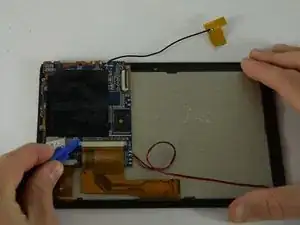
    • Using a plastic opening tool lift up the flap on the ribbon cable receptacle.

  12. 5Cqg3mMLpiyowTOr
    5Cqg3mMLpiyowTOr
    fQ3SbIsmIfWUNxVq
    • Using a pair of tweezers remove the camera assembly from its housing and its receptacles.

  13. FeplqqlRvxtU3a6r
    FeplqqlRvxtU3a6r
    R1RZeeg3oSilBGBg
    eJMSpSBVItMfM6Tl
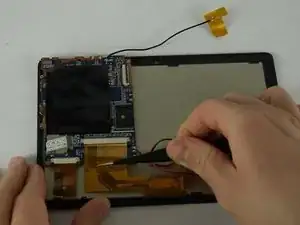
    • Use a plastic opening tool to pull out the black knobs on both sides of the ribbon cable receptacle.

    • Using a pair of tweezers remove the ribbon cable from its receptacle.

  14. 6ybDENalBMPbcK4l
    6ybDENalBMPbcK4l
    ckODyOPOUW6g6qCO
    JlHX1QWATBiXb5Rd
    • Now on the left ribbon cable use a plastic opening tool to pull out the black knobs on both sides of the ribbon cable receptacle.

    • Using a pair of tweezers remove the ribbon cable from its receptacle.

  15. X5VEQV3cOD5DQDCr
    X5VEQV3cOD5DQDCr
    SH6ZPXTtIWCmm5Ey
    • Desolder the wires that connect the backlight to the motherboard.

  16. iwdByJCJDmg1ZDpp
    iwdByJCJDmg1ZDpp
    QbOOZs34VYAQkRQm
    OSMEDThdyIgwgIyr
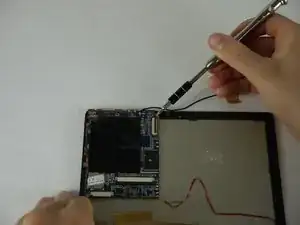
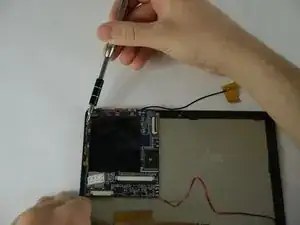
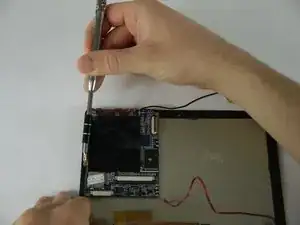
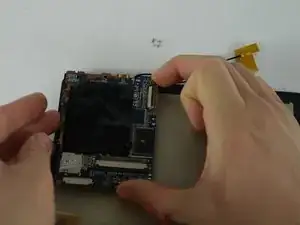
    • Using a PH0 screw bit unscrew the three 3mm screws securing the motherboard to the back panel.

  17. jGUDuNCyJC6cq4hG
    • Carefully lift up on the motherboard from its housing.

  18. FbJjsuTInqKT3RVk
    FbJjsuTInqKT3RVk
    FDLI4gU2AXwibCtj
    oAlnmQAbymeFFt16
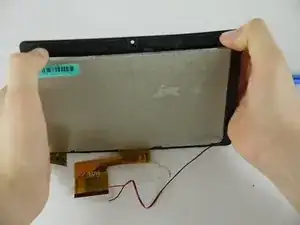
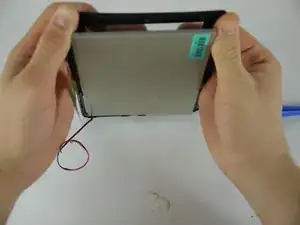
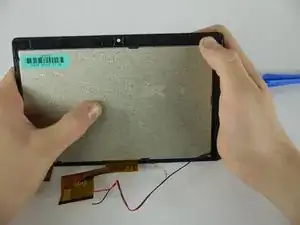
    • Gently pry the brackets holding the touch sensor to the LCD Screen

    • Do not bend the touch sensor to much as it may shatter.

Abschluss

To reassemble your device, follow these instructions in reverse order.
Drhaber

Mitglied seit: 10/02/16

985 Reputation

0 Kommentare