Einleitung
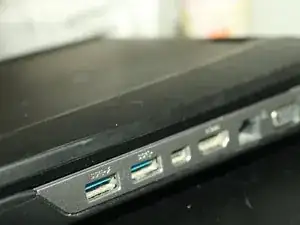
The USB port can wear out over time or stop working completely. This guide will show you how to remove the USB port on the side of the device.
Werkzeuge
-
-
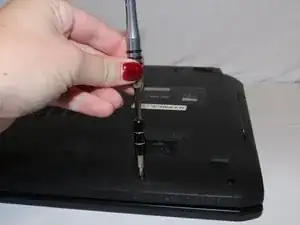
Remove the 5 (9 mm screws) around the outside edges of the back cover with the PH1 Phillips-head screwdriver.
-
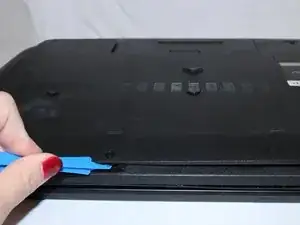
Lift off the back cover using the opening tool.
-
-
-
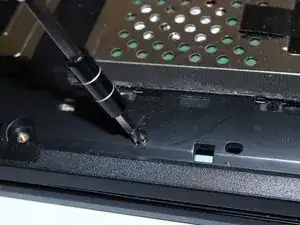
Remove the 10 (9 mm) screws marked 'A' using the PH1 Phillips-head screwdriver.
-
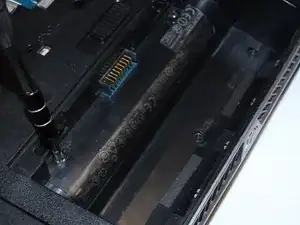
Remove the battery by pressing the slide release button.
-
Remove 2 more (9 mm) 'A' marked screws within the battery compartment using the PH1 Phillips-head screwdriver.
-
-
-
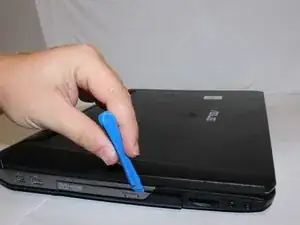
Remove the cover for the disc drive with the opening tool.
-
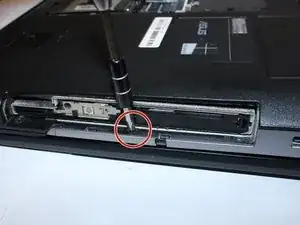
Remove the 6 (4 mm) 'B' marked screws with the PH1 Phillips-head screwdriver. (3 screws are in the battery compartment and 3 are under the disc drive cover)
-
-
-
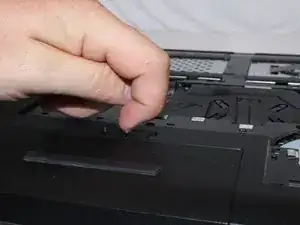
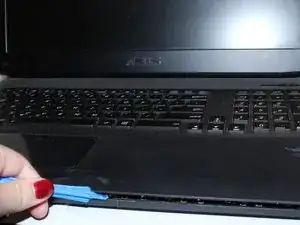
Pry open the keypad platform with the opening tool.
-
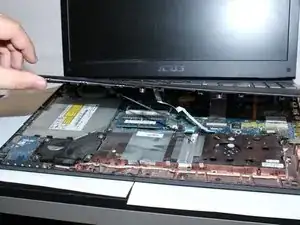
You will need to lift the keypad platform with your hands to get to the laptop's internal systems.
-
-
-
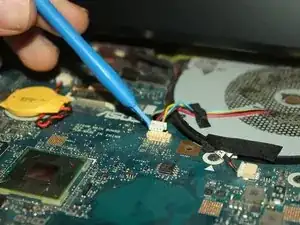
Unhook fans using the opening tool. There are 4 connections to be disconnected.
-
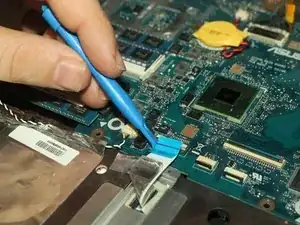
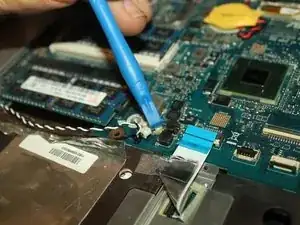
Un-attach the blue electrical component using the opening tool.
-
Un-attach the white and black electrical component using the opening tool.
-
-
-
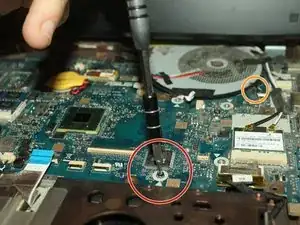
Remove the 5 (3mm) screws, using the J0 Phillips head screwdriver, from around the perimeter of the motherboard.
-
Remove the 2 (13mm) screws around the fan (in blue marker), using the J0 Phillips head screwdriver, from the same area as the other 5 screws. (These may be a little difficult to remove but you just have to play with them until they come out.)
-
-
-
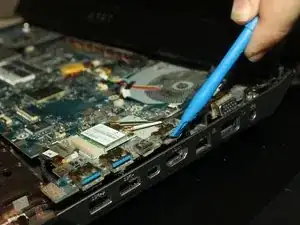
Using the opening tool, lift the motherboard up as far as it will go.
-
Now notice access to USB port.
-
Now you will need to desolder the faulty USB port.
-
Here is a link on desoldering Wie man Lötverbindungen herstellt und entlötet
-
To reassemble your device, follow these instructions in reverse order.
