Einleitung
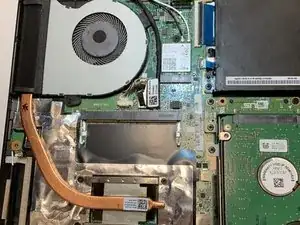
The ASUS Q503UA-BSI5T17 2-in-1 Laptop was built to be the perfect mix of convenience and reliability. It was built to multitask with its 8GB/12GB of RAM while being sleek and simple. Not having a working fan will result in the device overheating especially when you attempt to multitask or run a heavy program. If you don’t replace your broken fan, eventually overheating will damage other components and you will have to buy a new laptop if left unchecked. This guide will show you the step-by-step process of replacing the fan from an ASUS Q503UA-BSI5T17 2-in-1 Laptop.
Please wait until the device is cooled off before beginning. It is important to remember to touch or remove as little as possible while handling the device. Also, power off the device and disconnect from the charging cord and either disconnect or remove the battery before beginning the repair.
Werkzeuge
-
-
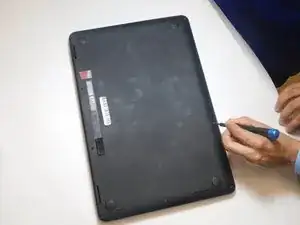
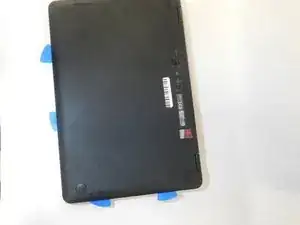
Flip the computer upside down. In order to ensure that the correct side is up, you should be able to read the sticker that indicates the serial number on the bottom.
-
-
-
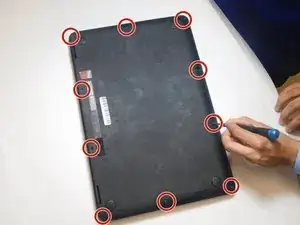
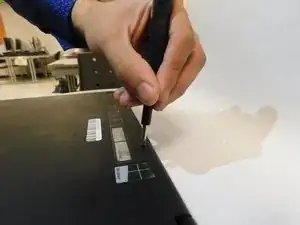
Remove the ten circled screws along the perimeter of the laptop with a Phillips #0 screwdriver.
-
-
-
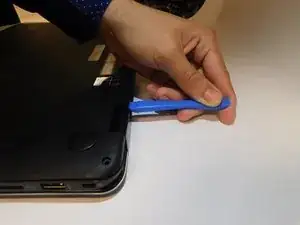
Starting from the top right corner, use a plastic prying tool to separate the cover from the laptop. Use light pressure to prevent the plastic from breaking.
-
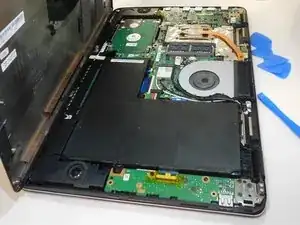
Repeat the above step around the laptop until you are able to lift the cover.
-
-
-
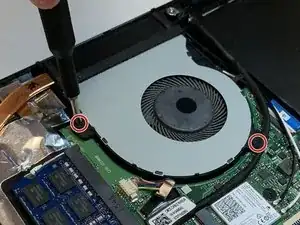
Remove the two screws from the fan with a Phillips #0 screwdriver.
-
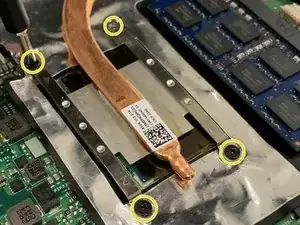
Remove the four screws from the heatsink with a Phillips #0 screwdriver.
-
-
-
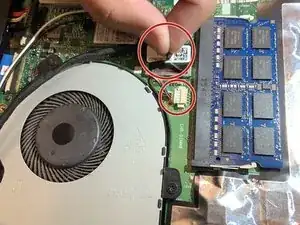
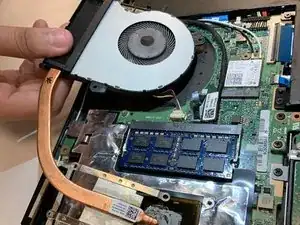
Carefully remove the fan assembly from the laptop.
-
When reinstalling the fan, be sure to clean the contact surfaces on both the CPU and heatsink and reapply fresh thermal paste.
-
To reassemble your device, follow these instructions in reverse order.
