Einleitung
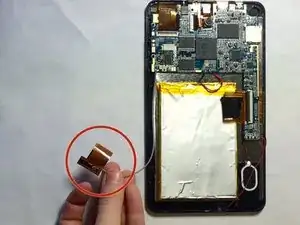
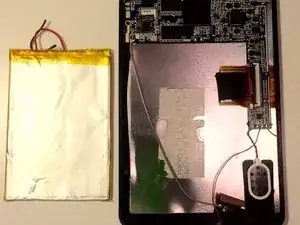
The Azpen tablet device is not as complicated as it seems to repair. You just need to be careful to the small details that it has to not cause permanent damage to other components of the device. In our case, the battery has connectors attached to it, if you are not careful with those, your tablet could not work anymore.
Werkzeuge
-
-
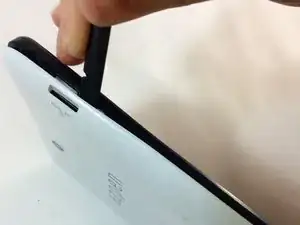
Use the set of plastic opening tools to separate the inner backing from the electronics.
-
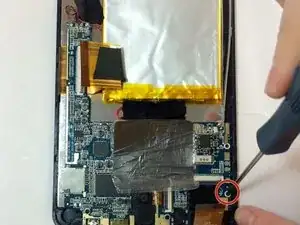
Unscrew the small size screws, with 3.75-3.85 mm approximately, holding the inner backing of Azpen A740 Tablet. Use the pentalobe screwdriver and plastic opening tool to pry open the inner backing.
-
-
-
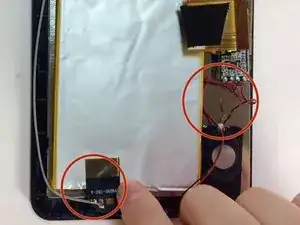
Disconnect the black, red, and grey wires leading to the battery from the motherboard using desoldering tools.
-
-
-
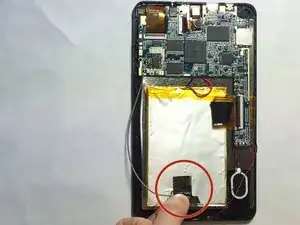
Remove the battery from the thermal paste that is under it by using the blue prying or black spuddger tool.
-
To reassemble your device, follow these instructions in reverse order.

