Einleitung
If your audio connection is intermittent or non functional, it may be time to replace the audio jack.
Werkzeuge
-
-
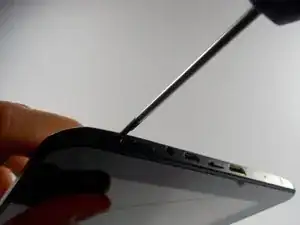
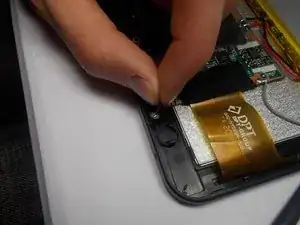
Begin by unscrewing the two 1.4 mm diameter Phillips #00 head screws at the top of the device.
-
-
-
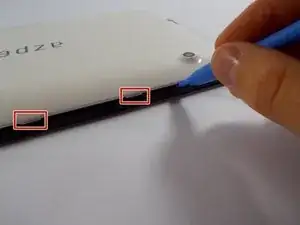
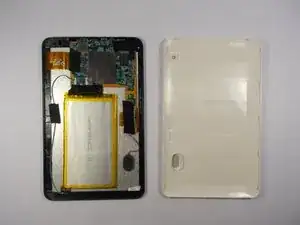
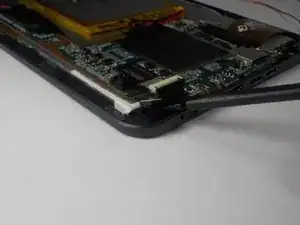
Next, gently pry the cover off with a plastic opening tool or a similar instrument by loosening all of the anchoring points. Two of the anchoring points are circled in the image. Avoid excessive bending or pivoting, since doing so may break the anchoring points.
-
-
-
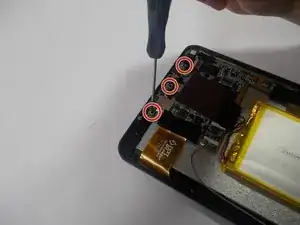
Remove the three 1.4 mm diameter screws anchoring the circuit board in place with a Phillips #00 head screw driver.
-
-
-
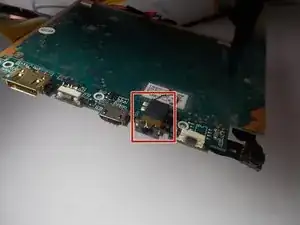
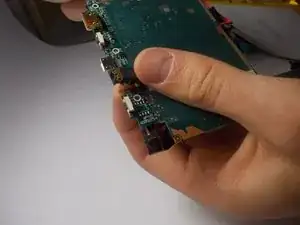
Pull the circuit board back to reveal the components on its backside.
-
The audio jack is marked with the red box.
-
-
-
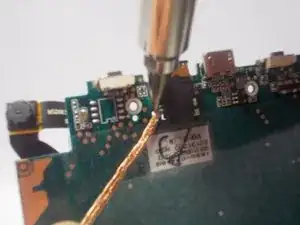
Pick a connection point and place the soldering iron on top of the wick above the existing solder ball.
-
Hold the soldering iron in place until the solder melts into the wick.
-
Repeat the same procedure on the remaining three connectors.
-
-
-
Pop the audio jack out by applying pressure on the side that is flush with the front of the circuit board.
-
To reassemble your device, follow these instructions in reverse order.
