Einleitung

This guide will take your through the necessary steps in order to replace it. Don't let the length of this guide intimidate you! If you've got the necessary tools, you can fix your device!

  1. VC6J6VVHNklMcoLr
    VC6J6VVHNklMcoLr
    MWpmdAVQCqhJ5dGp
    OU1wsvD2Yle6s4TW
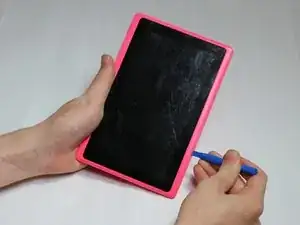
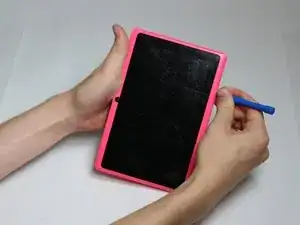
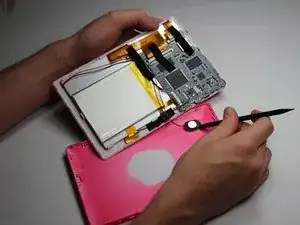
    • Insert your Plastic Opening Tool into the crease between the front panel and back panel.

    • Slide the Opening Tool around the entire device. As you progress, you should see the device open.

  2. KgBEhksD6cgjwpmI
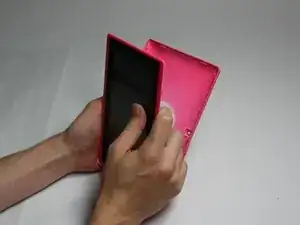
    • Carefully turn the device over.

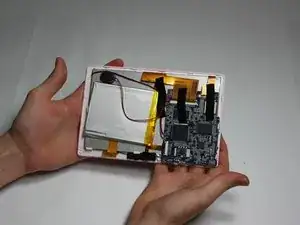
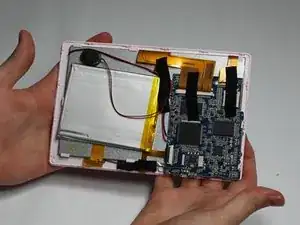
    • Lay the back panel aside so you can see the device's parts.

  3. rGDdj51CauASTpIr
    rGDdj51CauASTpIr
    A2HAFxUJ23quxLtp
    S5i1XNHYDHOAALZo
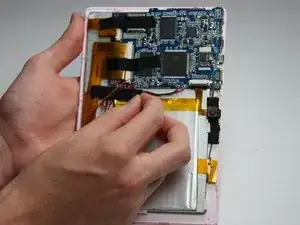
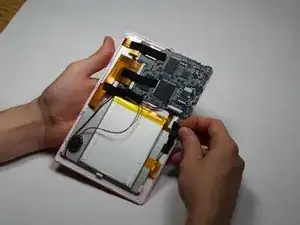
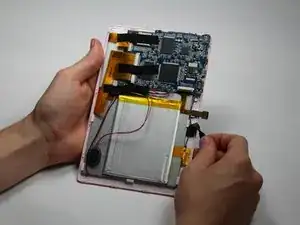
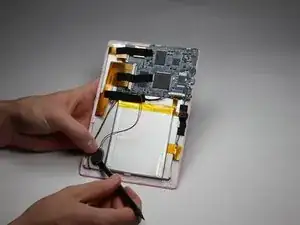
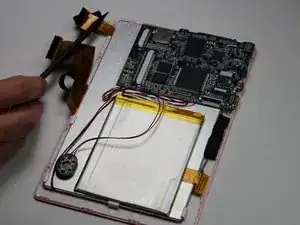
    • Place your finger at the end of the tape closest to the battery.

    • Peel the tape towards the flex cables to free the battery wires.

  4. JtpH2EhQOcRYBMWM
    JtpH2EhQOcRYBMWM
    gXIMFnLGkbsGO4Rw
    HJGFWgywWMZ5nvYG
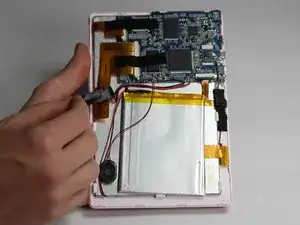
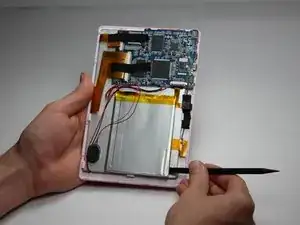
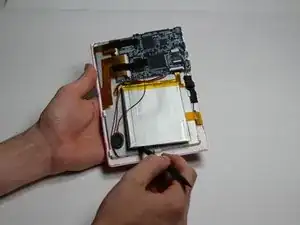
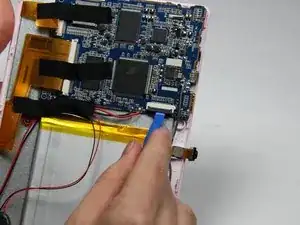
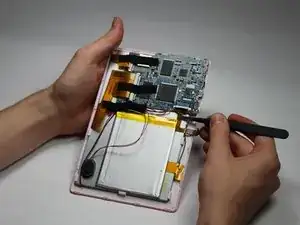
    • Using the spudger tool, place the tool along an edge of the battery.

    • Be careful not to bend or break the battery! Batteries contain hazards materials.

    • Move the spudger around the edges of the battery to detach it from the tablet.

  5. PVnD3V4vuwiX55lI
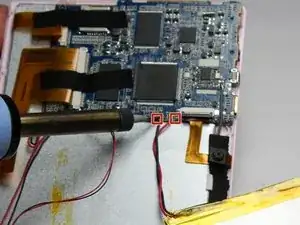
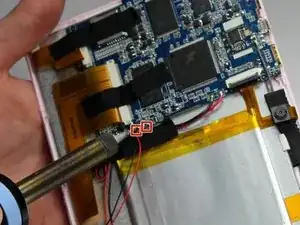
    • Soldering irons get very hot! Be careful when handling one. If you'd like a tutorial on how to use one, click here.

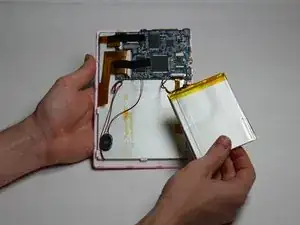
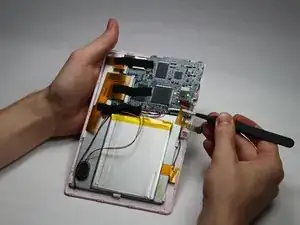
    • Using a soldering iron, desolder both of the battery wires. The battery's wires are located to the left of the camera's flex cable.

    • Remove the battery.

  6. ZY2KrgP5mDCffs6a
    ZY2KrgP5mDCffs6a
    esREwMLmZKGRVosS
    • Carefully detach one side of the black tape from the board.

  7. X5fcMhfEbTkHJnKS
    X5fcMhfEbTkHJnKS
    lScKEjXVgkJpJZ2H
    • Using a small plastic opening tool, flip the black connector up until it makes "tick" sound.

    • Now, the flexing cable is ready to be removed.

  8. x1DpsNVSdgnYKRKX
    x1DpsNVSdgnYKRKX
    yDLbByYxvAPMAbDk
    • Using a pair of tweezers, hold the flexing cable right below the black connector.

    • Gently pull the flexing cable out of the connector while balancing the other side of the device with another hand.

  9. EjVVFSqdMNtqpEFi
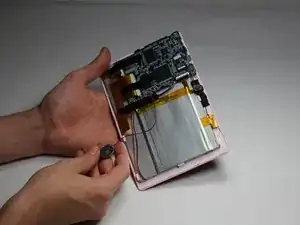
    • Using your spudger tool, remove speaker from the backboard.

  10. MnGrSUJrlCNNWGpW
    MnGrSUJrlCNNWGpW
    HBg3NLTnkDTVGyLY
    • Using the spudger tool, detach the speaker from the back of the screen.

  11. 6EeWG1BOCbjVj36W
    • Soldering irons get very hot! Be careful when handling one. If you'd like a tutorial on how to use one, click here.

    • Using a Soldering Iron, desolder both wires from the motherboard.

  12. UHjoUUEQLWBnsmHI
    UHjoUUEQLWBnsmHI
    Z2HlyTGSJAvG2SGE
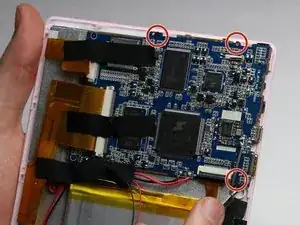
    • Using a Phillips #00 Precision Screwdriver, remove the three 3mm screws by turning the screwdriver counter-clockwise.

  13. CYAdJyNhIbrl5EhA
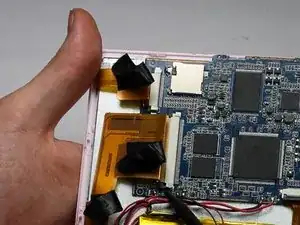
    • Remove the three pieces of tap keeping the wires in place.

  14. KTrCgBShOjGUCRHM
    KTrCgBShOjGUCRHM
    rAiVOXPWP5FVTRG5
    rIWSlOKLAEpGu2Yn
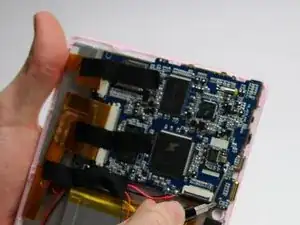
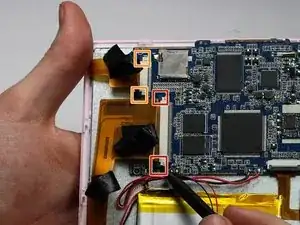
    • Place a spudger on the small black pins on either side of the flex cables.

    • Gently push the spudger towards the back of flex cables to unlock the flex cable.

    • Remove the flex cables from their insert.

  15. 6gQBTeTDSFGVp2It
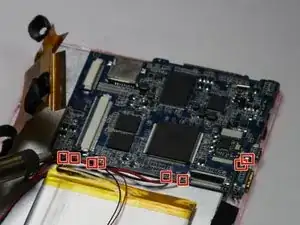
    • Soldering irons get very hot! Be careful when handling one. If you'd like a tutorial on how to use one, click here.

    • Desolder the eight connections.

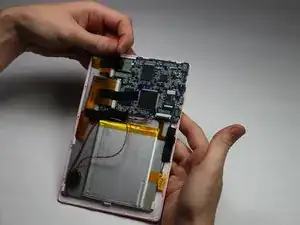
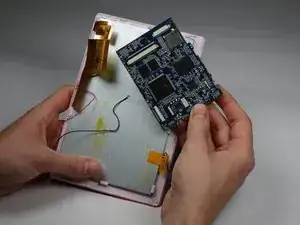
  16. jrhtGxmB1qB22FN6
    • Lift the motherboard to remove.

Abschluss

To reassemble your device, follow these instructions in reverse order.
Nick Rohn

Mitglied seit: 30/10/16

475 Reputation

0 Kommentare