Einleitung
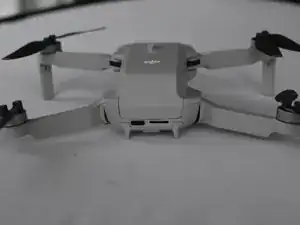
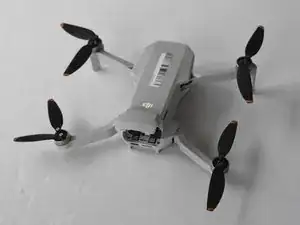
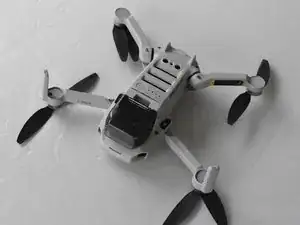
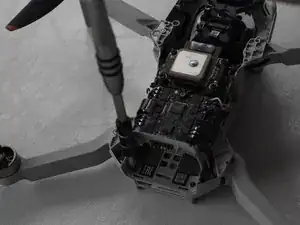
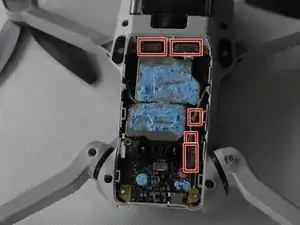
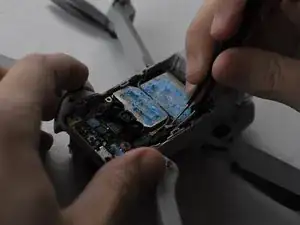
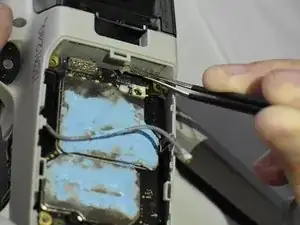
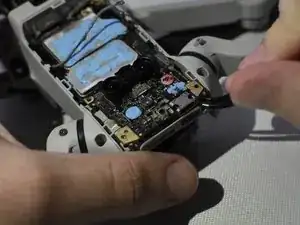
This guide will show you how to successfully replace the main board inside the DJI Mini 2 drone.
The main board in the DJI Mini 2 helps the drone tell the other parts of the drone what to do and connects the controller and phone connected to the drone. If the main board is damaged the drone will not function or connect to the controller and phone the user wants to connect to. For more information on what may be causing your issue, check out the Troubleshooting page for this device.
This guide requires the use of ESD-safe tools to avoid damaging the motherboard or other sensitive components.
After replacing the motherboard, you will need to calibrate your DJI Mini 2 drone. Some calibration processes can be done with the DJI Fly mobile app, but for some processes, like gimbal calibration, you will need to use additional software. How to calibrate the gimbal watch this video tutorial https://youtu.be/mu03HWXplM4
Werkzeuge
-
-
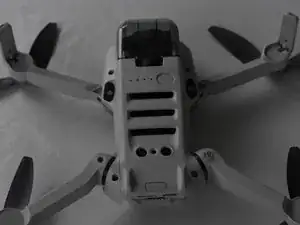
Face the DJI Mini 2 away from you so that you are looking at the charging ports.
-
Use your finger to open up the back panel.
-
-
-
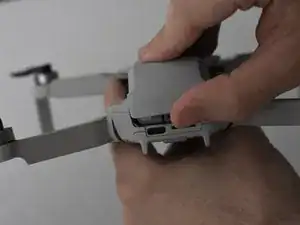
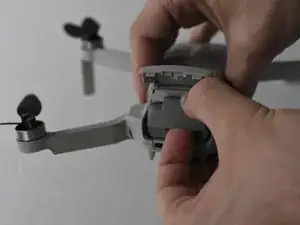
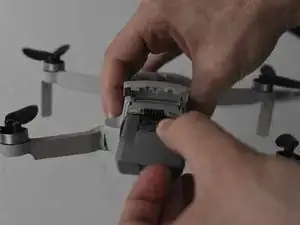
Pinch the locking mechanism on the battery to release the lock.
-
Pull the battery straight out of the compartment.
-
-
-
Flip the drone back over.
-
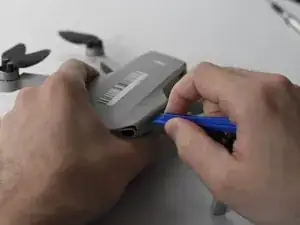
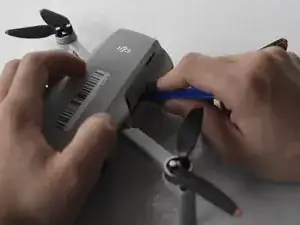
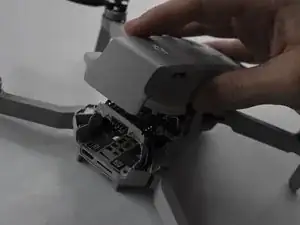
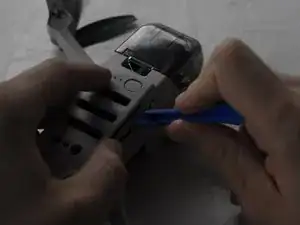
Use a combination of the opening tool and your fingers to pry open the top panel of the drone along the seams.
-
-
-
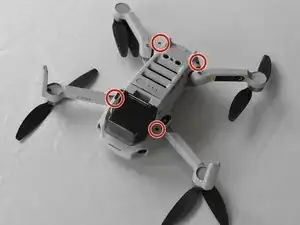
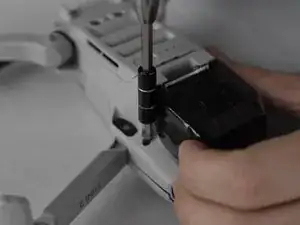
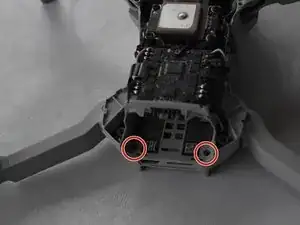
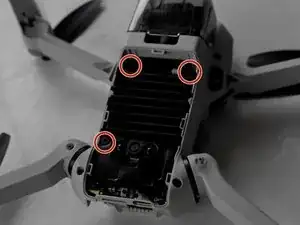
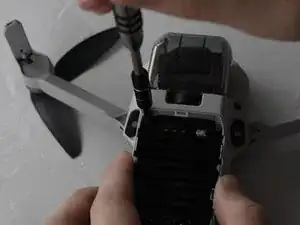
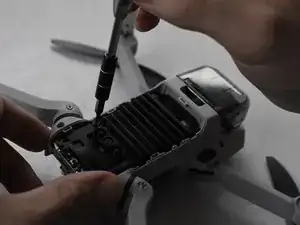
Remove the two 5 mm J000 screws located in the battery hatch and near the ports on the back of the drone.
-
-
-
Flip the drone over again.
-
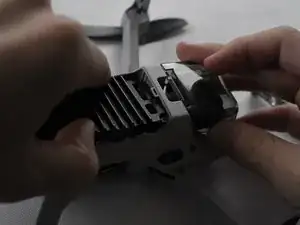
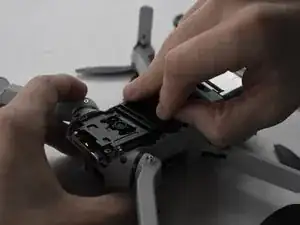
Pry off the bottom panel of the drone using the opening tools and your fingers.
-
-
-
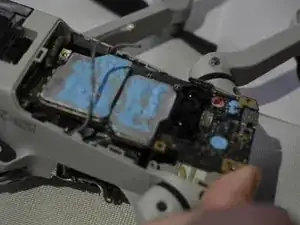
Use the ESD Safe Tweezers Blunt Nose and your fingers to pull off the main board from the drone carriage.
-
To reassemble your device, follow these instructions in reverse order.

