Einleitung

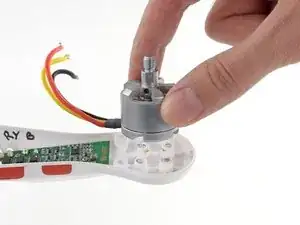
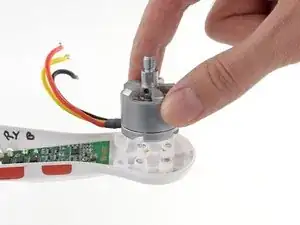
Replace or upgrade your Phantom motors. This guide requires soldering.

Each motor's direction is determined by the order of its leads on the ESC, so when you're replacing, be sure to match the original order. Motors on opposite arms will have the same direction, so check the other arm for reference.

If you're ordering a replacement, be sure to get the right thread direction for your motor, or the propellor collet will loosen during flight.

  1. ll3FWgDlGKdNdstG
    ll3FWgDlGKdNdstG
    quJaRquuZrlUratk
    qtghuD1wjVuoiXyl
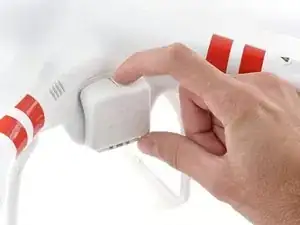
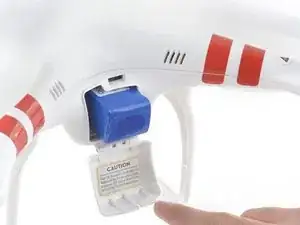
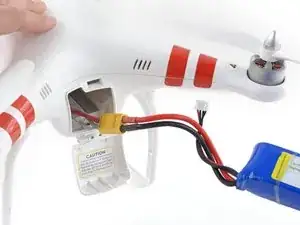
    • Press down on battery door release tab to flip the battery door open.

  2. rrkOBYWTq4EfPeqv
    rrkOBYWTq4EfPeqv
    DHH6LfNXSFQsNfVl
    nrQImKEdKgsEVI1d
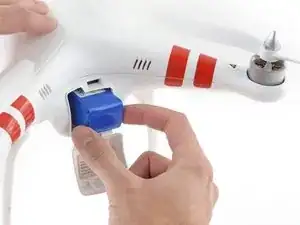
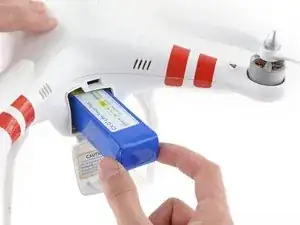
    • Pull out the battery pack.

    • Avoid pulling on the battery wires, excess stress may break the wires, damage the power connectors, or crack the internal solder joints.

  3. 2f1uJNpZFYAGwB5A
    2f1uJNpZFYAGwB5A
    6d66ATycYDRirZIP
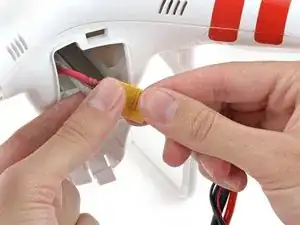
    • Pull the two halves of the XT60 power connector apart.

    • It's a tight fit, so be careful not to hit your drone or yank on the cables when it releases!

  4. TXHgDoqxOSoEGZ6l
    TXHgDoqxOSoEGZ6l
    AhZFoURHDEQK5lMx
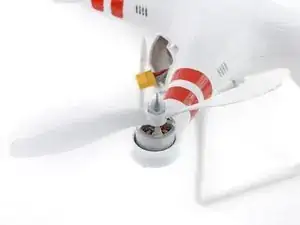
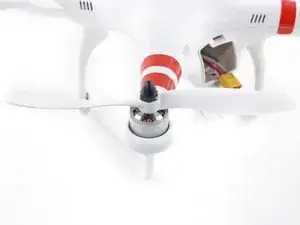
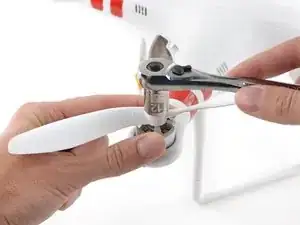
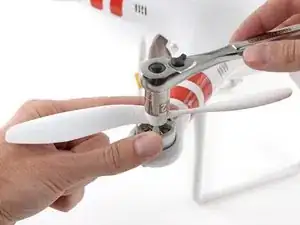
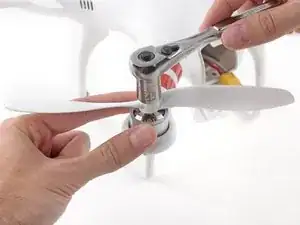
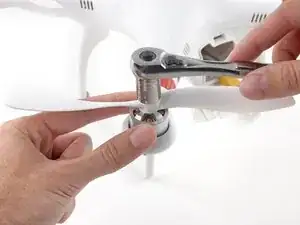
    • Silver-topped propeller collets unscrew counter-clockwise

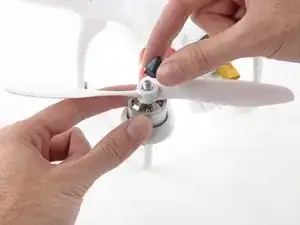
    • Black-topped propeller collets unscrew clockwise

  5. KV5oRgoNOPEUj1Ct
    KV5oRgoNOPEUj1Ct
    rtcwAxSTmN3VpNvU
    HrdrZKvIA35aNqwI
    • For propellors with silver collets: Use a 12 mm wrench or socket to loosen silver collets in the counter-clockwise direction.

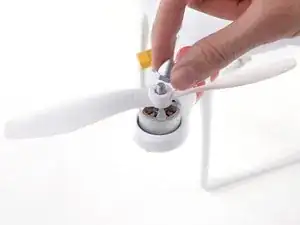
    • Once free, unscrew and remove the collet.

  6. Rc4iYUfVNUD5YYyK
    Rc4iYUfVNUD5YYyK
    VddyTDQbdtUKDtOO
    vm1Ge1TOTbVCPOgx
    • For propellors with black collets: Use a 12 mm wrench or socket to loosen black collets in the clockwise direction.

    • Once free, unscrew and remove the collet.

  7. EhjXoW4CluLWJFoF
    EhjXoW4CluLWJFoF
    kk61lOiAlPUXfiZt
    PksLgobUYkCE1CvP
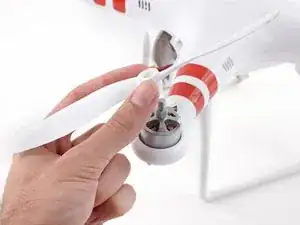
    • Gently press down the motor shaft and lift the propeller up to remove it.

  8. SFmSiwDU52XHdpbX
    SFmSiwDU52XHdpbX
    vDnwKQZykQVQApdY
    AToo2Xaeg2fP6n1y
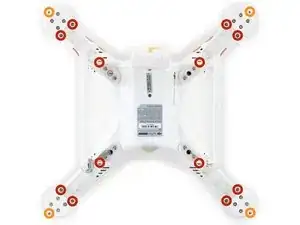
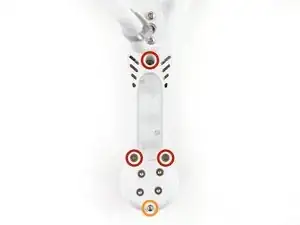
    • After removing all four propellors, flip the drone over.

    • Remove the following screws from the underside of the drone:

    • Twelve 2.0 mm hex screws

    • Four Phillips #0 screws

  9. OCelirFVHIEucuSB
    OCelirFVHIEucuSB
    LdEyJSumoxlQngRX
    DBSQn3F1nCLIit3E
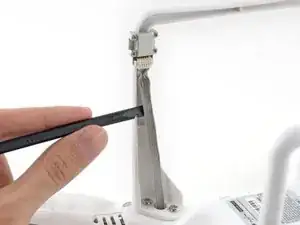
    • Loosen the cable from the plastic landing gear.

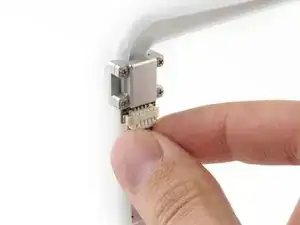
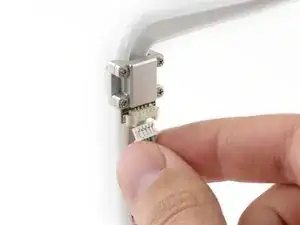
    • Unplug the magnetometer molex connector.

  10. Bj3tpFwXfLTNSmd1
    Bj3tpFwXfLTNSmd1
    HIWIayBRcvMo45gW
    6Duc4XB3SxX5RfE3
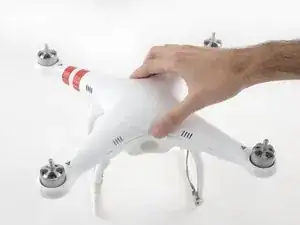
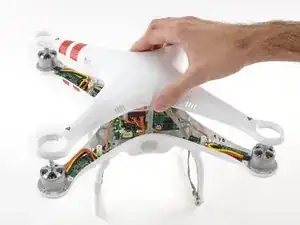
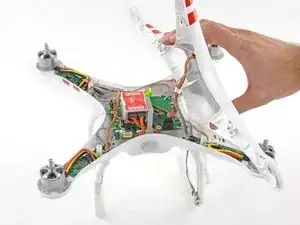
    • Lift up on the top portion of the shell and set it on its side.

    • Do not attempt to fully remove the case. The GPS and Magnetometer cables connect the top shell to the rest of the Phantom, be careful not to stress or break these cables.

  11. FjKSvEB5bdT25PVu
    FjKSvEB5bdT25PVu
    JKgNI5YHhUFQKbRp
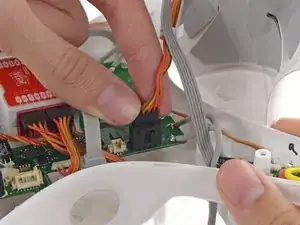
    • Lift the GPS cable molex connector up out of its socket on the main board.

    On the Phantom FCP40 (essentially a Phantom 1), the GPS cable connects directly to the Naza controller box, not to the board as shown here. Also the compass (magnetometer) is connected to the main board, not the GPS unit in the top shell, so you don't need to remove it to remove the top shell.

    Marcus Bointon -

  12. aFCnCh2dTXUFlStV
    aFCnCh2dTXUFlStV
    WM5sWVdBGXvUUUcQ
    mn1owkDNnNrCnTy2
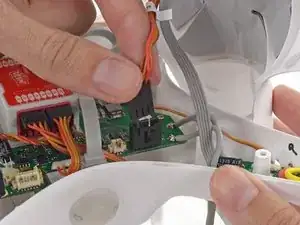
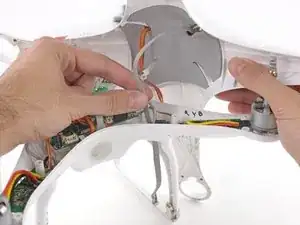
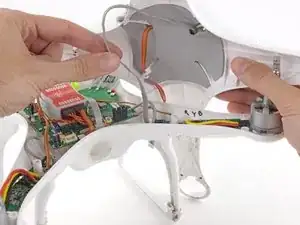
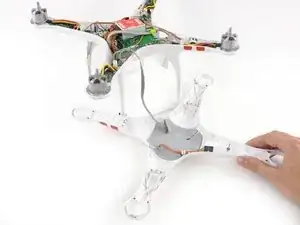
    • Gently pull the slack of the magnetometer cable through the case bottom shell.

    • The case top shell should now have enough slack to work on the interior of the Phantom.

  13. dvUihjalmwZstbhG
    dvUihjalmwZstbhG
    RHVgFUp3ToBfBO16
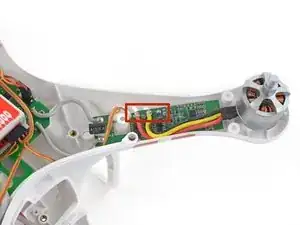
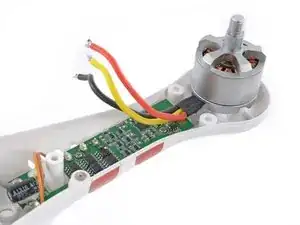
    • Desolder all three motors wires from the speed controller board.

    • Follow our soldering guide to learn how, or just to brush-up on your skills.

    • Be careful not to melt the plastic case bottom shell with your soldering iron or damage any electronic components.

    • When you're reassembling, solder the motor leads back in their original order. This may be different from the picture. Motors on arms across from each other have the same color order, so check the opposite arm for reference.

  14. AVWkKOtR1b1aostC
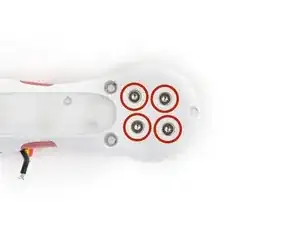
    • Unscrew the four 2 mm motor hex bolts from the case bottom shell.

  15. y1C4KkqIB3BRKOsP
    y1C4KkqIB3BRKOsP
    rkat2CN3drp2S4Nf
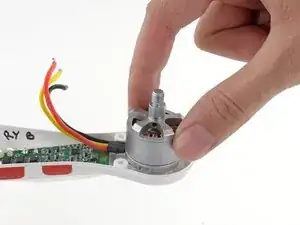
    • Remove the motor from the Phantom.

Abschluss

To reassemble your device, follow these instructions in reverse order.
David Hoyt

Mitglied seit: 09/04/10

3936 Reputation

0 Kommentare