Einleitung

This guide it to help in the removal and replacement of the Display Assembly for the Dell Inspiron 17-7347 laptop. The display assembly is vital because it is difficult to accomplish work on a laptop if nothing can be seen.

  1. GpqFNtPQa5WEBIOY
    GpqFNtPQa5WEBIOY
    CCBPuJm6c46rgcq6
    nYHnv5ynThWHXnS2
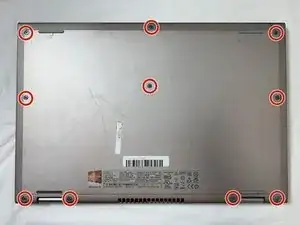
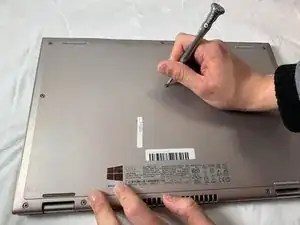
    • Flip the device over, so that the back is facing up.

    • Remove the ten, 7 mm, Phillips #1 screws on the back of your Dell Inspiron 13-7347.

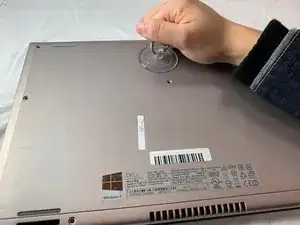
    • Use the suction cup to lift off the back case.

  2. BwyOVvRIGTaPQXLG
    BwyOVvRIGTaPQXLG
    PP2CFrMuRjlPuMce
    3PnCjNOlfHGGXMwg
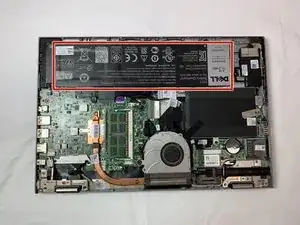
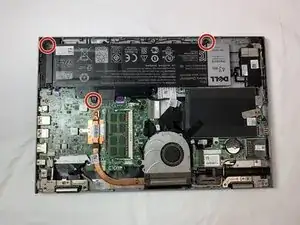
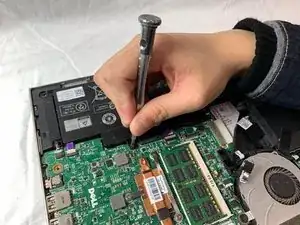
    • Remove the three 4 mm JIS #00 screws that secure the battery to the device.

  3. FkDawYuKPvamgRZ1
    FkDawYuKPvamgRZ1
    wUR14jEuHwh4DDkR
    CUKBZsiIkWRiZYbt
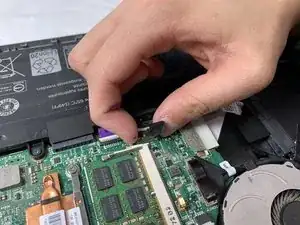
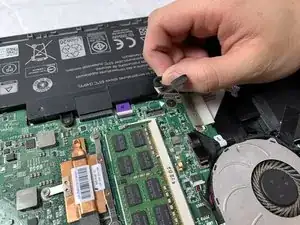
    • Unplug the flat connector that is connected to the battery.

  4. Gl1jSePK2PLZQddg
    Gl1jSePK2PLZQddg
    aMlMYGoOMZp4ngCT
    AwcWGrC1qqQnmEtV
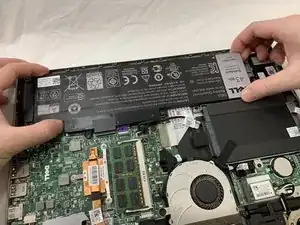
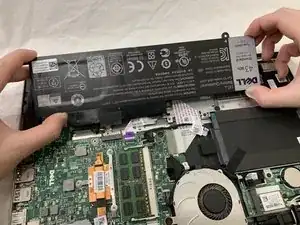
    • Lift the battery steadily from the device.

    • Tilt the battery upward while removing.

  5. VcEDLiF2KmSvwcC1
    VcEDLiF2KmSvwcC1
    LGZifh5K1QHIKVQG
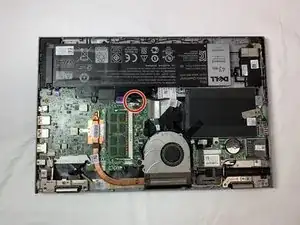
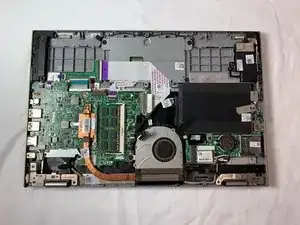
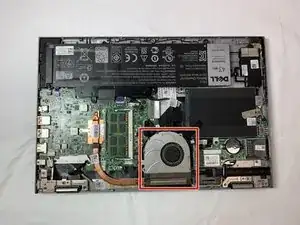
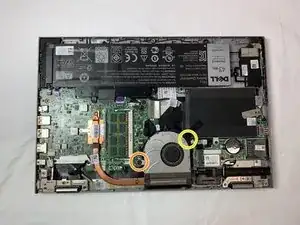
    • You should be able to identify the fan.

    • This is the 2.5 mm JIS #00 screw.

    • This is the 4 mm JIS #00 screw.

  6. LhCSpiVK16WfENdv
    LhCSpiVK16WfENdv
    S41jof2KysR5HkxT
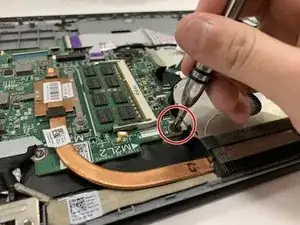
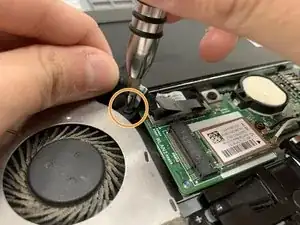
    • Remove the 2.5 mm JIS #00 screw.

    • Remove the 4 mm JIS #00 screw.

  7. qT6b1KSxPuSXjqN5
    qT6b1KSxPuSXjqN5
    oLuockmSXnm6JZLx
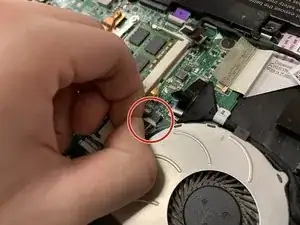
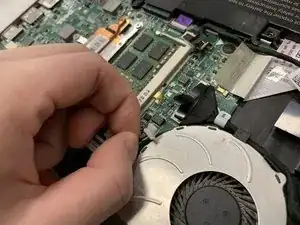
    • Detach the cable that connects the fan and the motherboard.

    • The cable is extremely fragile.

  8. y4WMFYIVqDQP3t1V
    y4WMFYIVqDQP3t1V
    fmPGIbPd6OnEyXKt
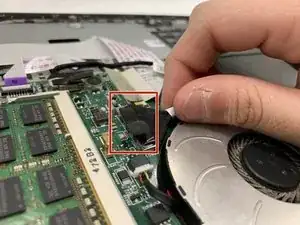
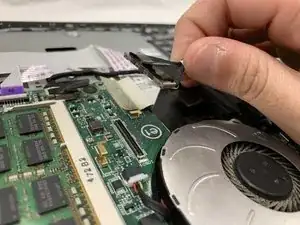
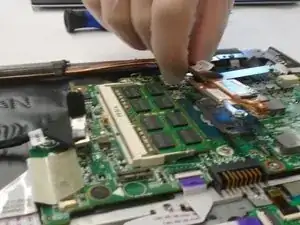
    • Detach the cord that connects the fan and the motherboard.

    Do not need this step in order to disconnect the fan.

    Kayji Arai -

  9. GnIBTaYAxpTcoZWC
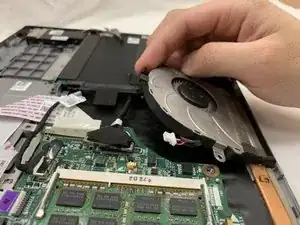
    • Remove the fan.

  10. 1rrgVuEGZIFvsPqU
    1rrgVuEGZIFvsPqU
    CjRqbWUXWn2Juw1K
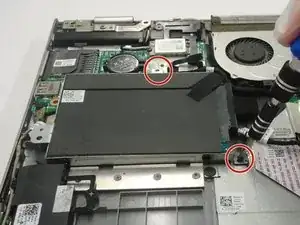
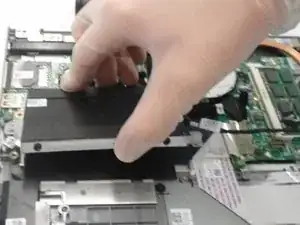
    • Using a Phillips #0 screwdriver, loosen and remove the two 3.0 mm hard drive screws.

    • Lift the hard drive up and out of the device.

  11. 4RTYUtFMDGta6prn
    4RTYUtFMDGta6prn
    KDDYDnAApFNZQNsl
    NOjiqLJUa3C2rSGO
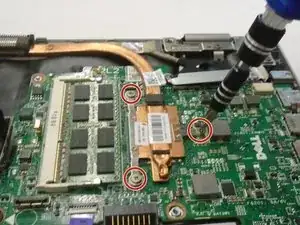
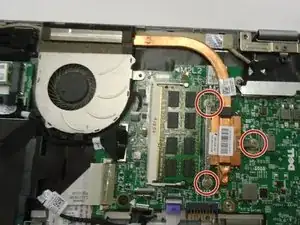
    • Using a Phillips #0 screwdriver, remove the three 3.0 mm heat sink screws.

    • Remove the Heat Sink.

    • When reinstalling the heat sink, be sure to clean both contact surfaces with isopropyl alcohol and reapply thermal paste.

  12. LX2iEBKh4rY4RKJx
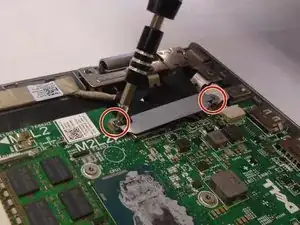
    • Using a Phillips #0 screwdriver, remove the two 5.0 mm screws on the metal bracket.

    • Remove the metal bracket.

  13. RaPWCyvwwrc5wR3Y
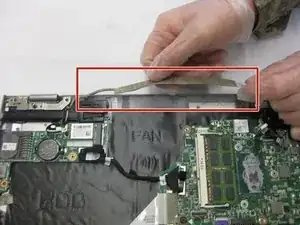
    • Loosen and reposition the display cable.

    • The display cable will not be removed. Do not attempt to remove the display cable.

  14. mW22PJPWI1IEpvqO
    mW22PJPWI1IEpvqO
    ReK1durlrUlUpMul
    XYyYltIWraorE1FT
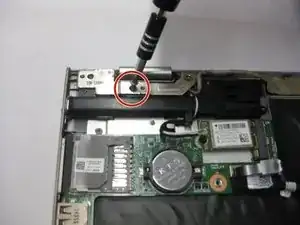
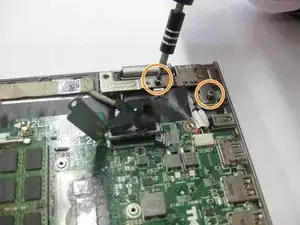
    • Using a Phillips #0 screwdriver, remove the 5.0mm screw on the left display hinge bracket.

    • Using a Phillips #0 screwdriver, remove the two 5.0mm screws on the right display hinge bracket.

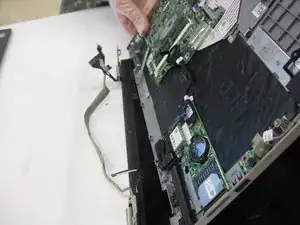
    • Lift and remove the display assembly.

Abschluss

To reassemble your device, follow these instructions in reverse order.
Kyle Smith

Mitglied seit: 02/10/19

331 Reputation

0 Kommentare