Einleitung
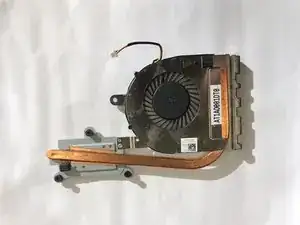
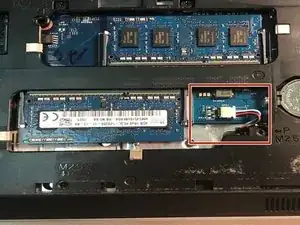
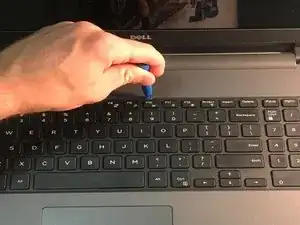
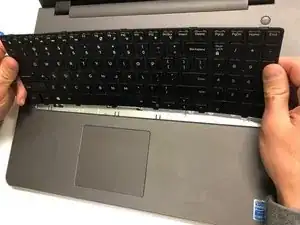
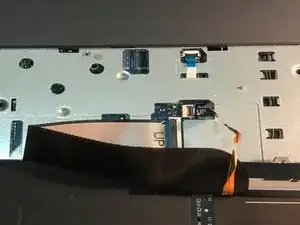
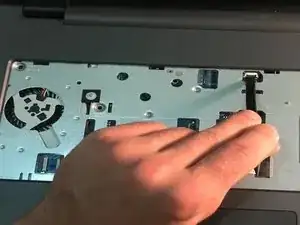
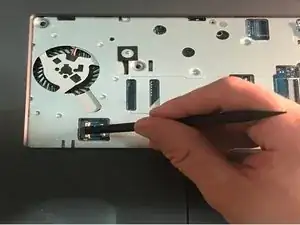
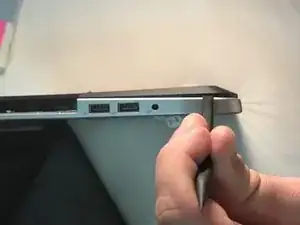
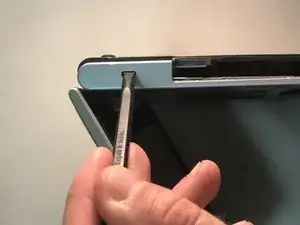
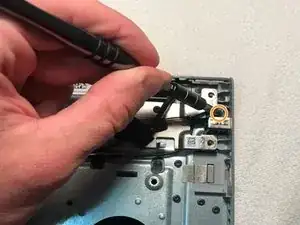
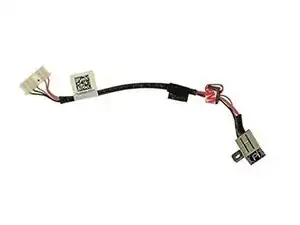
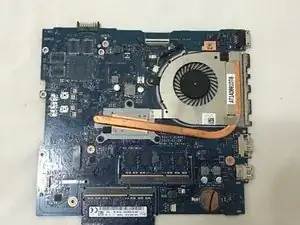
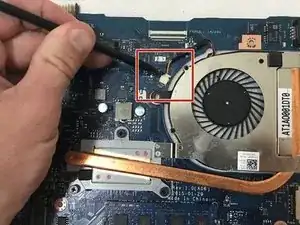
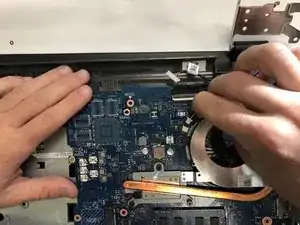
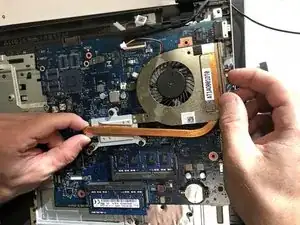
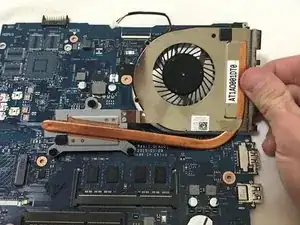
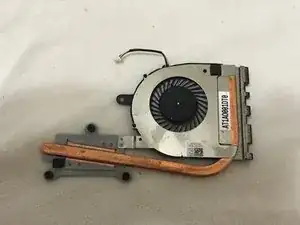
If your Dell Inspiron 5758 is overheating and throttling, it may be time to replace your fan and heatsink assembly.
Your fan and heatsink assembly transfers heat from your GPU and CPU to the environment. If the fan is not rotating or the heat-pipe is damaged, the GPU and CPU will get too hot and they will throttle their frequency to reduce temperature. The laptop’s performance will then slow down during heavy loads.
Before using this guide, verify that the ventilation on the bottom of the laptop is not obstructed or dirty. This will prevent the fan and heatsink from operating efficiently.
Electronics are sensitive to ESD. You must use ESD-safe tools and a mat. Here is a link for using an anti-static mat and wristband.
The heatsink will require new thermal paste. Here is a link detailing how to remove the old paste and how to apply the new paste.
The laptop must be unplugged and the battery removed before opening the laptop. Step 1 and 2 cover removing the battery.
Werkzeuge
Ersatzteile
-
-
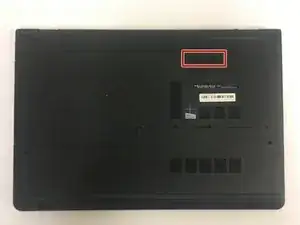
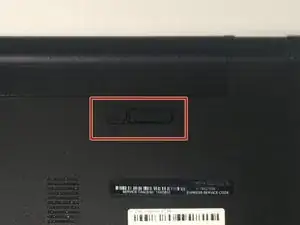
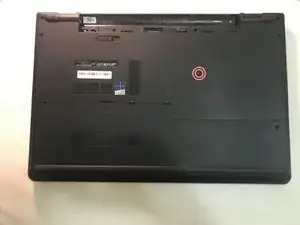
Flip the laptop with the serial number facing up. You should be able to see the battery release switch.
-
-
-
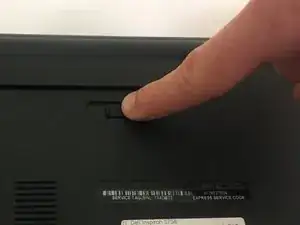
Slide the battery release switch towards the unlock icon.
-
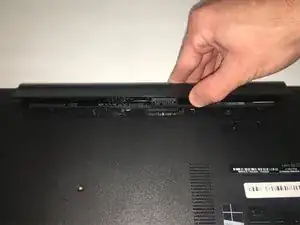
Lift and pull the ejected battery to remove it.
-
-
-
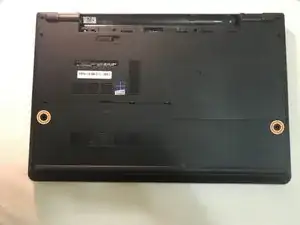
Remove the one 3mm optical drive screw.
-
Remove the two 8 mm screws.
-
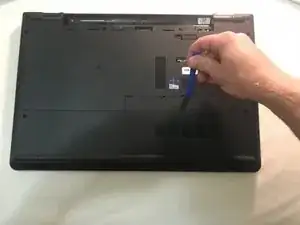
Pry up and remove the access door.
-
-
-
Unplug the hard drive cable.
-
Use a plastic opening tool or your fingernail to pop the tab of the cable connector. Then you will be able to disconnect the cable.
-
Remove the four 8 mm screws.
-
Remove the hard drive.
-
-
-
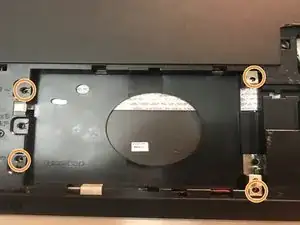
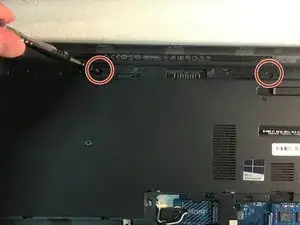
Remove the two 3 mm screws under the battery.
-
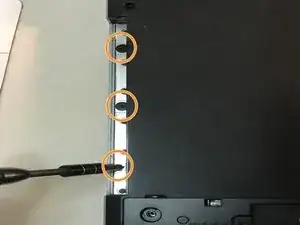
Remove the three 2 mm wafer screws under the optical drive.
-
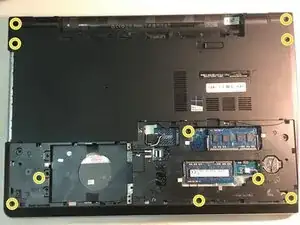
Remove the ten 8 mm base screws.
-
-
-
Press in the tabs to loosen the keyboard.
-
Carefully lift the keyboard up and turn it over.
-
-
-
Remove the one 5mm screw.
-
Lift the circuit board & turn it over.
-
Unplug the cable.
-
Remove the audio/USB circuit board.
-
-
-
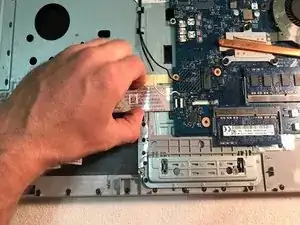
Loosen the audio / USB cable.
-
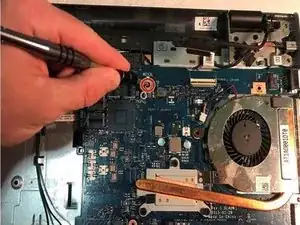
Remove the one 3mm motherboard screw.
-
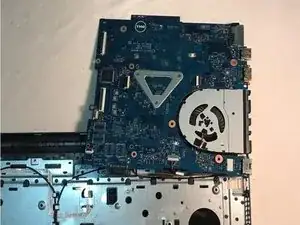
Lift the motherboard & carefully move it out of the way.
-
-
-
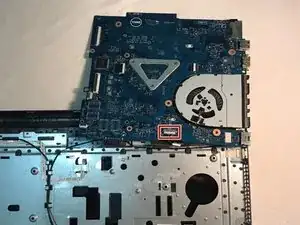
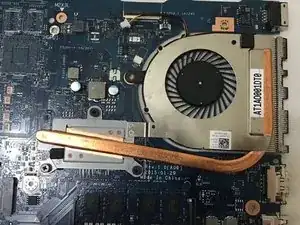
After removing the bottom base, you can access the heatsink and fan, which is attached to the motherboard.
-
-
-
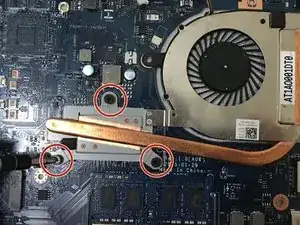
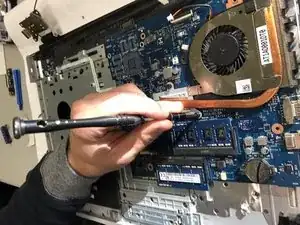
Remove the heatsink and fan from the motherboard. You can now clean or replace it as you see fit.
-
To reassemble your device, follow these instructions in reverse order.
