Einleitung
This guide will show you how to remove and replace the processor unit.
Werkzeuge
-
-
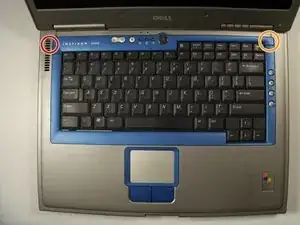
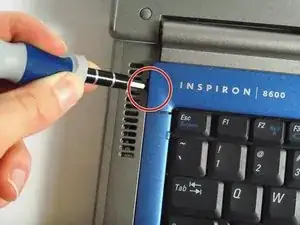
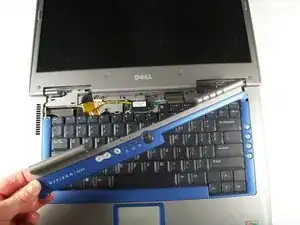
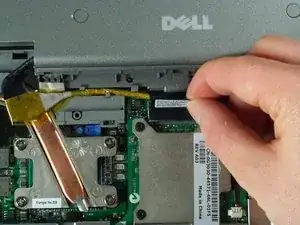
Insert a spudger into the notch at the far left side of the top blue panel and pry the hinge cover off.
-
You may need to pry the other side off as well. You can do this by inserting the spudger between the hinge and the top cover.
-
-
-
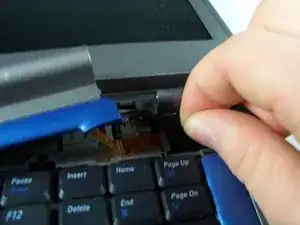
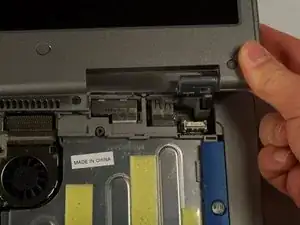
Pull the small black tab on the right hand side of the laptop.
-
You have now removed the hinge cover.
-
-
-
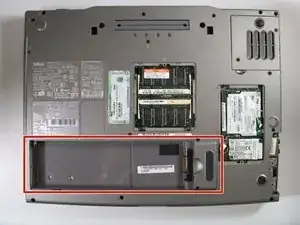
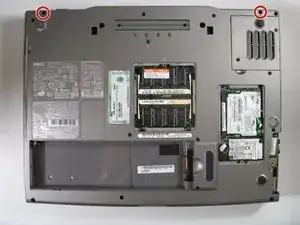
Flip the laptop over and remove the indicated screws.
-
Flip the laptop back over.
-
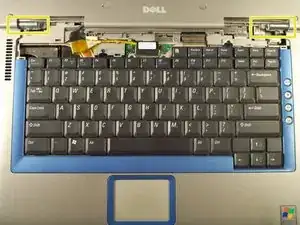
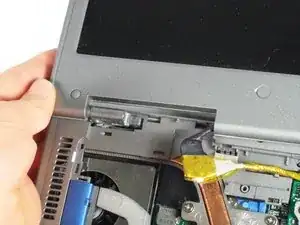
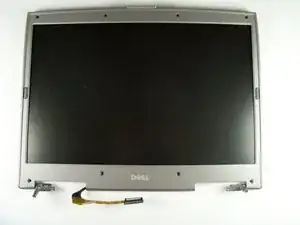
Find the two places where the display module is attached to the base of the computer.
-
-
-
Disconnect the video card from the display module by gently lifting upwards on the black tab.
-
-
-
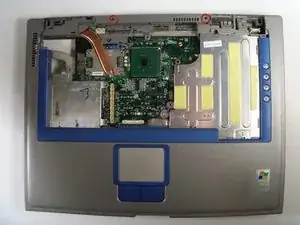
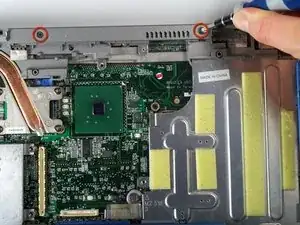
Locate and remove the top two screws and all the screws on the underside holding the top case down.
-
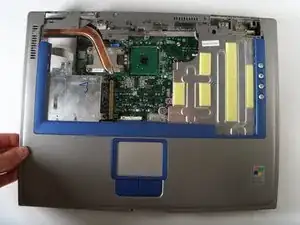
Gently pop off the top plastic case from the unit.
-
Gently pop off the top plastic case from the unit.
-
-
-
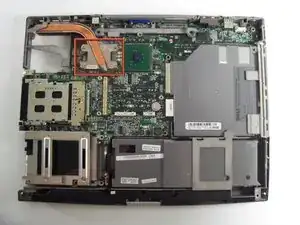
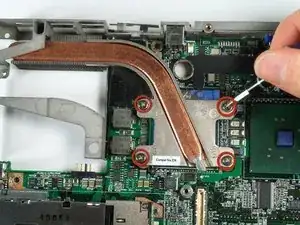
Remove the copper heat sink that is housing the CPU by removing the four securing screws.
-
Gently lift and remove the heat sink.
-
-
-
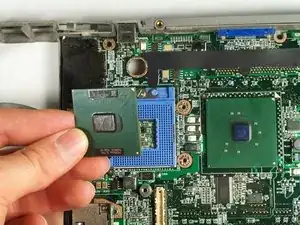
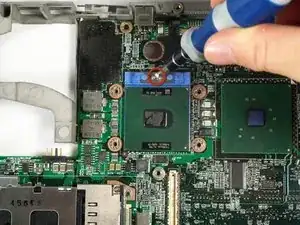
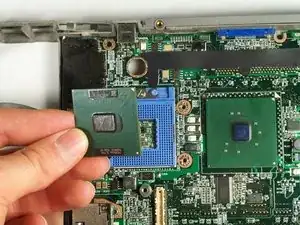
Gently loosen but do not remove the screw, and lift the CPU.
-
You may now replace the CPU.
-
To reassemble your device, follow these instructions in reverse order.
2 Kommentare
you can actually Simplify this a Lot by removing the fan on the bottom shown in Step 1 upper Right side then once you get to step 8 you only have to remove the screws for the processor heatsink and then bam your processor is able to be removed or replaced
DW
The Dell Inspiron 8600 I have (not sure the year) I had to remove the keyboard to access the CPU.. Remove two screws holding the keyboard down and lift on the white tab. Remove the fan (two screws and the fan comes right out).. That give you more room to remove the heat exchanger. Other than that it was SUPER EASY !!! Thanks
