Einleitung
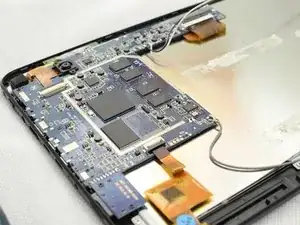
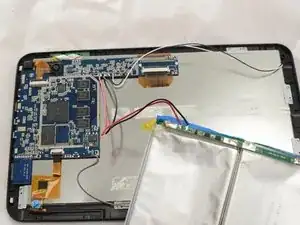
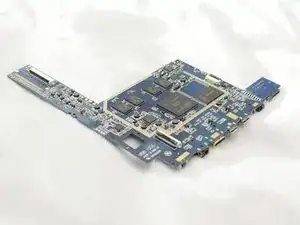
This guide will help you through taking out and replacing the motherboard, to do so you must complete some prerequisite guides to complete this guide.
Werkzeuge
-
-
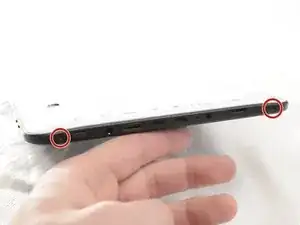
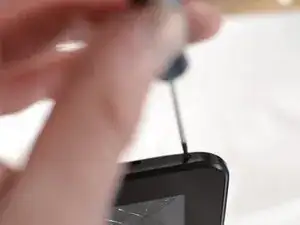
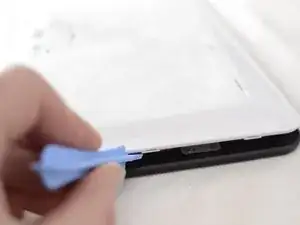
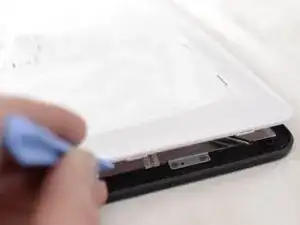
Remove the two screws on the side of the tablet that hold the back cover in place using the ifixit PH00 screwdriver.
-
The two screws for the back cover are: 1.5mm diameter x 3.5mm long
-
-
-
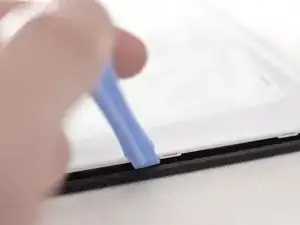
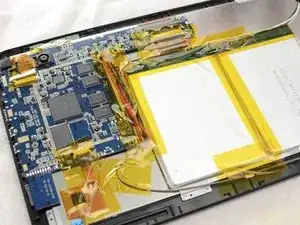
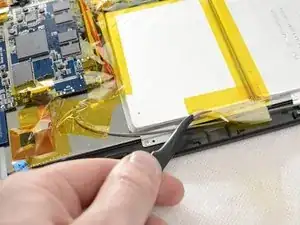
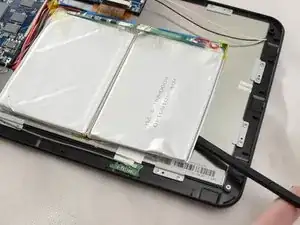
Slide the ifixit spudger under the battery, and work down the side of the battery, releasing it from the adhesive holding it down.
-
Remove battery from the Envizen V100M.
-
-
-
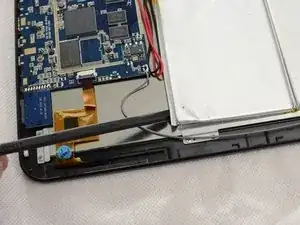
Remove the solder from the red and black wires from the battery attached to the motherboard. Here is a guide on how to solder.
-
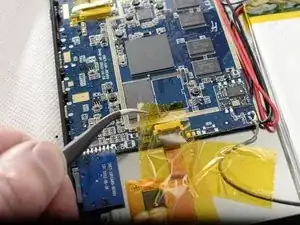
Remove the red and black wire from the motherboard using tweezers. If tweezers are unable to remove the wires, heat can be used to loosen the solder allowing for the wires to be removed.
-
-
-
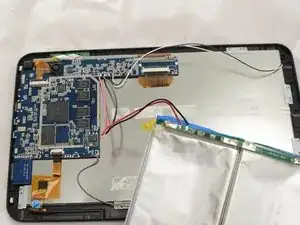
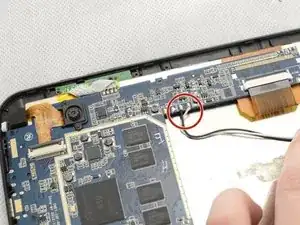
Remove the black and white wires from the motherboard. These wires power the LCD screen. Remove the black and white wires by first trying tweezers and if difficult use heat to loosen the solder allowing for the removal of the wires.
-
-
-
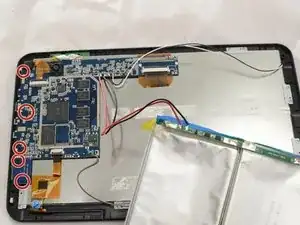
Remove the five screws holding the motherboard assembly down using the ifixit PH00 screwdriver
-
These screws are also 1.5mm in diameter and 3.5mm long
-
-
-
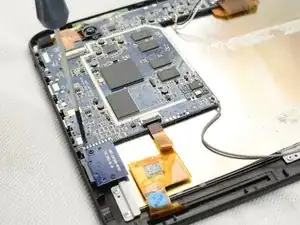
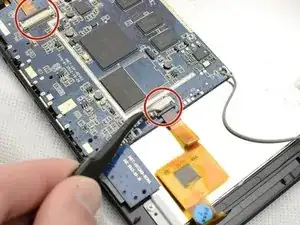
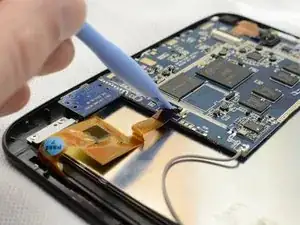
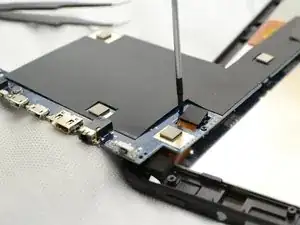
Remove the three ribbon cables from their couplings.
-
Using the prying tool gently push the bracket up, allowing for the cable to right out.
-
-
-
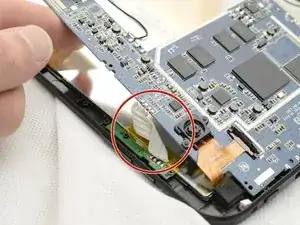
Remove the solder holding the white ribbon cable in place, here is a guide on how to solder.
-
Then flip the motherboard over to access the screws for the rear facing camera.
-
-
-
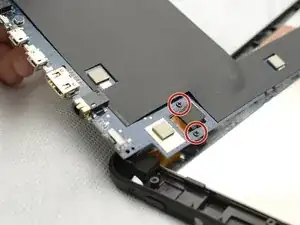
Unscrew the camera from the back of the motherboard using the ifixt PH00 screwdriver.
-
Gently push on the black plastic bracket holding the camera in place. The bracket should pop right out.
-
The screws for mounting bracket are also 1.5mm diameter and 3.5mm long.
-
To reassemble your device, follow these instructions in reverse order.
