Einleitung
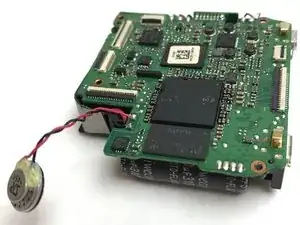
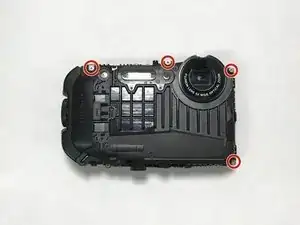
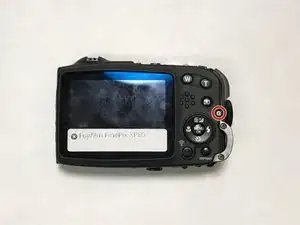
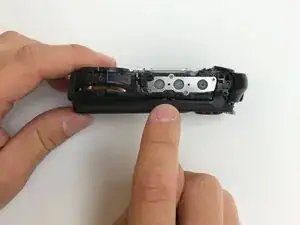
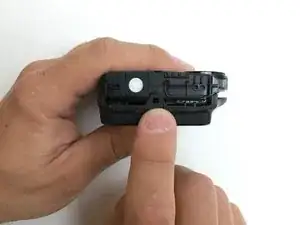
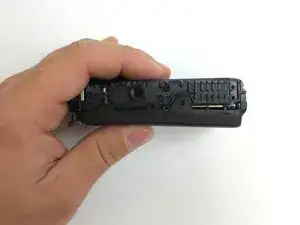
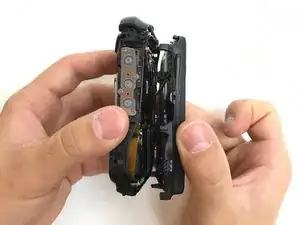
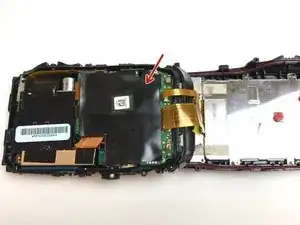
Learn how to replace the speaker in a Fujifilm FinePix XP80 camera.
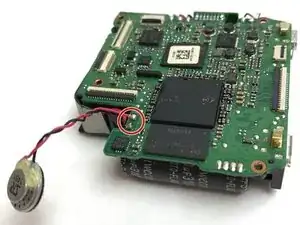
Please note: this guide requires soldering. For more information, see the Soldering Guide.
Werkzeuge
-
-
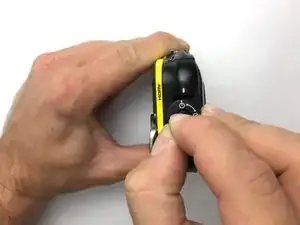
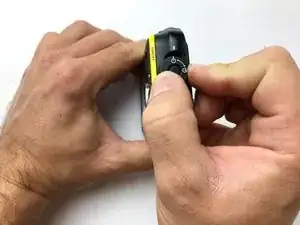
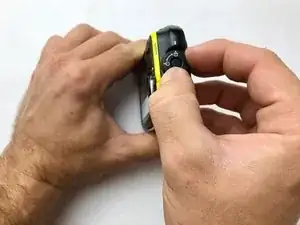
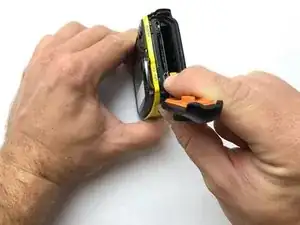
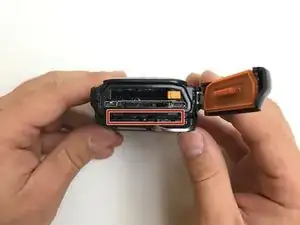
Open the side panel which houses the battery compartment. Press the center button down and twist the dial.
-
-
-
Release the battery from its secured position by pulling the orange tab back. The battery can then be removed from its compartment.
-
-
-
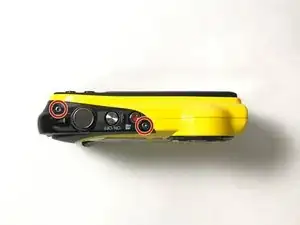
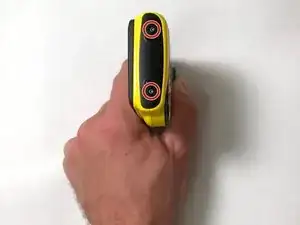
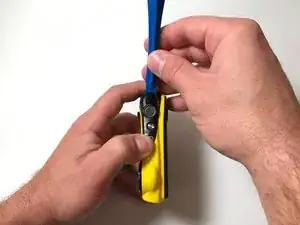
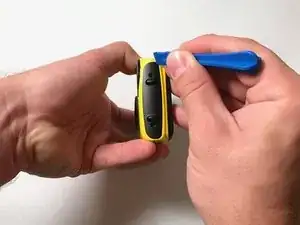
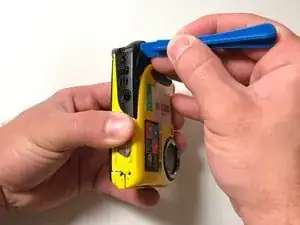
Using a plastic opening tool, gently pry up the edge of the button case, located at the top of the camera, until it unclips.
-
-
-
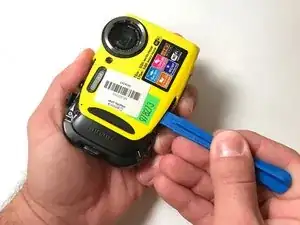
Use the plastic opening tool to carefully pry the yellow front panel completely away from the camera.
-
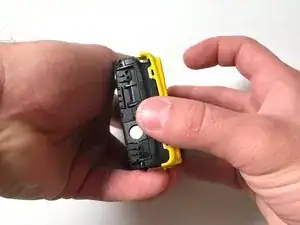
Use your hands to take off the yellow back panel.
-
-
-
Open the battery compartment on the side of the camera.
-
Using your plastic opening tool, carefully pry the two clips apart as indicated in the photo.
-
-
-
Gently open the camera, noting the presence of two orange tapes along one side that connect the motherboard to the LCD screen.
-
Open the camera like a book and lay both sides flat next to one another, leaving the orange tapes connected.
-
-
-
Using a plastic opening tool, carefully remove the lens housing to the left of the motherboard.
-
-
-
Peel back the sticker on the side of the motherboard.
-
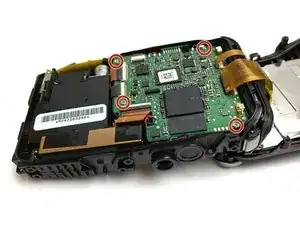
Using a PH000 Phillips bit, remove the screw.
-
-
-
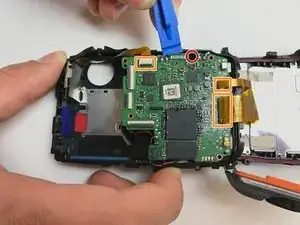
Using a PH000 Phillips bit, remove the screw shown.
-
Unclip the three ribbon cables that are still attached to the motherboard.
-
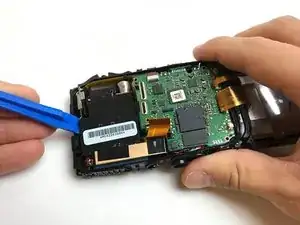
Use the plastic opening tool to gently pry the motherboard loose.
-
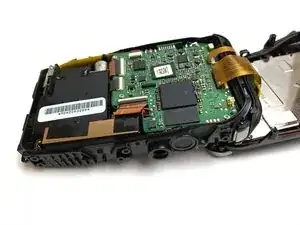
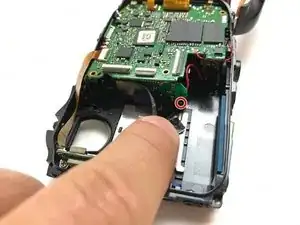
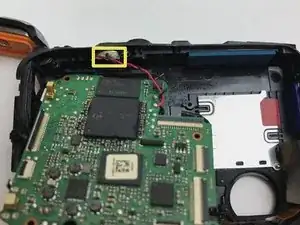
Move the motherboard aside slightly to reveal the speaker, which is connected to the motherboard by red and black wires.
-
-
-
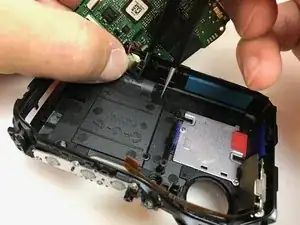
Lift the motherboard out of the way, being careful of the speaker wires.
-
Carefully pry the speaker out of its slot in the case.
-
To reassemble your device, follow these instructions in reverse order.
