Einleitung
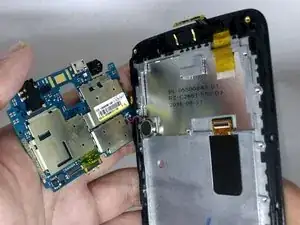
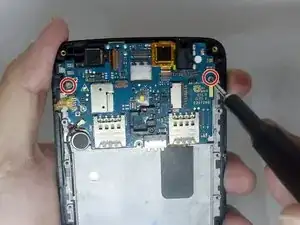
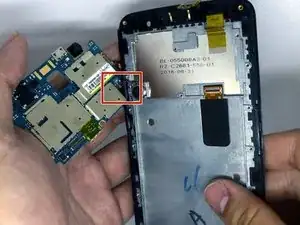
This is a guide showing you how to remove the Fusion5 5.5 Gen II motherboard to access certain components. Please note that this is not a guide for full disassembly of each component. Be sure to turn off the device before you start the first step and don’t forget to ground yourself.
Werkzeuge
-
-
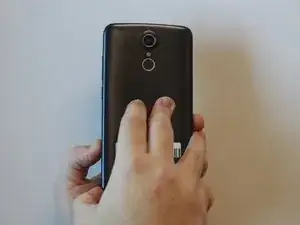
Hold the device with the screen facing away from you and the back of the device facing you.
-
Locate the groove at the bottom corner of the device.
-
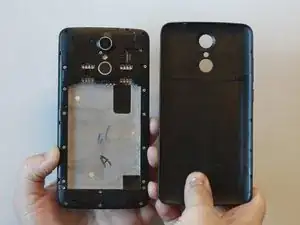
Begin prying the back cover of the device off from the groove and working your way around the outside edges of the device.
-
-
-
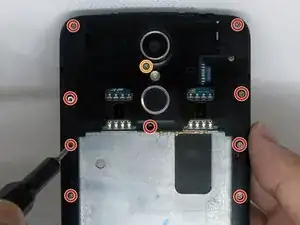
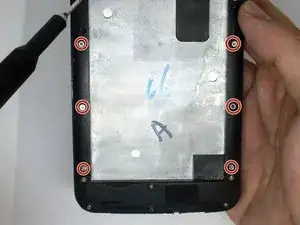
Remove thirteen 3mm Phillips #00 screws from the midframe.
-
Remove the single 5mm Phillips #0 screw below the camera.
-
-
-
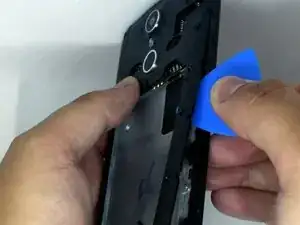
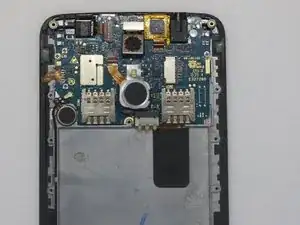
Using an opening pick, begin prying one of the top corners to remove the midframe from the device.
-
-
-
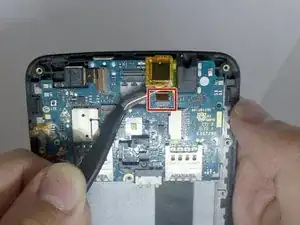
Using tweezers, flip the brown tab securing the ribbon cable.
-
Grab the ribbon cable with the tweezers and pull it from its socket on the motherboard.
-
To reassemble your device, follow these instructions in reverse order.
