Einleitung
In this guide the repairer replaces the LCD display of the device by carefully prying apart the components with one's hands.
Prerequisite Guide:
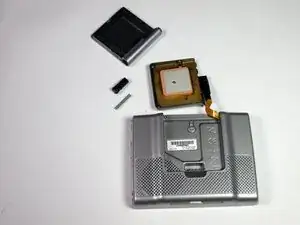
Disassembling Garmin Nuvi 370 Into Core Components
Tools Used:
- None
Estimated Duration: 5 minutes
Werkzeuge
-
-
Unscrew the two screws on the antenna unit using a torc-head screwdriver.
-
Gently pry open the antenna unit with your fingers.
-
-
-
Slide out the inner casing attached to the antenna body.
-
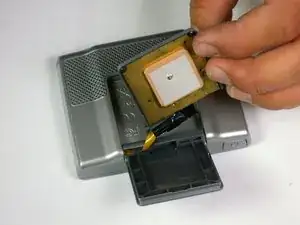
Remove the rotating joint connecting the antenna casing to the main device:
-
Squeeze tweezers into the shown location and compress the spring.
-
Lift out the outer casing while keeping the spring compressed.
-
-
-
Using a torx-head screwdriver, unscrew the two revealed screws that connect the front and back of the device.
-
-
-
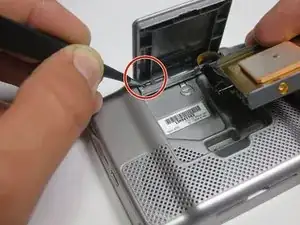
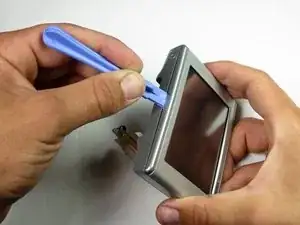
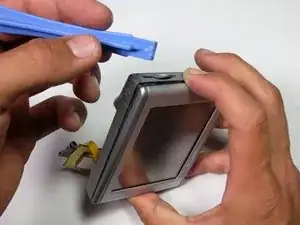
Insert the plastic opening tool into the center of the edge as shown in first picture.
-
Slide the plastic opening tool along the central gap of device, making sure that each edge is free, as shown in the second picture.
-
-
-
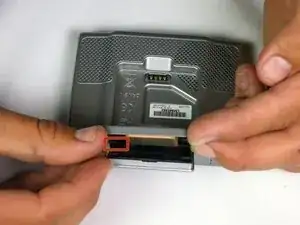
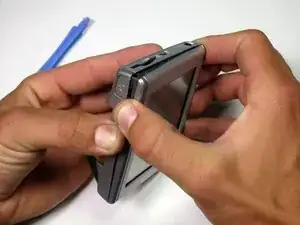
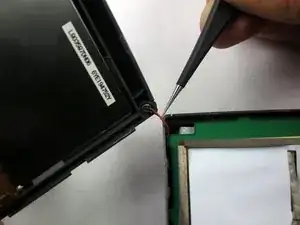
Using tweezers, gently lift the microphone from its resting position to fully separate the device into two parts.
-
Finally, remove the screw that connects the motherboard to the back casing with a 3mm head driver.
-
-
-
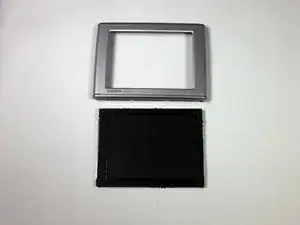
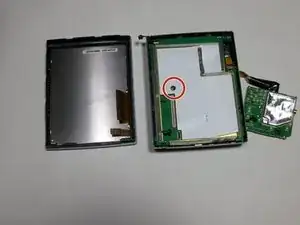
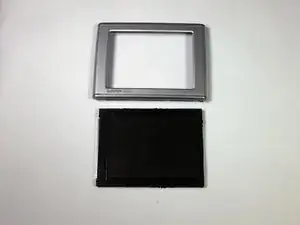
After following the instructions in the main dis-assembly guide, you should have the screen detached from the motherboard.
-
-
-
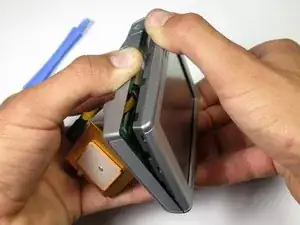
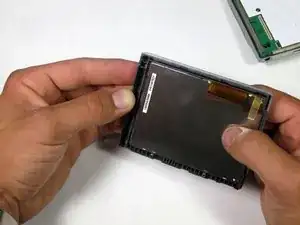
Hold the front panel plastic and screen as shown.
-
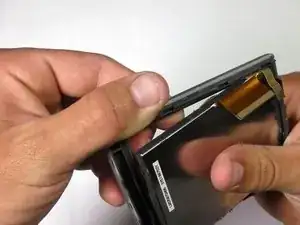
Gently apply pressure on the left and top left corner to allow the screen to come out of the plastic shell.
-
-
-
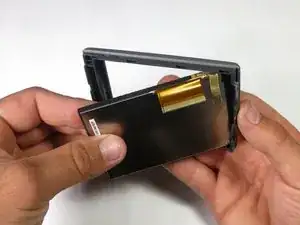
Once the top-left corner is out, carefully start detaching the bottom of the screen, starting from the bottom left.
-


To reassemble your device, follow these instructions in reverse order.