Einleitung

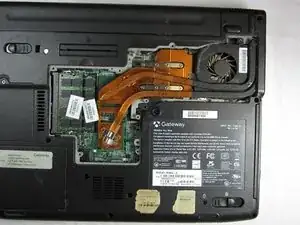
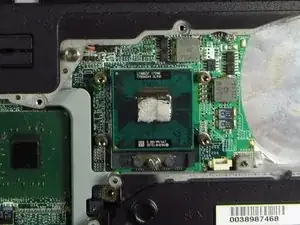
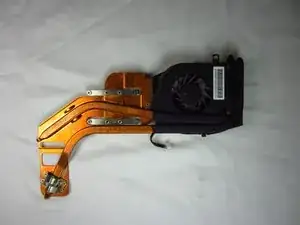
The cooling assembly is made up of a cooling fan and a large piece of copper to help dissipate heat out of the bottom of your laptop. Over time, the fan can wear out and it will need to be replaced.

  1. gWjPoVVmxBmIZSer
    gWjPoVVmxBmIZSer
    e2BDOBRsQbGEHfnI
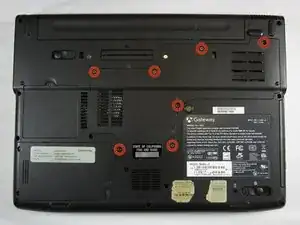
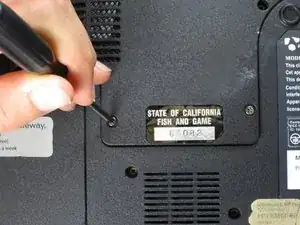
    • Loosen the seven 6 mm Phillips #0 screws on the back of the case.

    • Leave all the screws in the back plate and so you don't lose them.

  2. o4gLPpeQM23lKotW
    o4gLPpeQM23lKotW
    pLDWw1xvAALCiwgo
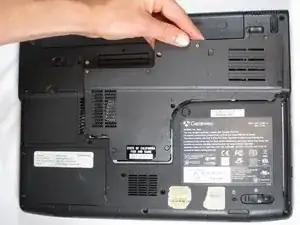
    • Pull upwards on the top of the back cover to remove it.

  3. AugjFbS4Lqb5NXta
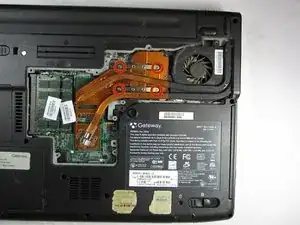
    • Remove the four 9 mm Phillips #0 screws from the cooling assembly.

  4. kUTwKlMyRexrNIk5
    kUTwKlMyRexrNIk5
    BQ4ZQEjBG6affAM1
    UAi1jQWUBIcoadv3
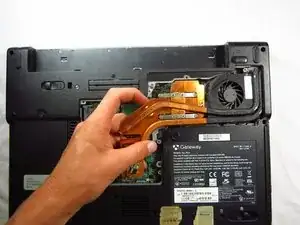
    • Gently and carefully remove the cooling assembly to avoid ripping the wire attaching it to the computer.

    • Gently flip the cooling fan assembly upside-down on the computer surface.

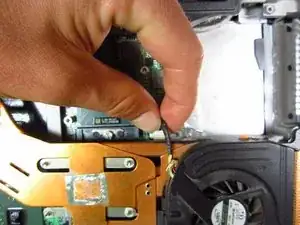
    • Carefully grab the wire attached to the computer and pull away from the port.

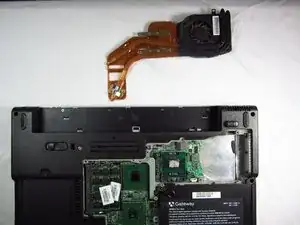
    • The cooling fan is now safe for removal.

  5. YqAEHpVUb1I1gE3h
    • When reinstalling heat sink and fans clean off the old thermal paste from both the heat sink and the CPU and then add new paste to CPU

    • If your unfamiliar with applying thermal paste Wie trage ich Wärmeleitpaste am besten auf

Abschluss

To reassemble your device, follow these instructions in reverse order.
Chris Naughton

Mitglied seit: 07/04/14

705 Reputation

0 Kommentare