Einleitung

This repair guide was authored by the iFixit staff and hasn’t been endorsed by Google. Learn more about our repair guides here.

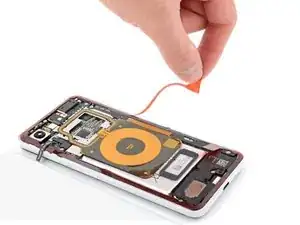
Follow this guide to correctly apply back cover adhesive to your Pixel 3 after a repair.

Before you begin, you should have already removed your Pixel’s back cover and set it aside. Detailed instructions for this can be found here.

  1. rgt1CHrJIMtXbmEB
    rgt1CHrJIMtXbmEB
    CBNfyqHEpiCFwIXg
    EuetfUTiHRVBPduG
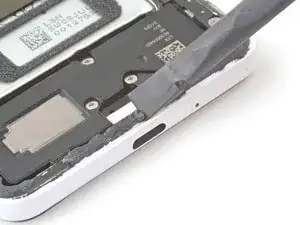
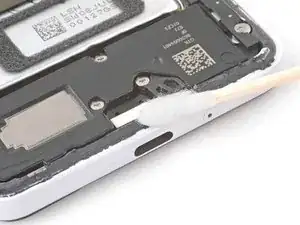
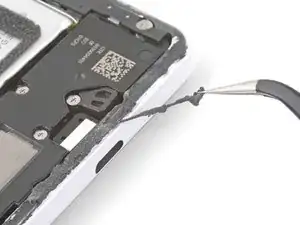
    • Pick and scrape away the old adhesive from the frame.

    • Use a spudger to scrape away any lingering adhesive.

    • Don't use metal tools to scrape away adhesive as this will damage the frame.

    • For best results, clean the area underneath the removed adhesive with 90% or greater isopropyl alcohol to prep the surface for the new adhesive.

  2. ysu6EQhdxA5xpVEM
    ysu6EQhdxA5xpVEM
    5wCqjDwgKPK3BHBt
    GRVBPZqfjFMVXjES
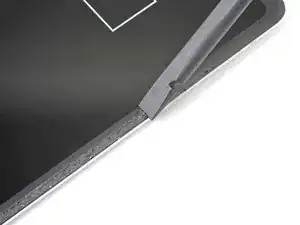
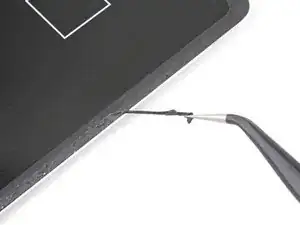
    • Repeat the previous step for the back cover adhesive.

    • Don't use metal tools to scrape away adhesive as this will damage the back cover coating.

    • Don't use isopropyl alcohol near the rear camera bracket as it will damage its adhesive and foam.

    Test your repair before opening the adhesive.

    You can recheck your connections before committing the adhesive.

    Sadly, my phone did not work. Before or after replacing battery. Hoped that replacing bulged battery would fix it.

    Darn

    David Lincer -

  3. lIH6bYBXrQEEnnw2
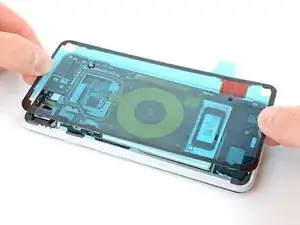
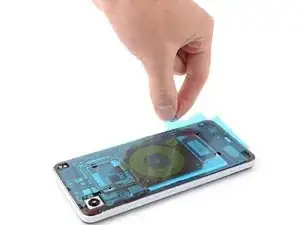
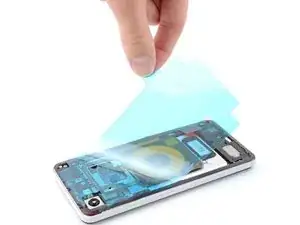
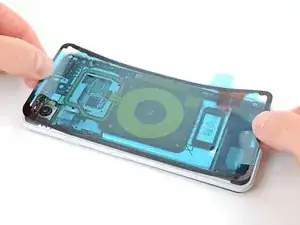
    • Peel away the clear plastic lining to expose the frame side of the replacement adhesive.

  4. Mdx3ABD14qOQF6Rg
    Mdx3ABD14qOQF6Rg
    iArfMVEnLArRFuOu
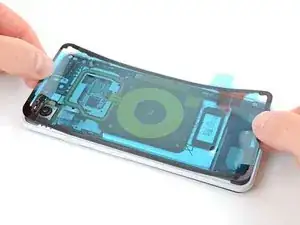
    • Be very careful during this step! The adhesive is very sticky and can't be repositioned once it sticks. Misaligned adhesive can lead to an improper seal.

    • Lower the adhesive onto the frame.

    • Use the rear camera and corners to properly align the adhesive.

  5. eKkEi41bZlbMYLJl
    eKkEi41bZlbMYLJl
    yMnEsRfTYAOLpftL
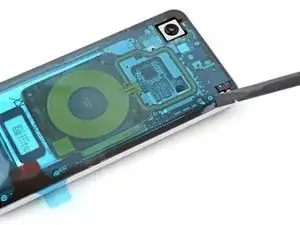
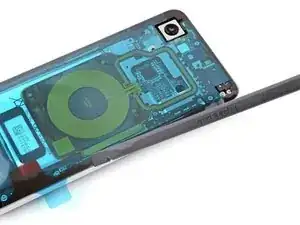
    • Use the flat end of a spudger or your fingernail to press down on the adhesive.

    • Slide along the perimeter to secure the adhesive to the frame.

  6. ny5Qe1H6FYCBLTGB
    ny5Qe1H6FYCBLTGB
    bkMlZXFOCanLEsPW
    • Peel away the blue outer plastic lining on the back cover side of the adhesive.

  7. gMlfAKJyjUgO6ZxU
    gMlfAKJyjUgO6ZxU
    LOYCm4VK2VYAvePr
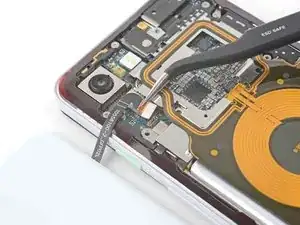
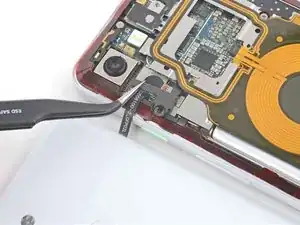
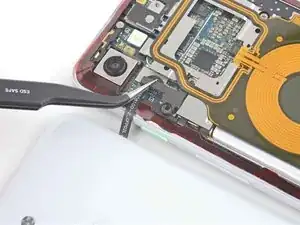
    • Use tweezers or your fingers to position the fingerprint sensor cable over its connector on the motherboard.

    • Use the flat end of a spudger or your finger to press down on the connector to secure it to the motherboard.

  8. 31SIpDFxWvTuiWVs
    31SIpDFxWvTuiWVs
    cnTRGvlcTSvh54w3
    mAwp32xuttPxm5vT
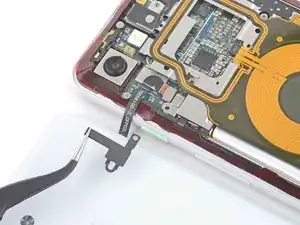
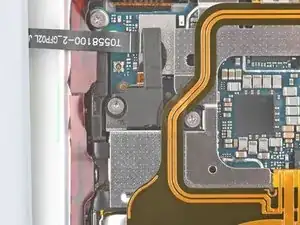
    • Use tweezers or your fingers to place the bracket over the fingerprint sensor cable.

  9. GAWEfWimZGYRS3l6
    GAWEfWimZGYRS3l6
    o4LrrLCUvJDsg3rG
    • Use a Phillips PH00 screwdriver to install the two 4.1 mm screws securing the bracket to the frame.

  10. F6ara6Xrw2SGWkHQ
    F6ara6Xrw2SGWkHQ
    Bllbspb4WDAnjboT
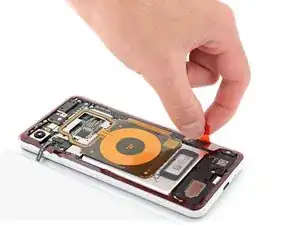
    • Peel away the red plastic lining to expose the back cover side of the adhesive.

  11. mtXvyaRPiGXwPxEV
    mtXvyaRPiGXwPxEV
    wbPEXBEVlWbsK5nT
    • Lower the back cover onto the frame.

    • Press down on all edges of the back cover to secure it to the frame.

    • To help the adhesive bond more securely, heat the perimeter of the back cover and then place the phone face-down under a heavy stack of books for 30 minutes.

Abschluss

Repair didn’t go as planned? Try some basic troubleshooting, or ask our Pixel 3 Answers community for help.
Chayton Ritter

Mitglied seit: 21/08/20

12163 Reputation

0 Kommentare