Einleitung
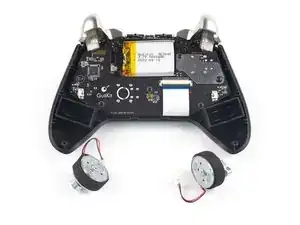
Use this guide to replace a worn out or dead battery in a GuliKit KingKong 2 Pro controller.
For your safety, discharge the battery below 25% before disassembling your controller. This reduces the risk of fire if the battery is accidentally damaged during the repair. If your battery is swollen, take appropriate precautions.
You’ll need replacement adhesive when reassembling your device.
-
-
Use a Phillips #00 screwdriver to remove the four 11 mm-long screws securing the back cover.
-
-
-
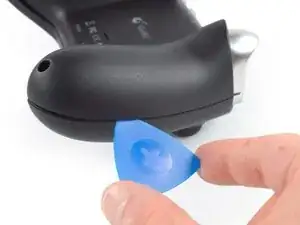
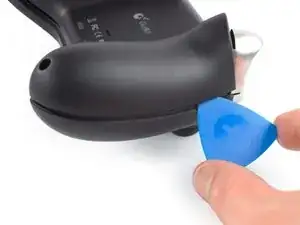
Insert an opening pick into the gap between the front assembly and the back cover at the bottom edge of the controller.
-
Tilt your opening pick downwards to widen the gap.
-
-
-
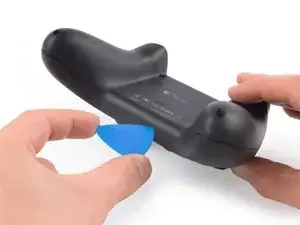
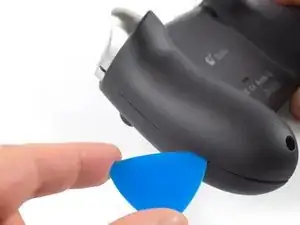
Insert an opening pick into the gap between the front assembly and the back cover at the outside of the right controller handle.
-
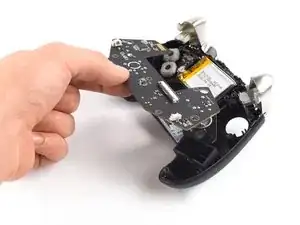
Slide the opening pick along the gap to separate the front assembly from the back cover.
-
-
-
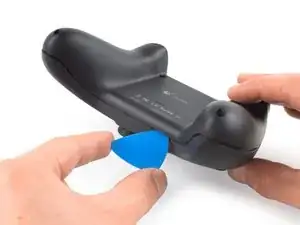
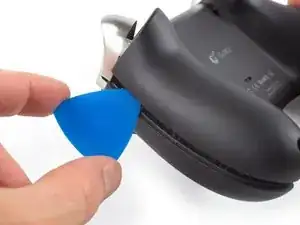
Insert an opening pick into the gap between the front assembly and the back cover at the outside of the left controller handle.
-
Slide the opening pick along the gap to separate the front assembly from the back cover.
-
-
-
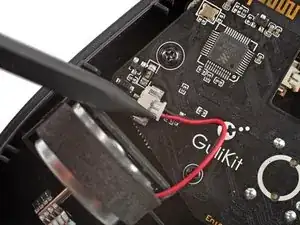
Use the point of a spudger to disconnect the right vibration motor by pushing the connector straight out of its socket.
-
-
-
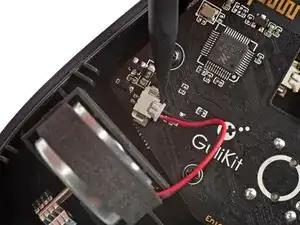
Use the point of a spudger to disconnect the left vibration motor by pushing the connector straight out of its socket.
-
-
-
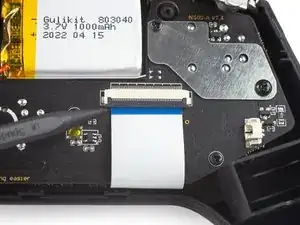
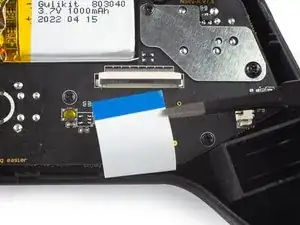
Use a spudger, an opening tool, or your fingernail to flip up the small, hinged locking flap on the interconnect cable's ZIF connector.
-
-
-
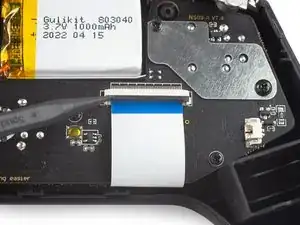
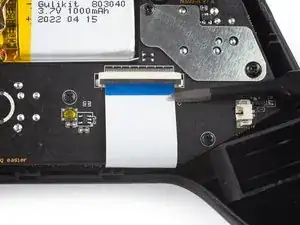
Use a pair of blunt nose tweezers to disconnect the interconnect cable by pulling the cable straight out of the connector.
-
-
-
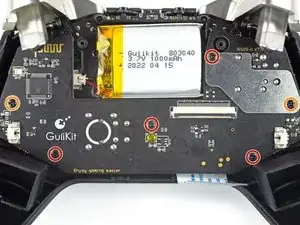
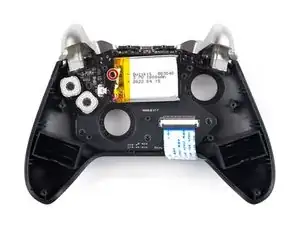
Use a Phillips #00 screwdriver to remove the screws securing the mainboard assembly:
-
Four 7.8 mm-long screws.
-
Two 11 mm-long screws.
-
-
-
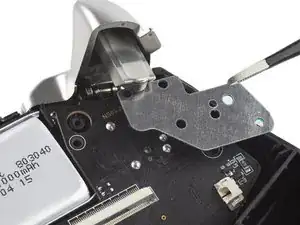
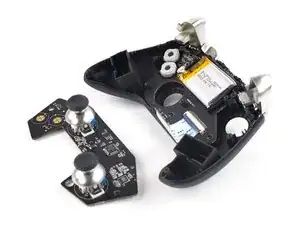
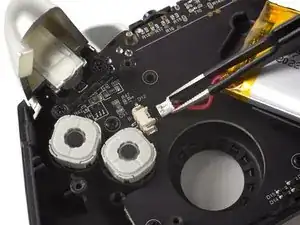
Use a pair of blunt nose tweezers to remove the metal shield from the mainboard assembly.
-
-
-
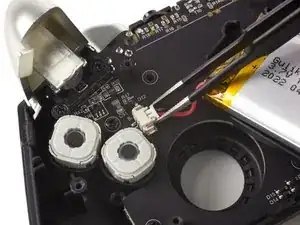
Use a Phillips #00 screwdriver to remove the single 7.8 mm-long screw securing the battery frame.
-
-
-
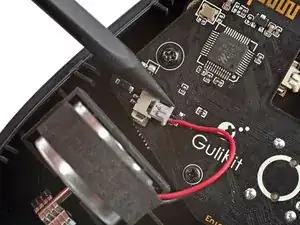
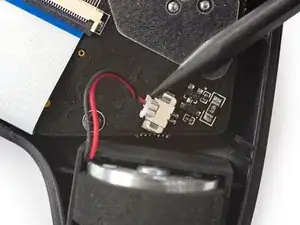
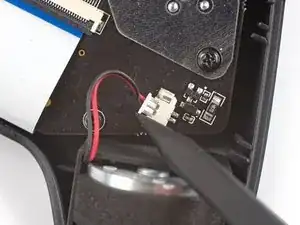
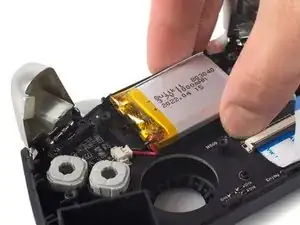
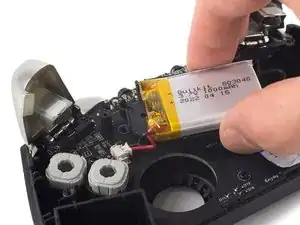
Use a pair of blunt nose tweezers to disconnect the battery connector by pulling it straight out of its socket.
-
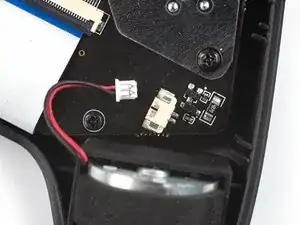
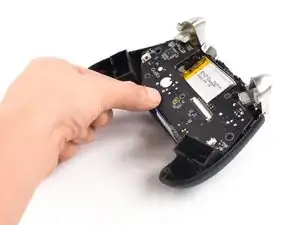
Remove the battery and its frame from the controller housing.
-
-
-
Apply a heated iOpener to the back of the battery frame for two minutes to loosen the adhesive underneath the battery.
-
-
-
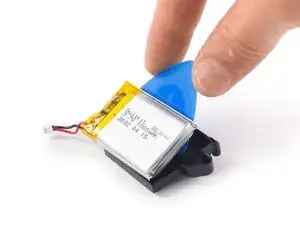
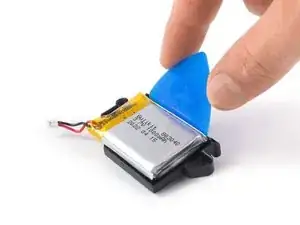
Insert an opening pick into the gap between the battery frame and the battery.
-
Slide the opening pick underneath the battery to cut the adhesive and pry it up.
-
Remove the battery.
-


To reassemble your device, follow these instructions in reverse order.
For optimal performance, calibrate your newly installed battery after completing this guide.
Take your e-waste to an R2 or e-Stewards certified recycler.
Repair didn’t go as planned? Check out our Answers community for troubleshooting help.

2 Kommentare
where i can buy battery? I think i get new gamepad with dead battery.
Darrick -
What are the dimensions of the battery so we know which battery to order?
Hi, do you know what size screw is used for the outer portion? mine is stripped and i need to buy a new one
Kevin Dimas -
What you should use is a PH #0 Screwdriver, not a PH #00
Yamatoklok -