Einleitung

If your HMDX Chill will not play through headphones or other audio port devices, you can fix the problem by replacing the audio port. This guide will show you how to disassemble the HMDX Chill. This guide will also show you how to locate the audio port so you can replace the defective audio port.

  1. TnKRyOvVfFRkVBUp
    TnKRyOvVfFRkVBUp
    qauVXHvCU5jBHe1h
    GcRLoLvFs2TUL4rM
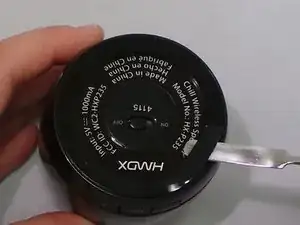
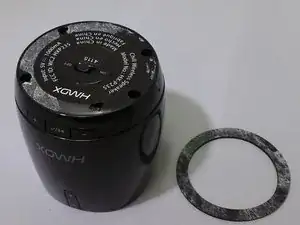
    • Insert a metal spudger under the rubber base.

    • Pry the rubber base off.

  2. 5yZObJVXxJHVaqyC
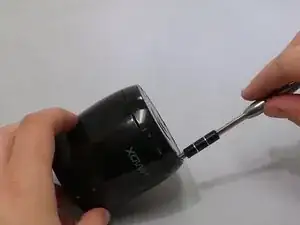
    • Use a Phillips #1 screwdriver to remove four 9 mm screws from the base of the device.

  3. DWbpTLqxR13KVSsE
    DWbpTLqxR13KVSsE
    iQlrydWxMRSvWZEy
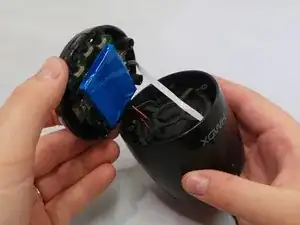
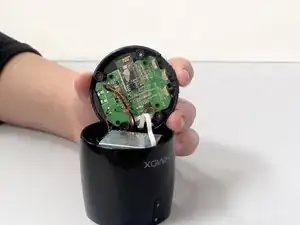
    • Grip the base of the HMDX Chill.

    • Pull the base upwards.

  4. PfAbIFBbWuoPgDdW
    PfAbIFBbWuoPgDdW
    xe5RQKBneTMuocb1
    PMj1THoSfDiiIsCt
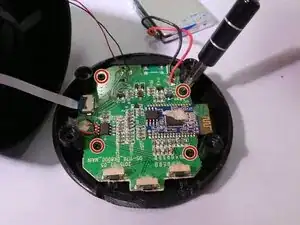
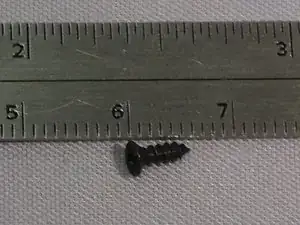
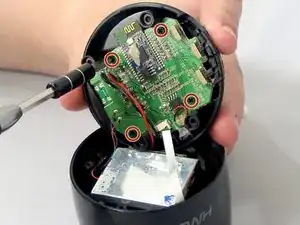
    • Use a Phillips #1 screwdriver to remove the four 6 mm screws that secure the motherboard to the base of the device.

  5. XWdHbQuSOZZmbdGm
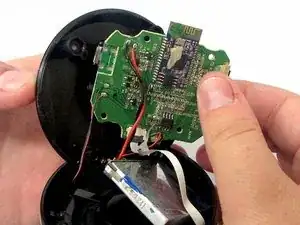
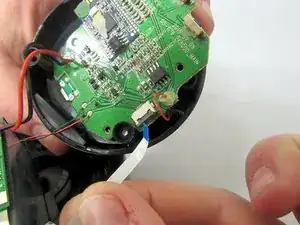
    • Pull the motherboard away from the base gently.

    • Do not pull too hard on the motherboard. It is still attached to the base by wires.

  6. EZHLlcIGGHGHJCJS
    EZHLlcIGGHGHJCJS
    2WPNZhCjUqWt4FEj
    J4djjBZt1AleEFFY
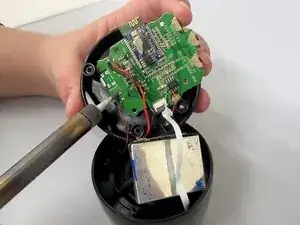
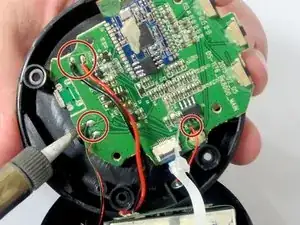
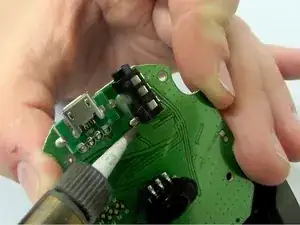
    • Use a soldering iron to desolder the wires connecting the motherboard to the case.

  7. rO5GPPHNWZlKPfxD
    rO5GPPHNWZlKPfxD
    OBWFDh5X3VgVtanW
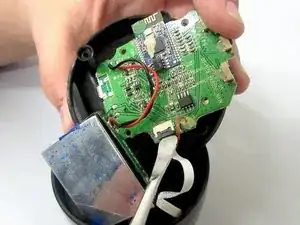
    • Insert the spudger between the case and the wire and move the spudger upwards.

    • This will cause the case to prop open.

    • The wire behind the motherboard will now be visible. Pull this out from behind.

  8. oSTVTOIOBW6N1m5J
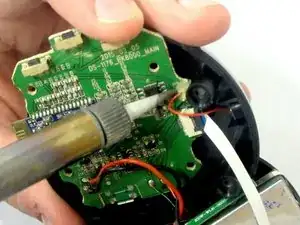
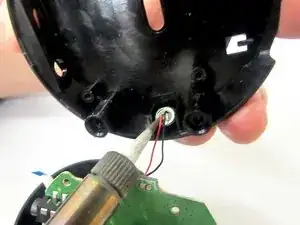
    • Use the soldering iron to desolder the wires connecting the motherboard to the base of the HMDX Chill.

  9. NulUj2KSD1E3SoTV
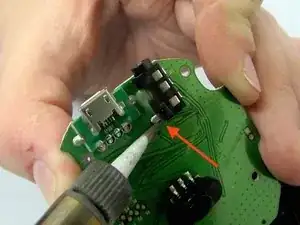
    • Desolder the audio jack from the motherboard using a soldering iron.

Abschluss

To reassemble your device, follow these instructions in reverse order.
Jourdan Holubasch

Mitglied seit: 31/03/16

754 Reputation

0 Kommentare