Einleitung
This guide goes over how to remove and replace the keyboard for the HP Envy x360 15m-bq021dx laptop. The keyboard is one of the main ways to interact with a laptop. When it is working properly, keys should press down easily without sticking and should output the letter, symbol, or function that it is designed to output.
Before using this guide understand that the process shown in this guide is a single-use method that once it is completed cannot be undone. This is due to the way the keyboard backing plate is mounted in the case using non-reusable plastic pins. Make sure replacing the keyboard is the only option before continuing with the guide.
Before using this guide check the following possible issues with your keyboard. If the entire keyboard is not working try reinstalling the keyboard drivers. If the keyboard is not working try disabling the intel sensors that check if the laptop is in tablet mode. This can cause the computer to get stuck in tablet mode where the keyboard is disabled. If only the plastic cap on a key is broken while the key can still be pressed and used do not replace the keyboard just replace that keycap. If the keys on the number pad do not work try pressing the number lock key. If a key can't be fully pressed then there might be something under the keycap. Try removing the keycaps and cleaning anything under the keys.
If none of these solutions worked then check the issue with the following list. If only a single key does not work then the whole keyboard needs to be replaced. If just the number pad is not working then the entire keyboard needs to be replaced.
Before starting this repair, be sure to power off the laptop and unplug from the power adapter.
Werkzeuge
-
-
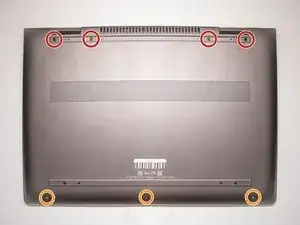
On the back panel of the device, remove the four (4) M2.5xL6 screws at the top of the photo using a Phillips #0 screwdriver.
-
Unscrew the three (3) screws at the bottom of the photo using a T5 Torx screwdriver.
-
-
-
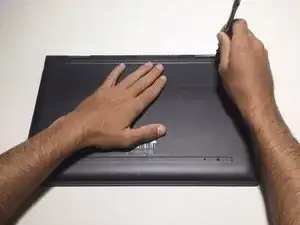
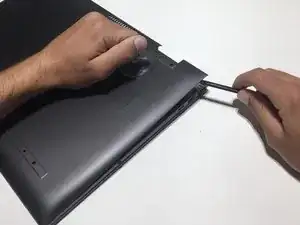
To remove the back cover, use the black spudger to lift up on the edges of the cover.
-
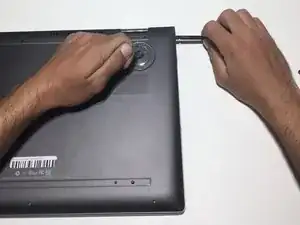
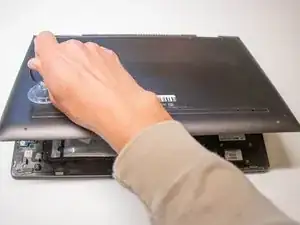
Use a suction cup to assist in lifting the back cover
-
-
-
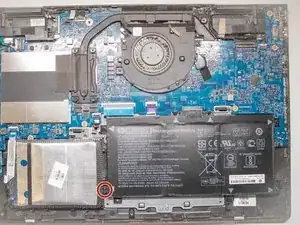
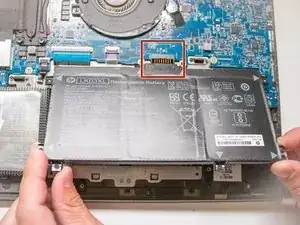
Using the Philips #0 screwdriver, remove the final screw from the battery connected to the SSD storage unit.
-
-
-
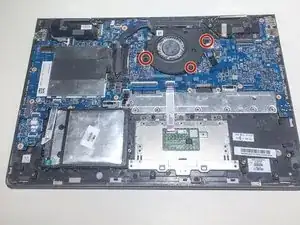
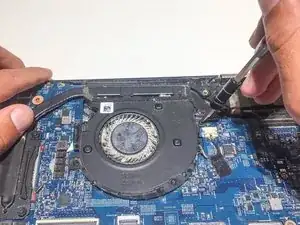
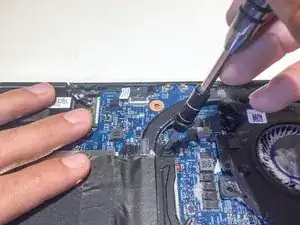
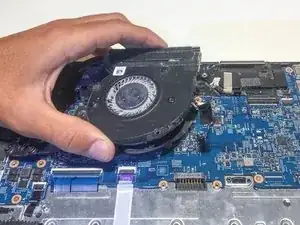
Using a Philips #0 screwdriver, remove the three M2x4 screws located around the cooling fan as shown in this picture.
-
-
-
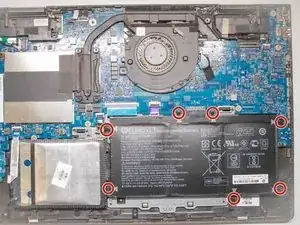
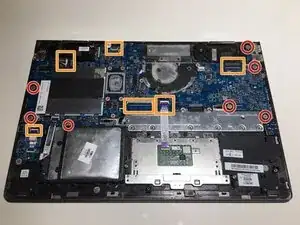
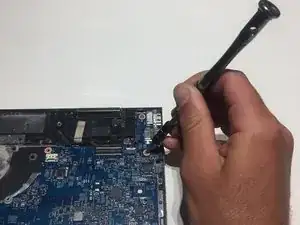
Using a Phillips #1, remove the seven M2.0x3.2 screws.
-
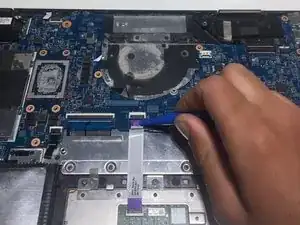
Undo the six connections using the blue opening tool.
-
-
-
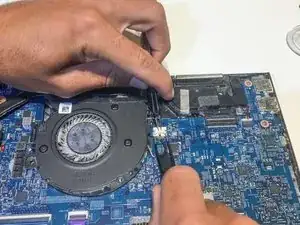
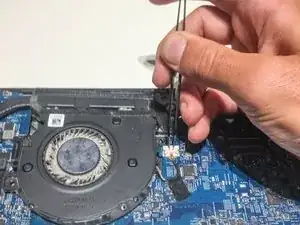
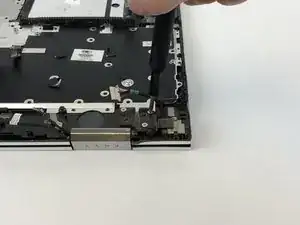
Use the tweezers to remove the cords from their restraints.
-
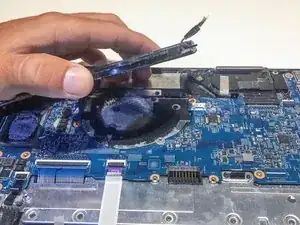
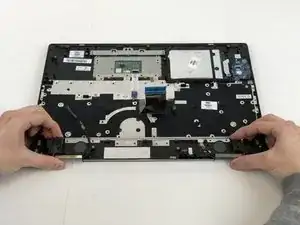
Lift the speakers out of the laptop.
-
-
-
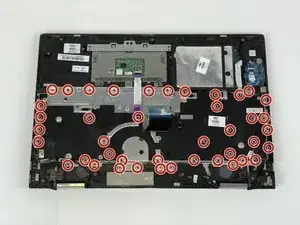
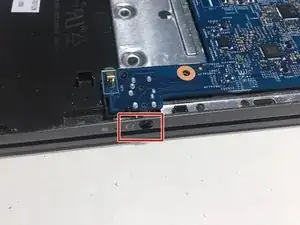
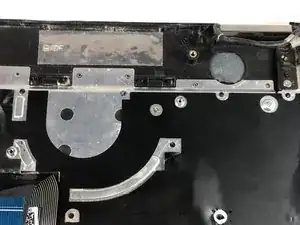
Use flat cutters or an iFixit Opening Tool to cut the excess plastic off the plastic pins holding the keyboard backing plate.
-
-
-
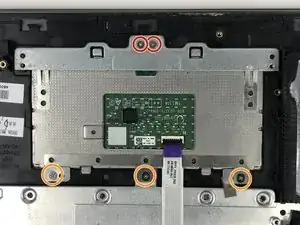
Remove the two M2.0x3.2 screws using a Phillips #0 screwdriver holding the bracket.
-
Lift the upper bracket off.
-
Remove the three M3.0x3.2 screws using the Phillips #0 screwdriver securing the touchpad.
-
-
-
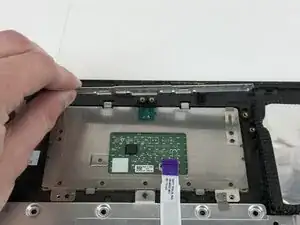
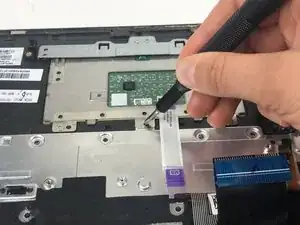
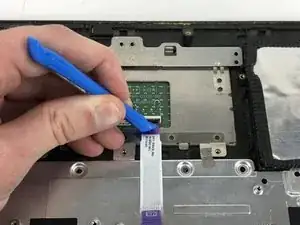
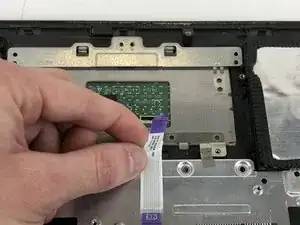
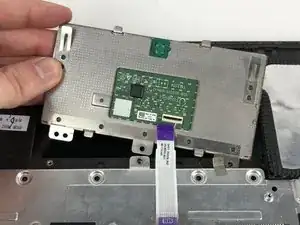
Use an iFixit opening tool to lift the locking flap and pull the ribbon cable out.
-
Lift the touch pad out of the frame.
-
-
-
Using a Phillips #0 screwdriver, remove the three screws on both hinges.
-
Pry the hinges back so they are not blocking the keyboard backing plate.
-
-
-
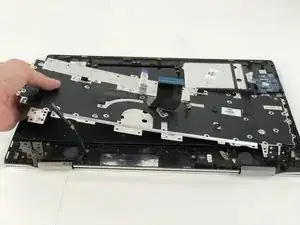
Pull the keyboard backing plate off of the laptop but be aware that it is connected to a ribbon cable still.
-
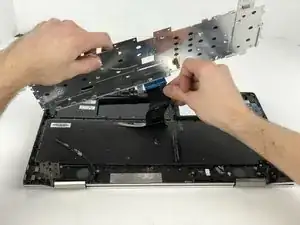
Pull the keyboard ribbon cable off the backing plate and through it.
-
-
-
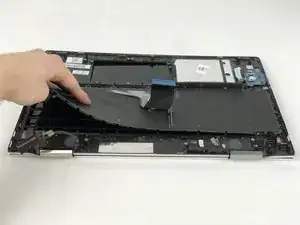
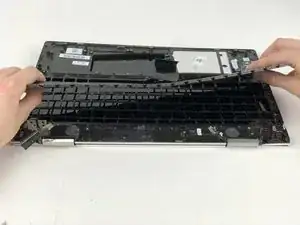
Using a soldering iron and melt the plastic pins so the plastic holds the backing plate down.
-
To reassemble your device, follow the instructions from step 14 to step 1 in reverse order.
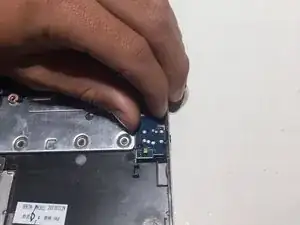
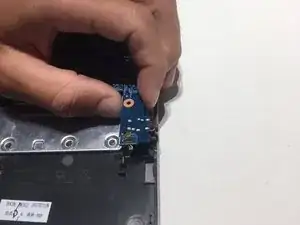
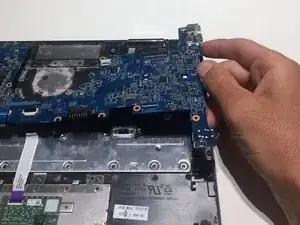
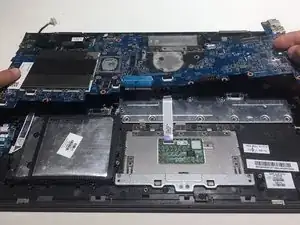
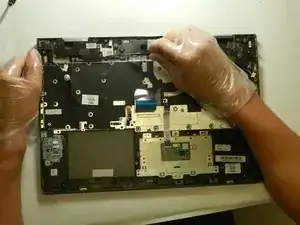
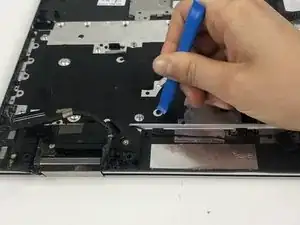
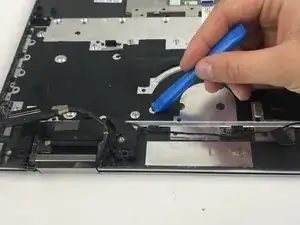
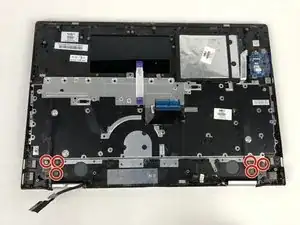
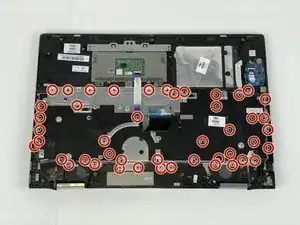
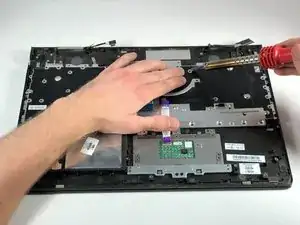

In the second step the photo looks like the laptop is still in the same position as the first step, which means, according to the first image, the second image shows someone removing the four screws at the top of the laptop. To be accurate to the text in Step 2, the barcode would appear at the top of the image.
lkmemphis -