Einleitung

Use this guide to replace the random-access memory (RAM) stick(s) in a HP Pavilion 15-cc561st (product number 1KU29UA).

The RAM stick is used by your laptop to temporarily store instructions and data, and your laptop will not work without this component.

If upon turning on the computer, the caps lock light has three long blinks, followed by two short blinks, then there is a potential memory failure. Use this guide to reseat or replace the memory module.

Update to the latest BIOS before adding new memory. Failing to update to the latest BIOS prior to installing new memory may result in various system problems. The most recent BIOS is available on HP's website. Download and run the file, and follow the on-screen instructions.

If only one memory module is installed, it must be installed in the socket that is closer to the center of the computer.

See the device page for supported memory configurations.

Shut down the laptop, disconnect all external devices, and unplug the AC adapter before beginning. Take the appropriate precautions if your battery is swollen.

  1. 4yvaucKRSXInk3Sa
    4yvaucKRSXInk3Sa
    TLKh6tt6cMpvaiiM
    jDT1gqwY6XofatJe
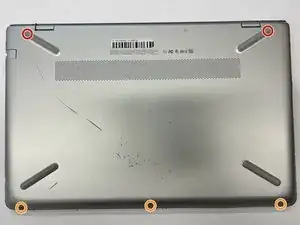
    • Before you begin to remove the bottom cover, shut down the computer. Disconnect all external devices and unplug the AC adapter. Flip the laptop upside down.

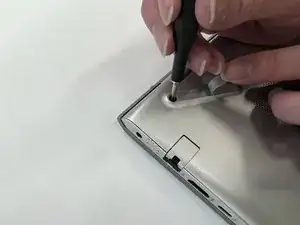
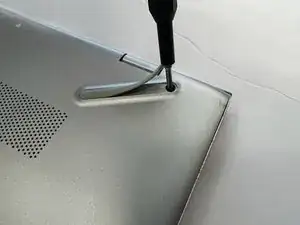
    • Use a Phillips #0 screwdriver to remove five screws from the bottom cover:

    • Two 5.6 mm screws

    • Each of these screws are beneath the two rubber feet on the rear side of the laptop (near the display hinges). You do not have to completely remove the rubber feet to remove the screws; simply peel the top of the feet to reveal the screws.

    • Three 5.8 mm screws

    • Throughout this repair, keep track of each screw size and location to avoid damaging your device.

  2. XbeTtMHNvv3o3uCJ
    XbeTtMHNvv3o3uCJ
    AYYgvF3IQDg5SFNt
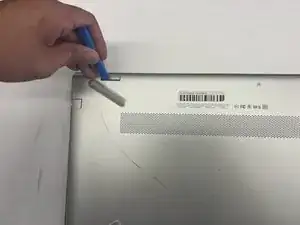
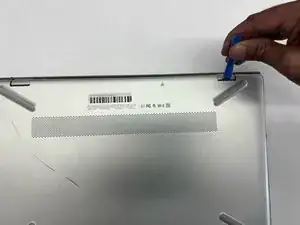
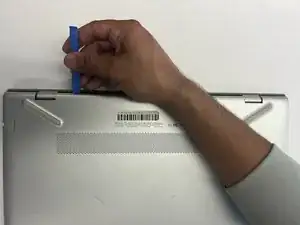
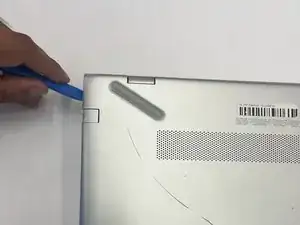
    • Insert an opening tool into the space between the display hinges and the bottom cover.

    • Firmly push the opening tool upwards to separate the bottom cover from these areas.

  3. xqFL4TCmPPnKUnx1
    xqFL4TCmPPnKUnx1
    XdQpyDdQVJ1gABt5
    5UbQlsGJuGRsVxVJ
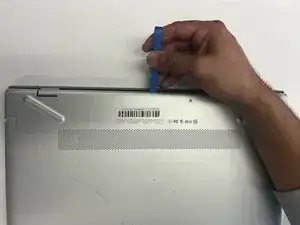
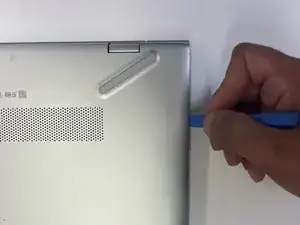
    • Insert your opening tool and firmly push the tool upwards along the rear edge.

  4. U5dhsJTvBFxChIAE
    U5dhsJTvBFxChIAE
    YTBFoccrj4Z2q2Dv
    mqrlVeLFqK2Umy6m
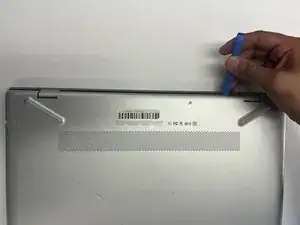
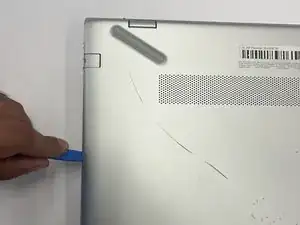
    • Use the opening tool again on the left and right sides.

    • Start prying at the areas closer to the rear of the laptop (near the display hinges) before moving towards areas that are closer to the front of the laptop (away from the display hinges).

    • Pry a little bit on the left side, then pry a little bit on the right side before prying more on the left side again. Working on both sides in this incremental fashion is easier than completely prying one side before starting the other side.

  5. rkRZpjcpDxkx5q2i
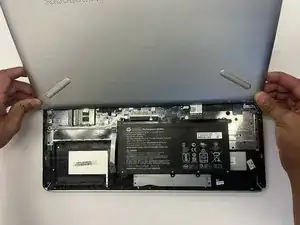
    • Lift the bottom cover upwards to remove it.

  6. JwtxM4HTUrTTlNnI
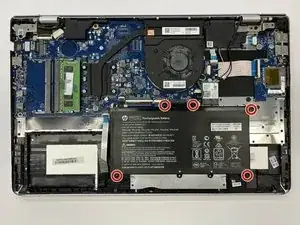
    • Use a Phillips #0 screwdriver to remove the five 5.7 mm screws that secure the battery.

  7. 4LxJpQjRLMYHW1EN
    4LxJpQjRLMYHW1EN
    ODtEt4ruXlLnqRAO
    igQxTvUhLbofUrd3
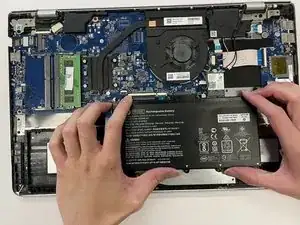
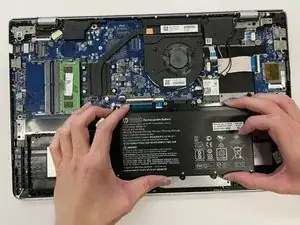
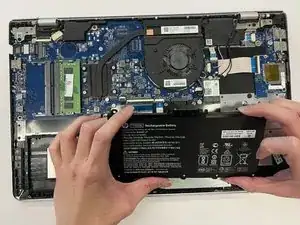
    • Pull the battery towards the front edge of the laptop to disconnect it from the 8-pin battery connector.

    • Lift the disconnected battery upwards to remove it.

    • Calibrate a newly-installed battery to help your laptop get an accurate battery percentage reading.

  8. RGoJ1uI5kRTxBBWJ
    RGoJ1uI5kRTxBBWJ
    eWydRXkxs1T5WbPq
    no53isAUrtuEBYrT
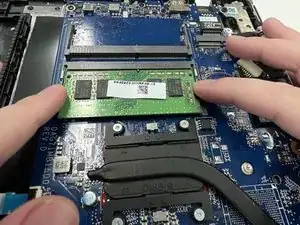
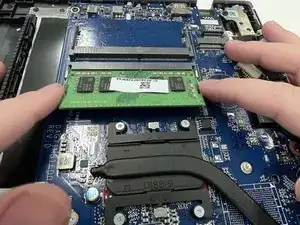
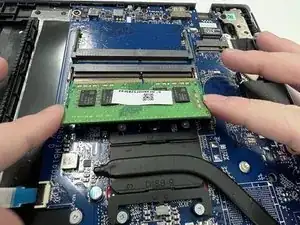
    • Simultaneously spread the retaining tabs on each side of the memory module slot.

    • Releasing the tabs will cause the memory module to "pop" up (the edge of the module opposite the slot rises up).

    • Pull the memory module away from the slot at the angle it rises from.

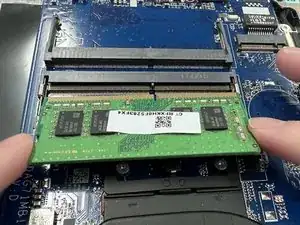
    • Line up the notch on a new memory module with the slot. This notch is designed to prevent incorrect insertion.

    • If only one memory module is installed, it must be installed in the socket that is closer to the center of the computer.

Abschluss

To reassemble your device, follow these instructions in reverse order.
Nathan Luu

Mitglied seit: 26/09/22

569 Reputation

0 Kommentare