Einleitung
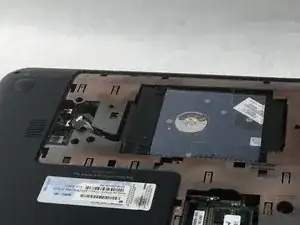
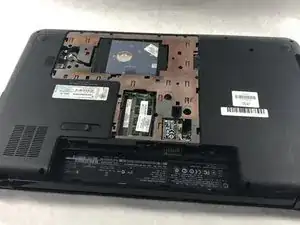
There are a few reasons to replace the hard drive. Your hard drive failed and won’t boot, the hard drive has become corrupted, or you simply need more hard drive space. Whatever the reason you need to replace the hard drive, this guide will show you how to do it.
This guide is written to replace the hard drive assuming you want the maximum amount of storage space. That is why the hard drive listed under parts is a 1 terabyte hard drive which is the largest hard drive this device can use. You can decide what hard drive you want to install in your device so long as the hard drive is a 9.5 mm (0.37 in) × 6.35 cm (2.50 in) SATA Hard Drive.
This guide assumes you are replacing the the hard drive with its hardware kit installed. If you don’t know how to install the hard drive hardware kit please follow this guide here HP Pavilion g7-2023cl Hard Drive Hardware Kit Replacement. Currently, the market for 9.5 mm (0.37 in) × 6.35 cm (2.50 in) SATA hard drives rarely sell the hardware kit pre-installed.
Werkzeuge
Ersatzteile
-
-
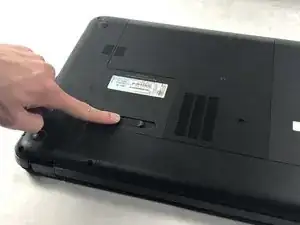
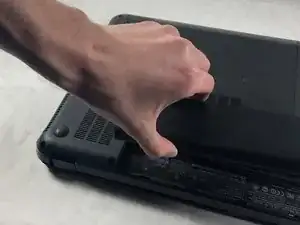
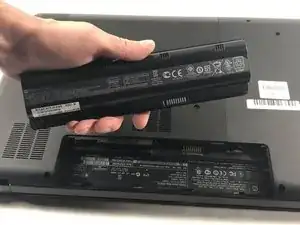
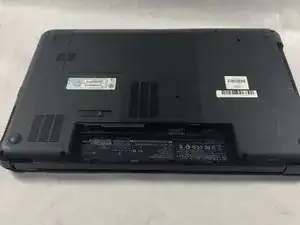
Place your finger on the battery lock slider, press toward the center of the laptop to unlock the battery.
-
-
-
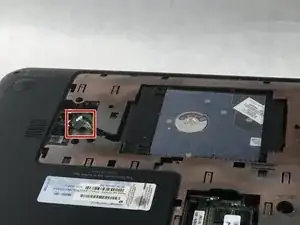
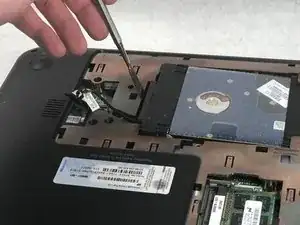
Locate the hard drive cable connector pull tab.
-
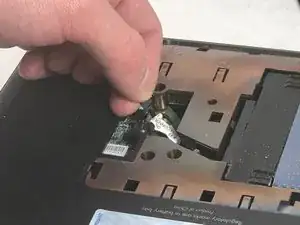
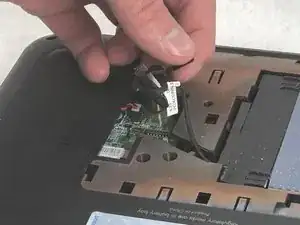
Pinch the pull tab pulling upwards from the motherboard to disconnect the hard drive cable.
-
-
-
Use a spudger or other ESD-safe prying tool to lift one side of the hard drive up and out of the base enclosure.
-
-
-
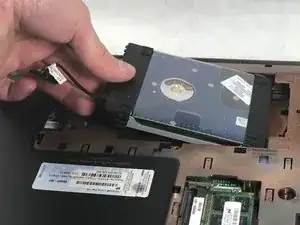
Grab the end of the hard drive.
-
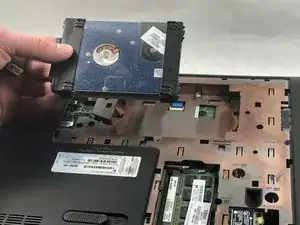
Pull the hard drive out of the base enclosure at an angle.
-
To reassemble your device, follow these instructions in reverse order.
