Einleitung
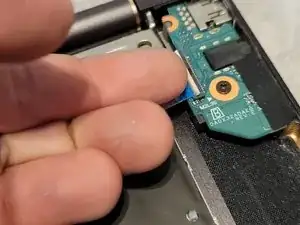
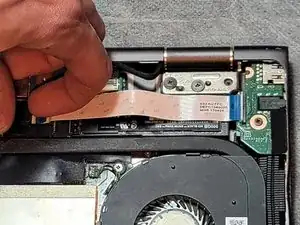
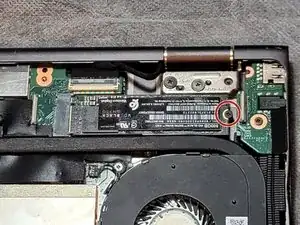
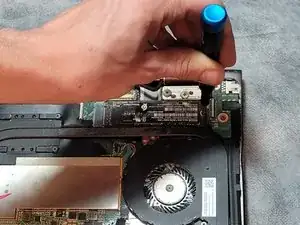
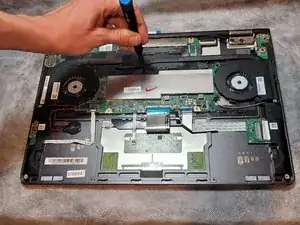
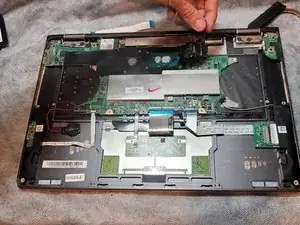
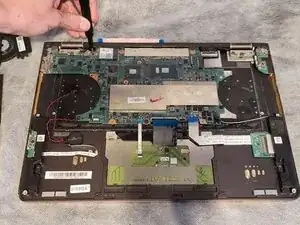
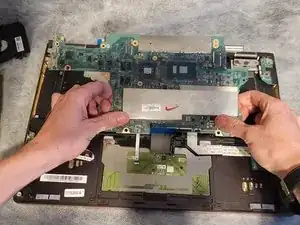
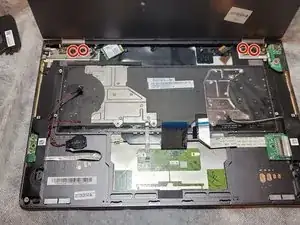
If your keyboard is no longer performing under its full potential, it may be time to replace it. There are a few warning signs that something is wrong with your keyboard such as keys falling off or breaking, dust and debris buildup, or unresponsiveness. This guide will provide assistance in removing and replacing the keyboard.
Before starting this guide, please be sure to review the Troubleshooting page for extra information on the keyboard.
Please note that this guide is specific to the HP Spectre x360 15-bl012dx.
*It is not required to remove the display assembly for this repair, however it makes the repair a bit easier.
Before beginning this repair, be sure to turn off your device and unplug from the power adapter.
Werkzeuge
-
-
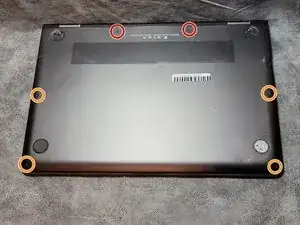
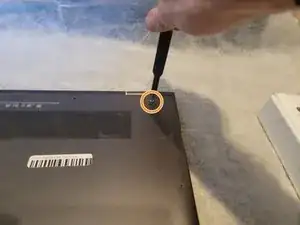
Place the computer so that the back panel is facing up. Begin by removing the two visible Torx T5 9 mm screws near the hinges.
-
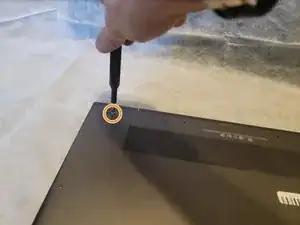
Next, remove the four visible Torx T5 3 mm on the sides.
-
-
-
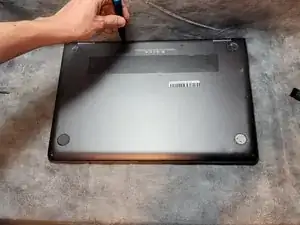
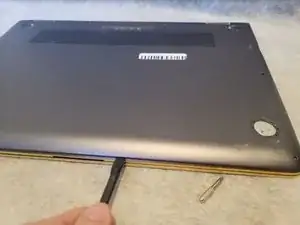
Remove the two upper feet using an opening tool or spudger if they are still in place. The upper feet are closer to the hinges for the screen.
-
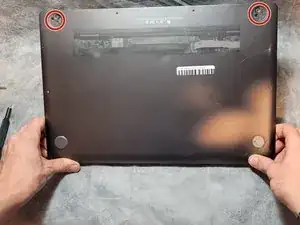
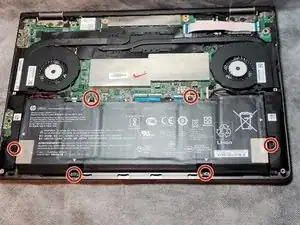
Remove the two 8 mm Phillips #1 screws under the feet.
-
-
-
Use a spudger to pry the back panel off of the laptop. Work your way around the perimeter of the device to loosen the connection.
-
Take the back panel off of the laptop.
-
-
-
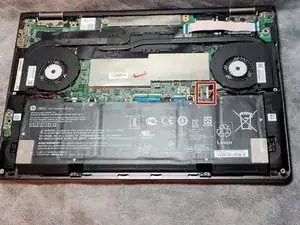
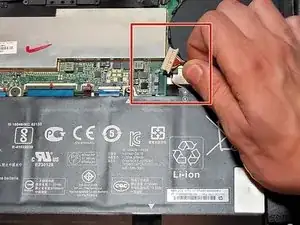
Unplug the battery connector located on the motherboard.
-
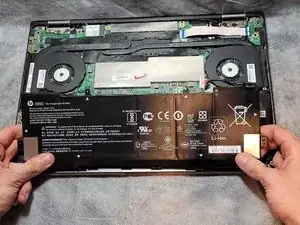
Remove the battery from the laptop.
-
-
-
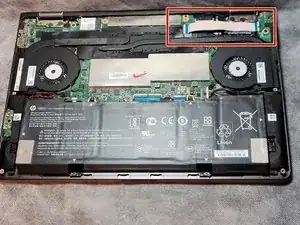
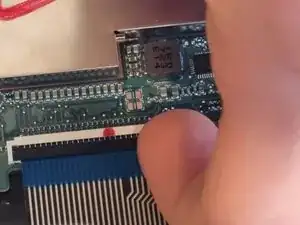
Using minimal force, lift the locking bars on the USB board ZIF connector using a plastic opening tool or fingernail and pull out the ribbon cable.
-
-
-
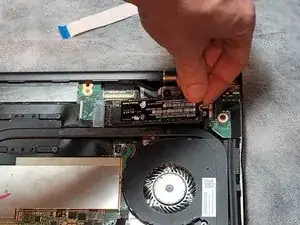
Slide the SSD card out of the connection at a 45 degree angle so that the SSD teeth are not bent.
-
-
-
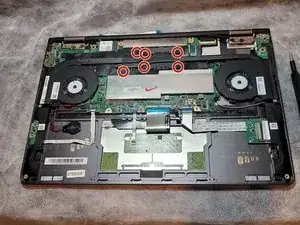
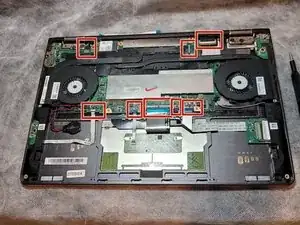
Pop up the eight tabs on all the ZIF connectors on the motherboard. This can either be done with a spudger or your finger nail.
-
-
-
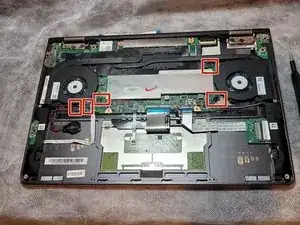
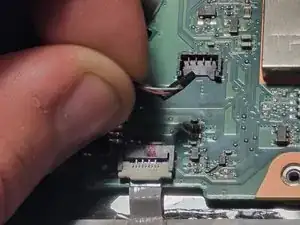
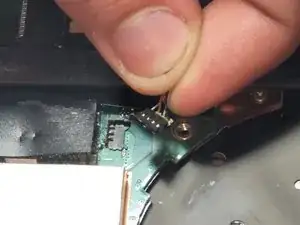
Remove the five remaining connectors from the motherboard. Two on the bottom left, one on the bottom right, and one on the top right. These connectors pull up off the motherboard with no clips.
-
-
-
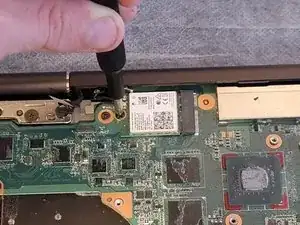
Use a Phillips #1 screwdriver to remove the 2 mm screw from the Wi-Fi card that secures it to the motherboard.
-
Slide the Wi-Fi card out of the slot.
-
-
-
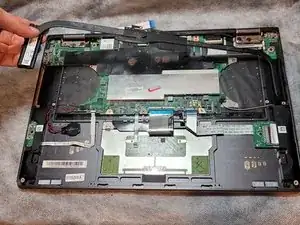
Snake the speaker wires out of the plastic routings on the fans that hold the wires in place.
-
Lift the fans and heat sink out.
-
Remove the black heat shield under the heat sink.
-
-
-
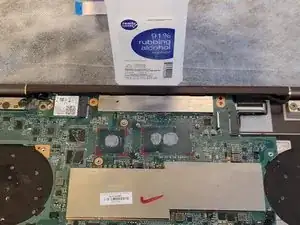
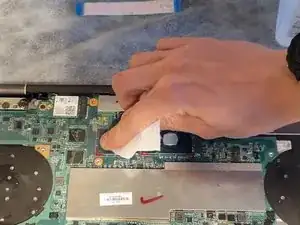
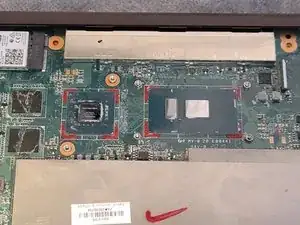
Clean the old thermal paste off of the heat sink, cpu, and gpu using isopropyl alcohol and a paper towel. The higher the percentage of the alcohol, the better. I used 91%.
-
Remember to apply thermal paste before installing the new motherboard with fresh thermal paste! A pea sized amount is plenty.
-
-
-
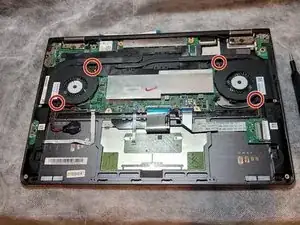
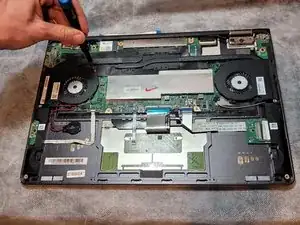
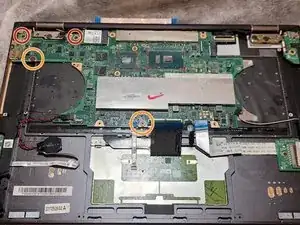
Using a Phillips #1 screwdriver, remove four screws from the motherboard.
-
Two 3 mm screws
-
Two 2 mm screws
-
-
-
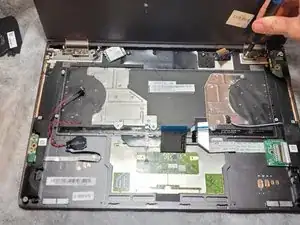
Open the laptop so the screen is facing you.
-
Using a Phillips #1 screwdriver, remove two 5 mm screws from each hinge.
-
-
-
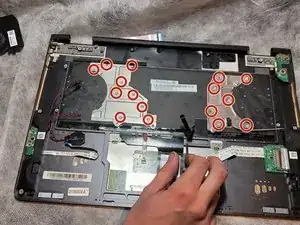
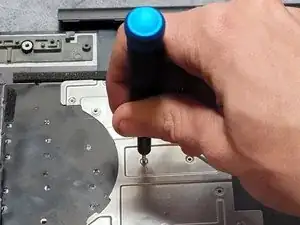
Use a Phillips #00 screwdriver to remove sixteen 2 mm screws from the two metal plates on the back of the keyboard.
-
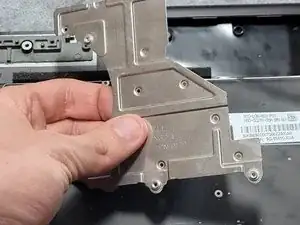
Remove the metal plates.
-
-
-
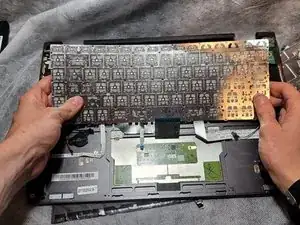
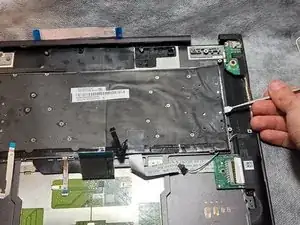
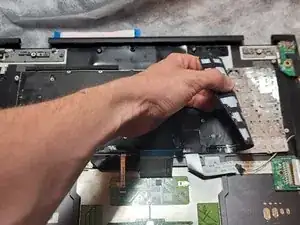
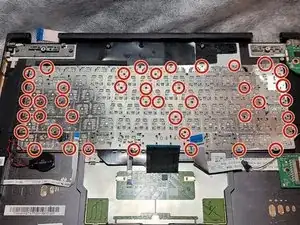
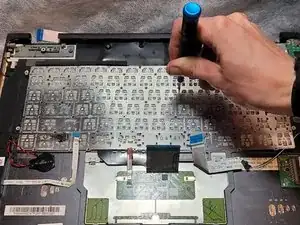
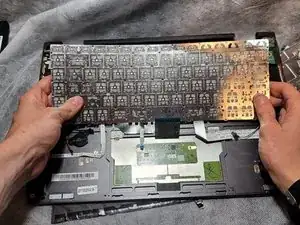
Use a Phillips #00 screwdriver to remove the forty-two 2 mm screws from the keyboard and then pull it out from the laptop body.
-
To reassemble your device, follow these instructions in reverse order.
